Runbook for New Installation of Online HA Turbine with HAProxy
Execute these carefully, as they involve enabling SELinux and Firewalld on the nodes and the HAProxy Load Balancer.
The following steps are required:
Install Rocky Linux 9.4 OS: Three nodes for Turbine and one node for the HAProxy load balancer.
For Rocky Linux OS and Redhat OS, the following needs to be installed before installing Turbine:
- nfs-utils
- Conntrack-tools
- Socat
- Git
- Fio
- Containerd
For the actual 3 nodes, follow the documentation from the system requirements:
Online Embedded Cluster Install:
Component | Value | How to Confirm? | Confirmed Node 1 (Y/N) |
|---|---|---|---|
CPU | 16 CPU cores (typical HA small) | $ lscpu | grep '^CPU(s):' (should return 16 or more) Y |
CPU Instruction Set | AVX required | $ lscpu | grep -E "avx Y Flags" (should return “avx” or “avx2”) |
Memory | 64 GB RAM (typical HA small) | $ free -mh | Y |
Storage | 600 GB SSD / 3000 IOPS per node (typical) | $ df -h OR df -h | head -n 20 Y |
Pods (HA targets) | API: 3 | Tasks: 3 | Web: 3 Y $ kubectl get pods -A (after deploy) Tenant: 3 (odd ≥3 for Mongo/Postgres) Reports: 3 MongoDB: 3 |
1. Artifacts & secrets to prepare:
- Turbine YAML license for the KOTS Admin Console (.yaml file)
- Turbine application license for first UI login (.lic file)
- Planned Turbine hostname (FQDN / DNS name)
- Strong Mongo encryption key and Mongo password — store in a secure vault (effectively immutable after install)
- HA load balancer address for the Kubernetes API / control plane
- Odd-number capacity for replica sets (minimum 3 nodes for MongoDB and PostgreSQL for Mongodb and postgreSQL to form a quorum)
For the HAProxy Load Balancer, the following specifications should be sufficient:
CPU: 8 vCPUs
Storage: 80 GB SSD
Memory: 16–32 GB RAM (depending on the resources available in the customer's environment)
For the Online nodes, the following specifications should be sufficient:
CPU: 16 vCPUs
Storage: 700 GB SSD
Memory: 64GB RAM (depending on the resources available in the customer's environment)
Please ensure the following dedicated partitions are configured on each Turbine node with the specified storage capacity:
Do not block these partitions from writing into /etc/fstab, otherwise when the node is rebooted, you will lose the partitions. Also do not enable noexec on any of the /var dorectory in the /etc/fstab
- /var/lib/kubelet — 150 GB
- /var/lib/containerd — 150 GB
- /var/lib/openebs — 300 GB
Enable SELinux and Firewalld on the HAProxy Load Balancer node:
A. Enable Firewalld to start:
sudo systemctl enable firewalldB. Ensure Firewalld is running:
sudo firewall-cmd --stateC. Enable SELinux:
Change the status of the service in the /etc/selinux/config file to Enforcing.
Run the following command to make sure it is enabled and enforcing:
sestatusConfigure firewalld:
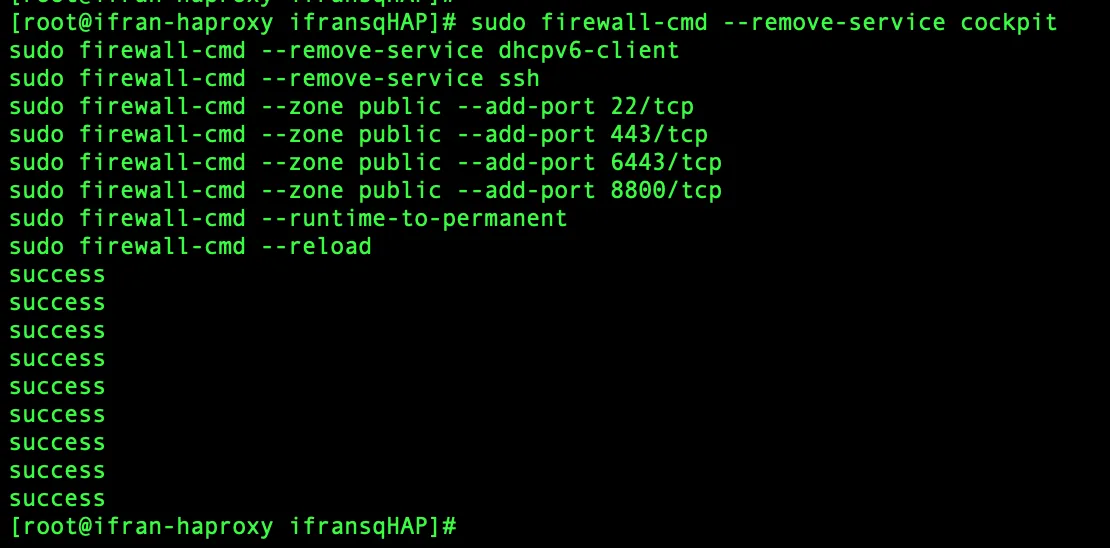
Please run the following commands on the HAProxy server:
sudo firewall-cmd --remove-service cockpit
sudo firewall-cmd --remove-service dhcpv6-client
sudo firewall-cmd --remove-service ssh
sudo firewall-cmd --zone public --add-port 22/tcp
sudo firewall-cmd --zone public --add-port 443/tcp
sudo firewall-cmd --zone public --add-port 6443/tcp
sudo firewall-cmd --zone public --add-port 8800/tcp
sudo firewall-cmd --runtime-to-permanent
sudo firewall-cmd --reloadThese commands modify the firewalld configuration on your Linux server. They remove some default allowed services and explicitly allow only the ports required for SSH, HTTPS, the Kubernetes API, and the Replicated Admin Console.
Configure SElinux for haproxy:
Please run the below commands on the HAProxy server:
sudo semanage port --add --type http_port_t --proto tcp 6443
sudo semanage port --add --type http_port_t --proto tcp 8800
Configure HAProxy (Layer 4 / TCP)
Turbine does not support a Layer 7 load balancer for the Kubernetes API, so the API must be TCP mode. This example runs everything in TCP mode. Reference: Swimlane HAProxy Load Balancer docs.
3.1 Install
sudo dnf install -y haproxy # installs haproxy 2.8.x on Rocky 9
Verify the installation:
rpm -q haproxy nfs-utils conntrack-tools socat git fio policycoreutils-python-utils
Testing connectivity across servers/node:
for ip in <node1-IP> <node2-IP> <node3-IP>; do
echo "Testing $ip"
nc -vz "$ip" 6443
nc -vz "$ip" 8800
nc -vz "$ip" 443
done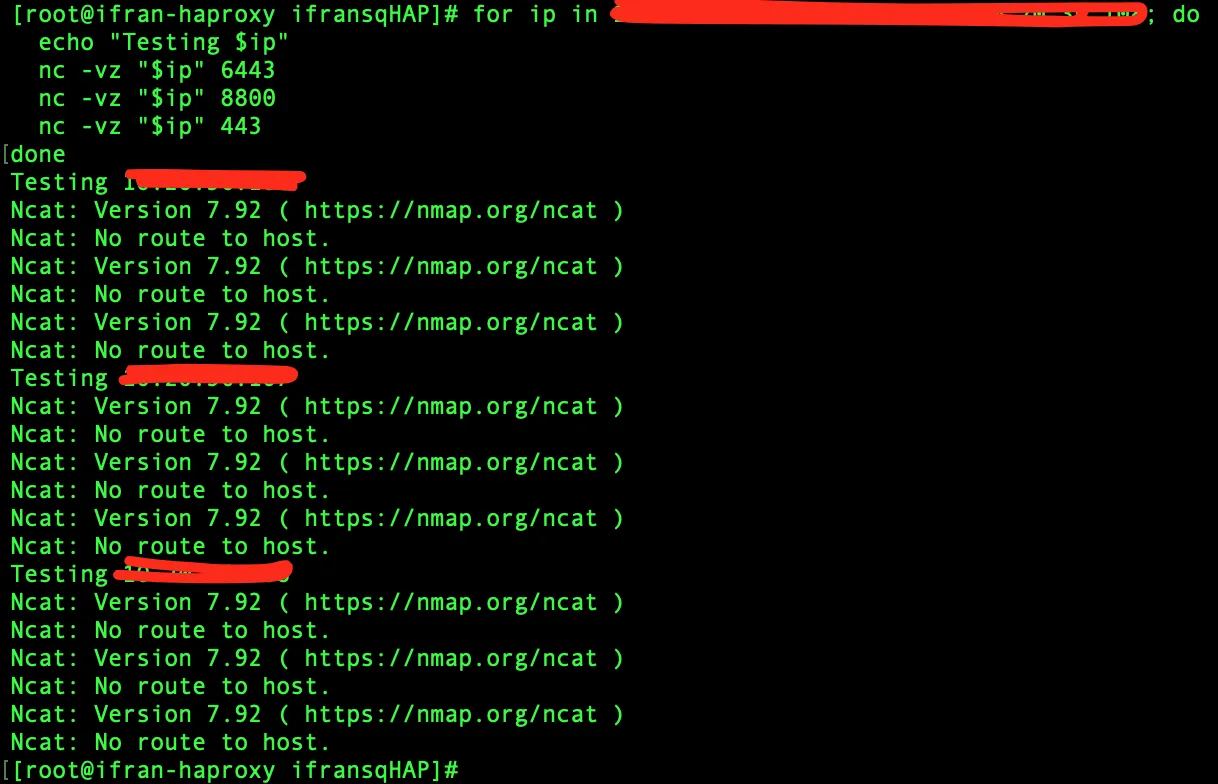
On each online node, check:
firewall-cmd --state
firewall-cmd --list-allAllow the required ports:
firewall-cmd --permanent --add-port=443/tcp
firewall-cmd --permanent --add-port=6443/tcp
firewall-cmd --permanent --add-port=8800/tcp
firewall-cmd --reload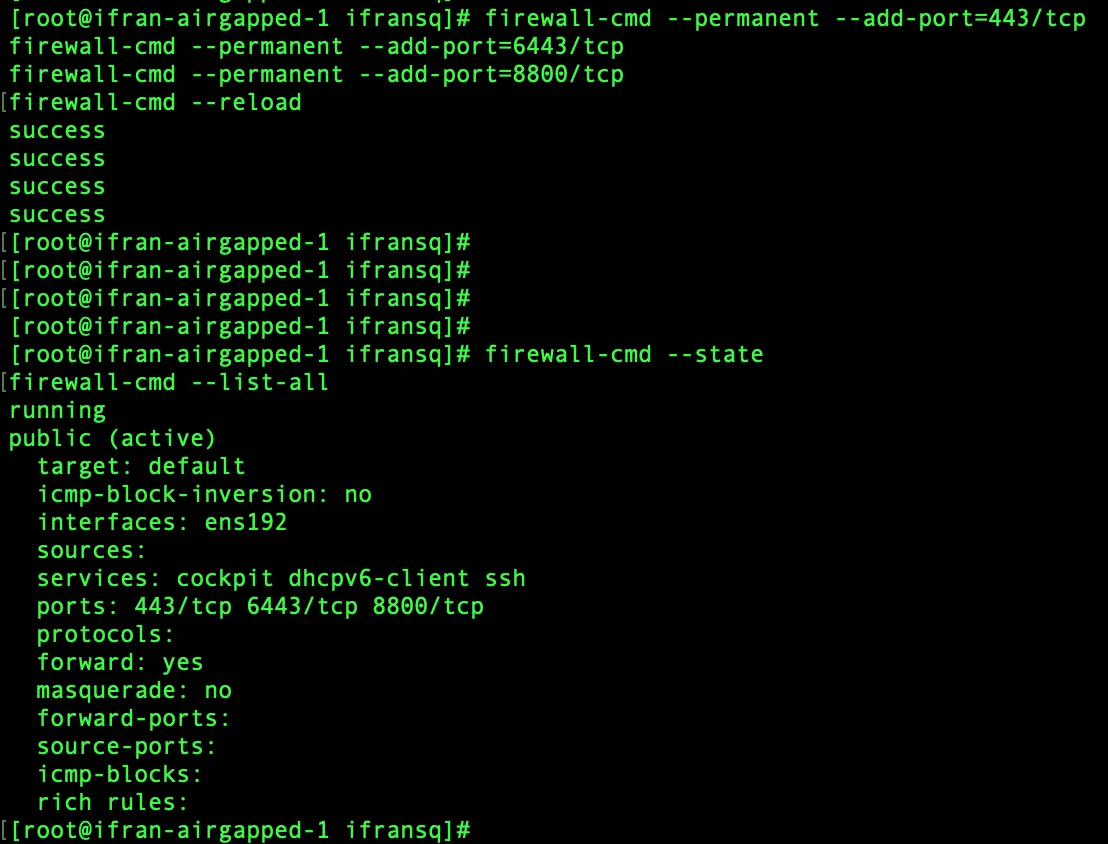
Retest from the HAProxy server:
for ip in <node1-IP> <node2-IP> <node3-IP>; do
echo "Testing $ip"
nc -vz "$ip" 6443
nc -vz "$ip" 8800
nc -vz "$ip" 443
doneAfter opening the ports, these are the possible results:
- Connection succeeded — service is running and reachable.
- Connection refused — firewall is no longer blocking, but no service is listening yet.
- No route to host — firewall or network rejection still exists.
If Kubernetes/Turbine is not installed yet, Connection refused is expected until those services start.
Note: Now add your HAProxy config file
Validate it:
haproxy -c -f /etc/haproxy/haproxy.cfgExpected:
Configuration file is valid |
|---|
Then restart HAProxy:
systemctl restart haproxy
systemctl status haproxyConfigure HAProxy similarly as per the following doc:
Example configuration for a Layer 4 HAProxy server:
##################
# GLOBAL OPTIONS #
##################
global
defaults
timeout client 30s
timeout server 30s
timeout connect 30s
listen stats
bind *:8080
mode http
stats enable
stats uri /
stats hide-version
##
# Turbine Frontend / Backend
##
frontend turbine-frontend
mode tcp
bind *:80 # Optional https redirection
bind *:443
http-request redirect scheme https unless { ssl_fc } # Optional https redirection
default_backend turbine-backend
backend turbine-backend
mode tcp
balance roundrobin
option tcp-check
server tpi-node-1 tpi-node-1.swimlane.io:443 check
server tpi-node-2 tpi-node-2.swimlane.io:443 check
server tpi-node-3 tpi-node-3.swimlane.io:443 check
##
# Turbine Platform Installer UI Frontend / Backend
##
frontend replicated-frontend
mode tcp
bind *:8800
default_backend replicated-backend
backend replicated-backend
mode tcp
balance roundrobin
option tcp-check
server tpi-node-1 tpi-node-1.swimlane.io:8800 check
server tpi-node-2 tpi-node-2.swimlane.io:8800 check
server tpi-node-3 tpi-node-3.swimlane.io:8800 check
##
# Kubernetes API Frontend / Backend
##
frontend kube-api-frontend
mode tcp
bind *:6443
default_backend kube-api-backend
backend kube-api-backend
mode tcp
balance roundrobin
option tcp-check
server tpi-node-1 tpi-node-1.swimlane.io:6443 check
server tpi-node-2 tpi-node-2.swimlane.io:6443 check
server tpi-node-3 tpi-node-3.swimlane.io:6443 check
Then run service haproxy reload to restart the HAProxy service:
haproxy -c -f /etc/haproxy/haproxy.cfg
systemctl enable haproxy
systemctl start haproxy
systemctl status haproxy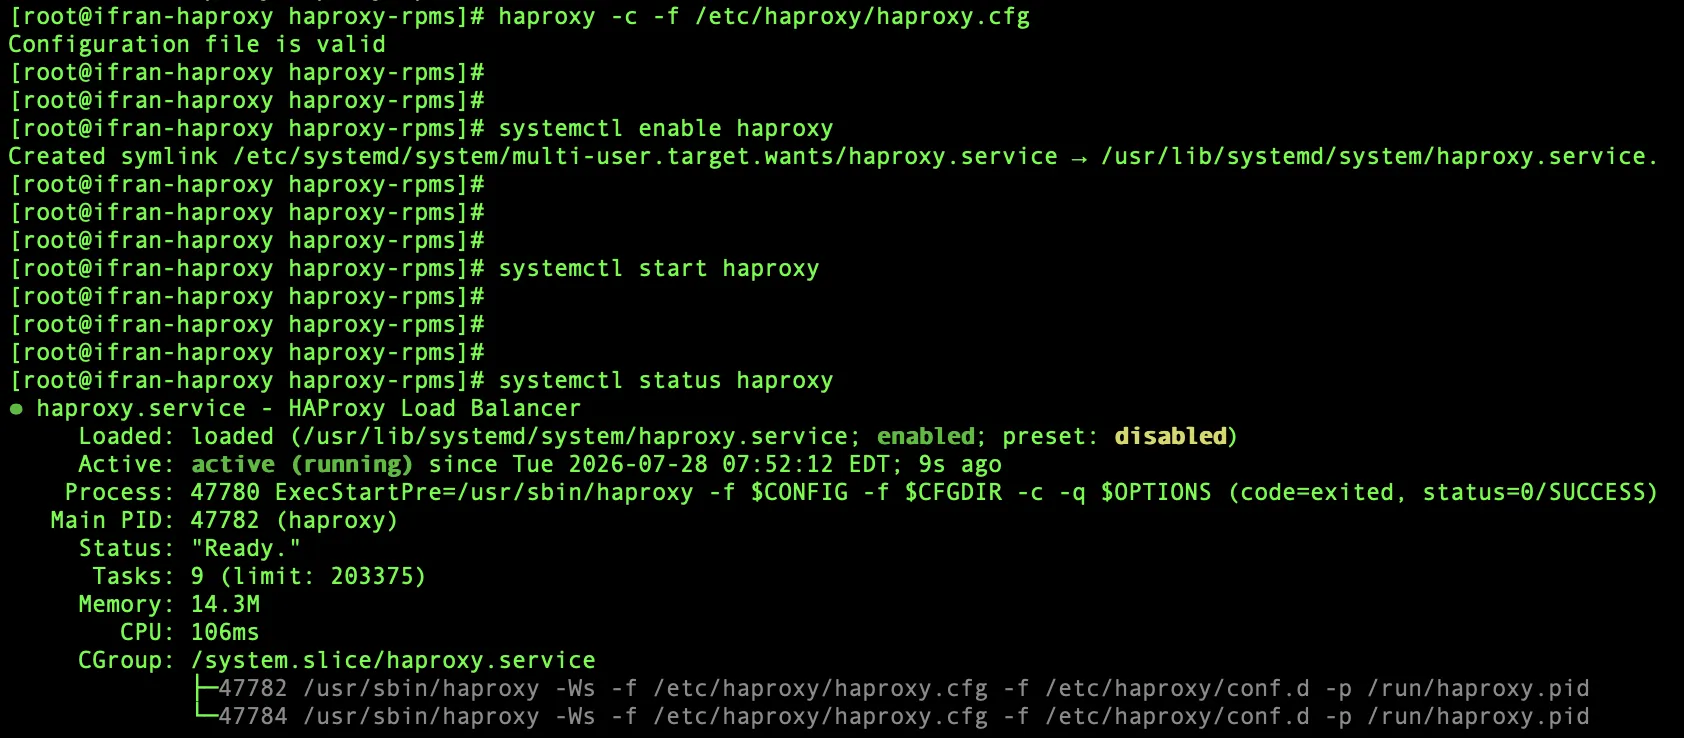
Set IP forwarding on all three nodes:
For a Kubernetes/Turbine cluster, net.ipv4.ip_forward should be 1
To check:
sysctl net.ipv4.ip_forwardMake it persistent across reboots:
cat <<EOF | sudo tee /etc/sysctl.d/99-kubernetes.conf
net.ipv4.ip_forward = 1
EOFApply it immediately:
sudo sysctl --system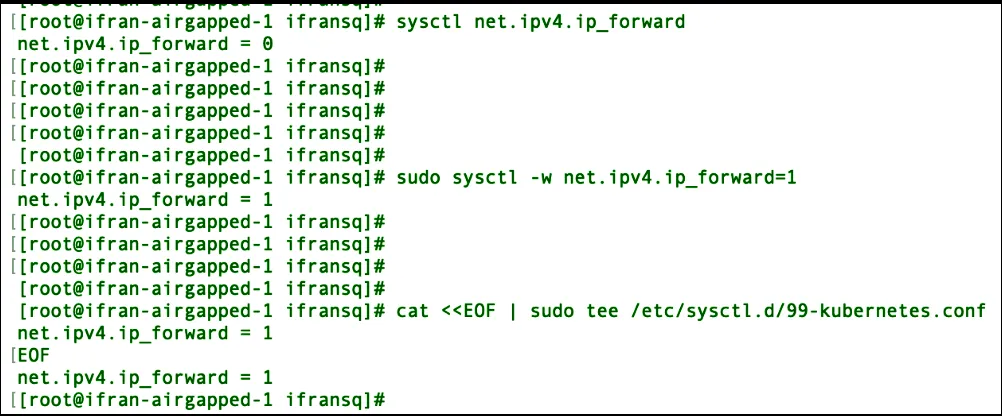
Add required ports to SELinux on all 3 nodes:
semanage port --add --type http_port_t --proto tcp 2379;
semanage port --add --type http_port_t --proto tcp 2380;
semanage port --add --type http_port_t --proto tcp 6443;
semanage port --add --type http_port_t --proto udp 8472;
semanage port --add --type http_port_t --proto tcp 8800;
semanage port --add --type http_port_t --proto tcp 10250;External zone, firewalld config on all 3 nodes:
firewall-cmd --zone external --add-masquerade;Public zone, firewalld config on all 3 nodes:
firewall-cmd --zone public --remove-service cockpit;
firewall-cmd --zone public --remove-service dhcpv6-client;
firewall-cmd --zone public --remove-service ssh;
firewall-cmd --zone public --add-port 22/tcp;
firewall-cmd --zone public --add-port 443/tcp;
firewall-cmd --zone public --add-port 2379/tcp;
firewall-cmd --zone public --add-port 2380/tcp;
firewall-cmd --zone public --add-port 6443/tcp;
firewall-cmd --zone public --add-port 8472/udp;
firewall-cmd --zone public --add-port 8800/tcp;
firewall-cmd --zone public --add-port 10250/tcp;Trusted zone, firewalld config on all 3 nodes:
firewall-cmd --zone trusted --add-interface cni0;
firewall-cmd --zone trusted --add-interface flannel.1;
firewall-cmd --zone trusted --add-interface kube-ipvs0;
firewall-cmd --zone trusted --add-port 2379/tcp;
firewall-cmd --zone trusted --add-port 2380/tcp;
firewall-cmd --zone trusted --add-port 4789/udp;
firewall-cmd --zone trusted --add-port 5000/tcp;
firewall-cmd --zone trusted --add-port 6783/tcp;
firewall-cmd --zone trusted --add-port 6783/udp;
firewall-cmd --zone trusted --add-port 6784/udp;
firewall-cmd --zone trusted --add-port 8080/tcp;
firewall-cmd --zone trusted --add-port 8472/udp;
firewall-cmd --zone trusted --add-port 10250/tcp;
firewall-cmd --zone trusted --add-port 10257/tcp;
firewall-cmd --zone trusted --add-port 10259/tcp;Save and reload configured firewalld rules on all 3 nodes:
firewall-cmd --runtime-to-permanent;
firewall-cmd --reload;Test connectivity between the three nodes and the HAProxy on port 6443.
Test TCP connectivity from each node to HAProxy:
Run this on each node:
nc -vz <haproxy-IP> 6443
curl -k-v <haproxy url>:6443Ensure this works before attempting the Turbine installation; otherwise, the install will fail.
Create a patch YAML file to include firewall and SELinux:
apiVersion: "cluster.kurl.sh/v1beta1"
kind: "Installer"
metadata:
name: "patch"
spec:
kubernetes:
HACluster: true
loadBalancerAddress: "haproxy-iq.ts.swimlane.us:6443"
firewalldConfig:
firewalld: "enabled"
bypassFirewalldWarning: true
disableFirewalld: false
hardFailOnFirewalld: false
preserveConfig: false
selinuxConfig:
selinux: "enforcing"
type: "targeted"
preserveConfig: false
disableSelinux: false
Install:
Step 1: Log In to Node 1
From a command-line interface, log in as a privileged user to the system that will host the initial Turbine Platform instance.
ssh <privileged-user>@<node1-ip-address>Step 2: Start the HA Installation on Node 1
Run the following command:
curl -sSL https://kurl.sh/turbine-stable-multitenant | sudo bash -s ha installer-spec-file=patch.yaml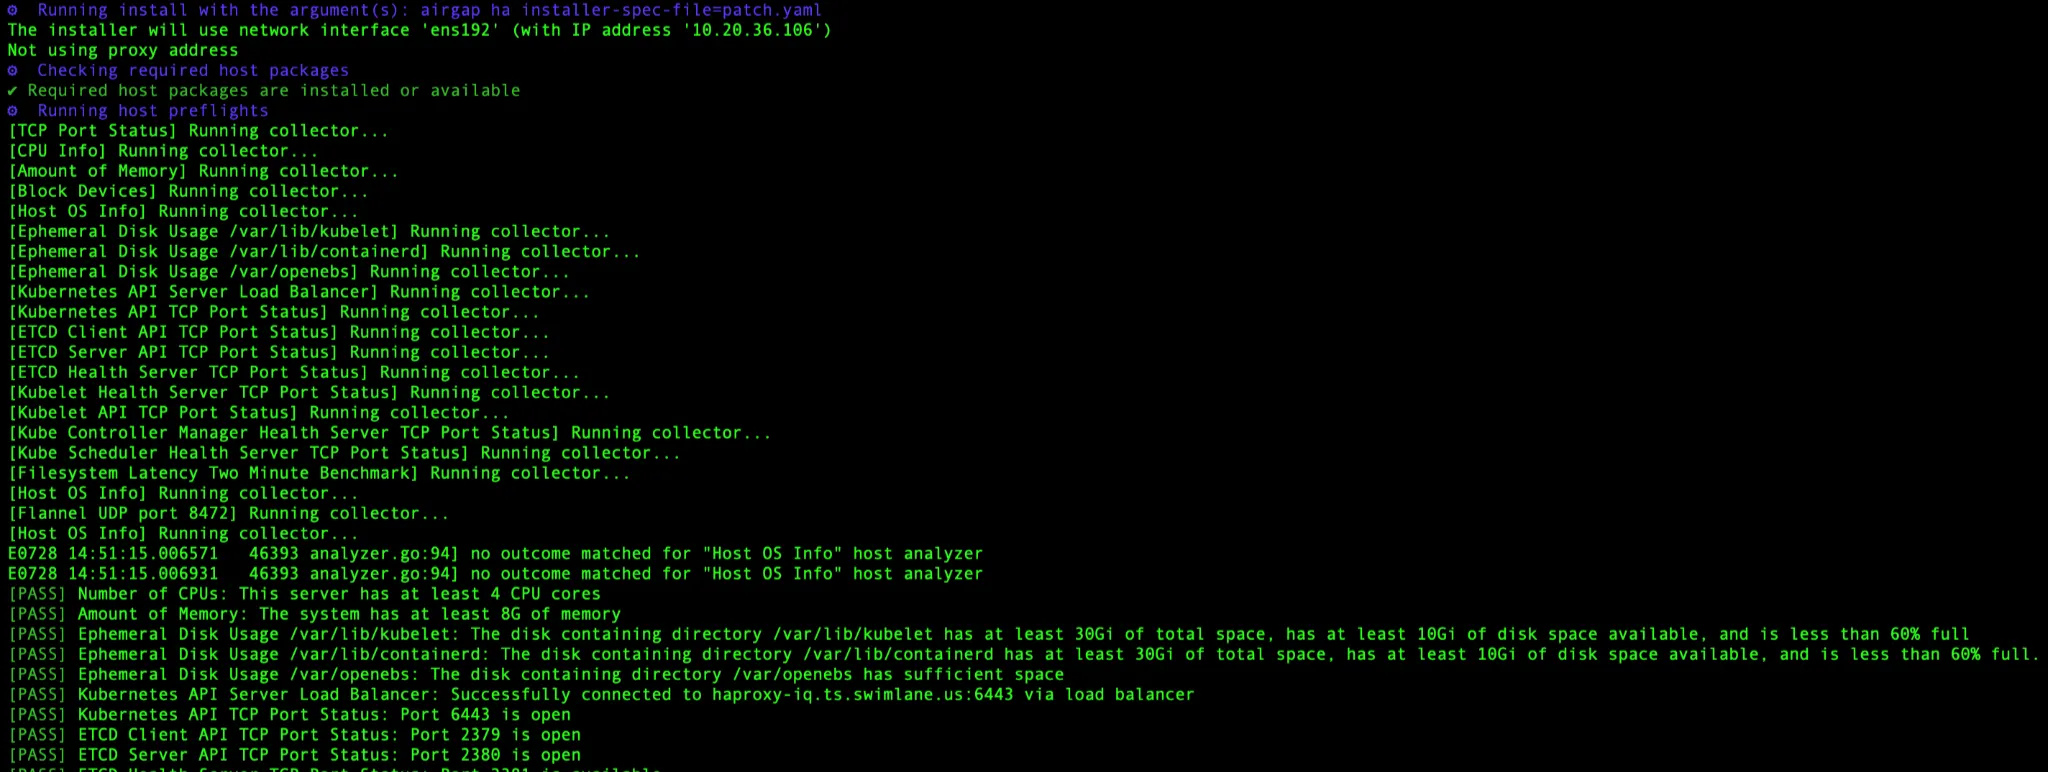
Step 3: Accept the Installation Permissions
During the installation, the installer will request confirmation before proceeding.
When prompted, type:
Y
Press Enter to continue.
Allow the installation to complete. Do not interrupt the process or close the terminal session while it is running.
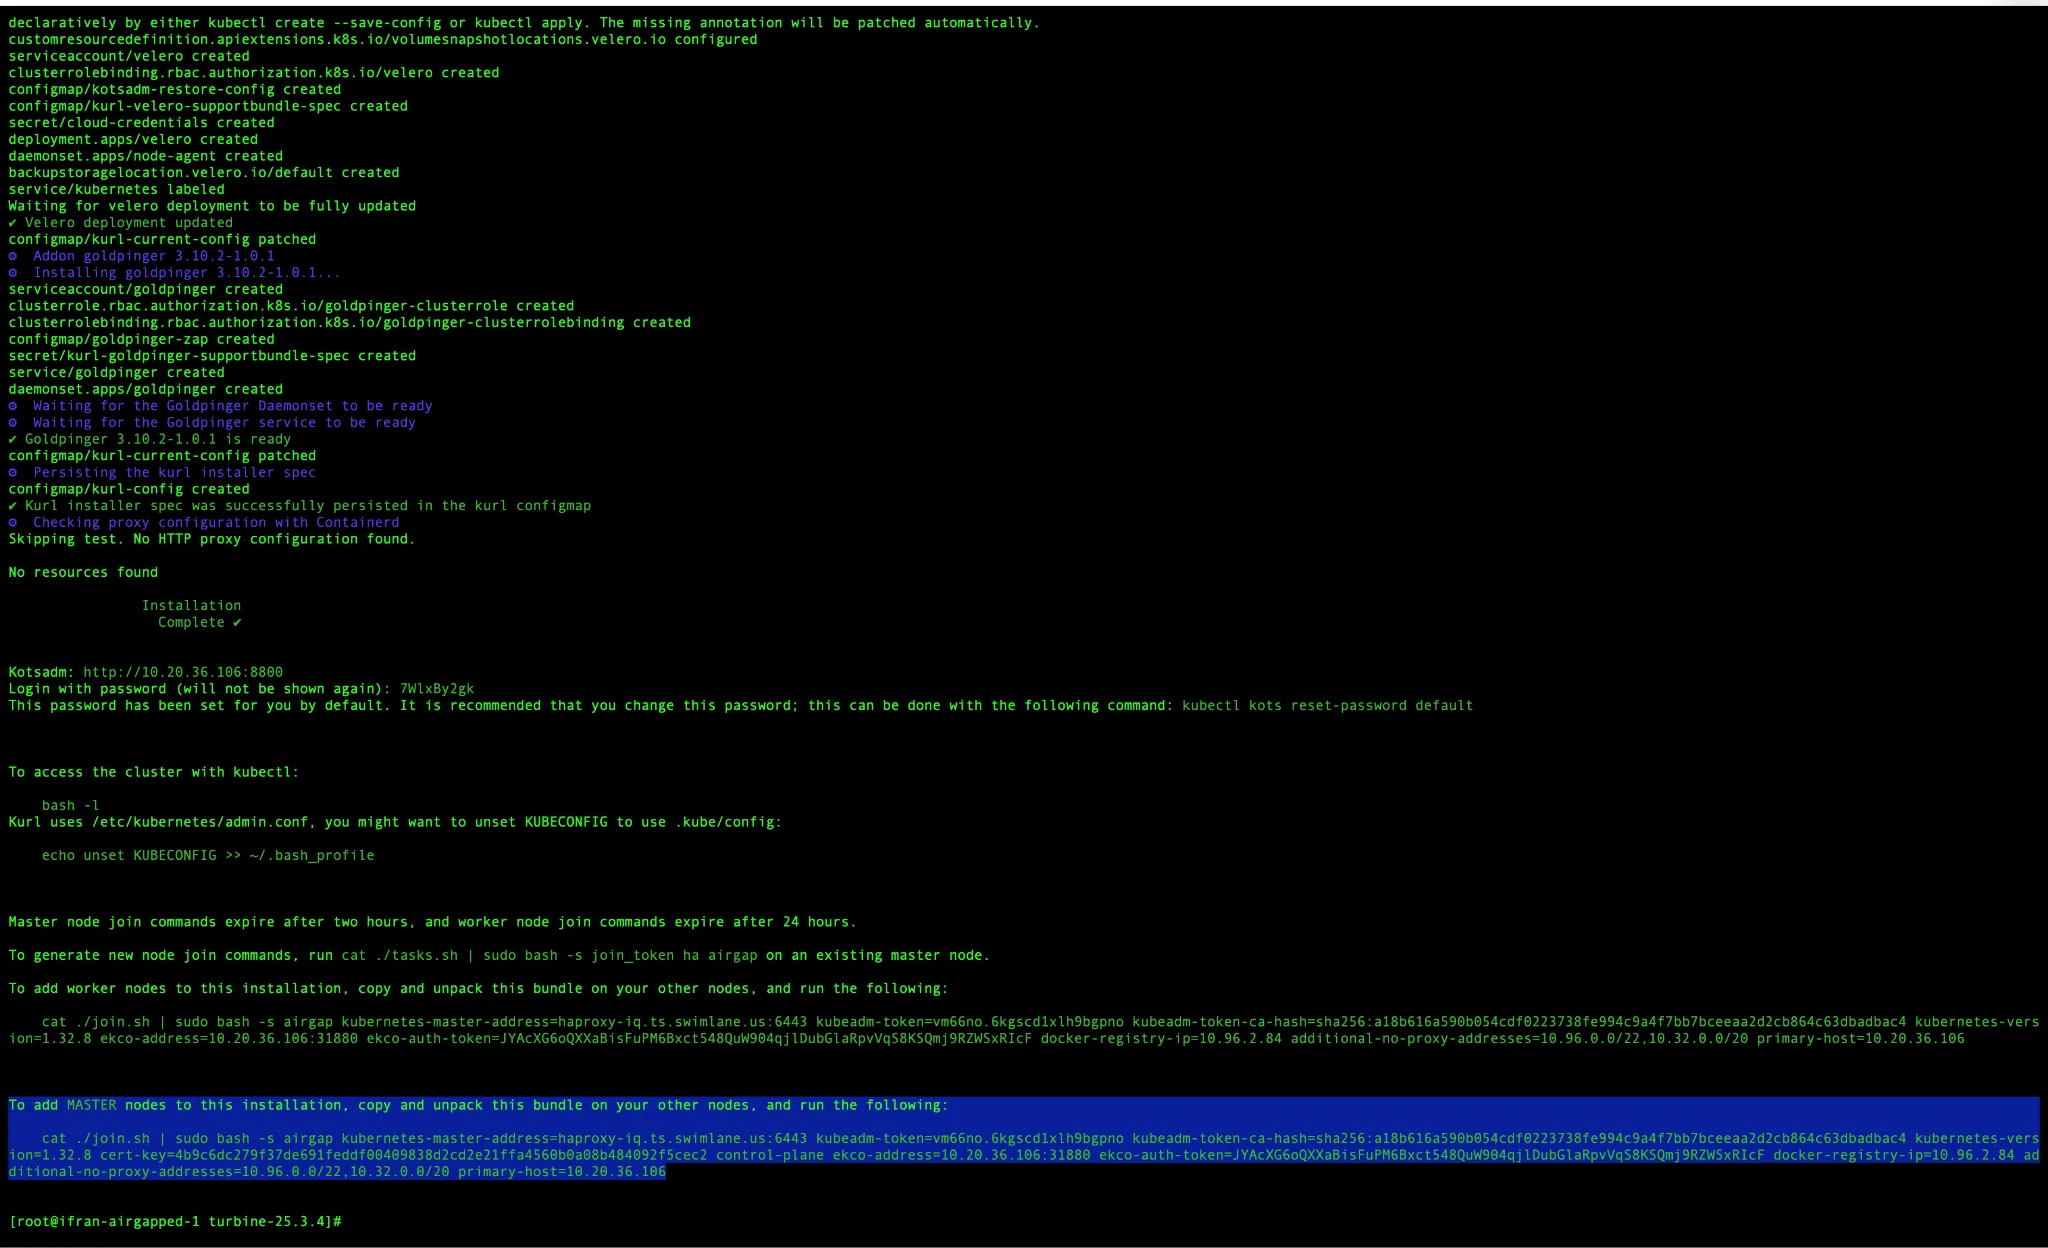
The script will complete on Node 1 and generate the join commands. Ensure that you use only the control plane (master) join command on the remaining two nodes so they are added as control plane nodes.
Step 4: Record the Generated Join Commands
After the installation completes successfully on Node 1, the installer will display cluster join commands.
Locate and securely copy the command labeled:
MASTER JOINImportant: Use only the MASTER JOIN command for Node 2 and Node 3. Do not use the worker join command.

The join command contains sensitive cluster information and should not be shared or stored in an unsecured location.
Step 5: Join Node 2 as a Master Node
Log in to Node 2:
ssh <privileged-user>@<node2-ip-address>Run the exact MASTER JOIN command generated by Node 1:
curl -fsSL https://kurl.sh/version/v2026.07.08-0/turbine-stable-multitenant/join.sh | sudo bash -s kubernetes-master-address=10.33.102.x:6443 kubeadm-token=<fresh> kubeadm-token-ca-hash=sha256:<fresh> kubernetes-version=1.35.4 cert-key=<fresh> control-plane ekco-address=10.33.102.x:31880 ekco-auth-token=<fresh> docker-registry-ip=10.96.1.x additional-no-proxy-addresses=10.96.0.0/22,10.32.0.0/20 primary-host=10.33.102.x installer-spec-file=patch.yamlAdd the installer-spec-file=patch.yaml while running on the other nodes and follow the prompts.
If the command requests confirmation, type:
YPress Enter and wait for the node-join operation to finish successfully.
Step 6: Join Node 3 as a Master Node
Log in to Node 3:
ssh <privileged-user>@<node3-ip-address>Run the same MASTER JOIN command generated by Node 1:
curl -fsSL https://kurl.sh/version/v2026.07.08-0/turbine-stable-multitenant/join.sh | sudo bash -s kubernetes-master-address=10.33.102.x:6443 kubeadm-token=<fresh> kubeadm-token-ca-hash=sha256:<fresh> kubernetes-version=1.35.4 cert-key=<fresh> control-plane ekco-address=10.33.102.x:31880 ekco-auth-token=<fresh> docker-registry-ip=10.96.1.x additional-no-proxy-addresses=10.96.0.0/22,10.32.0.0/20 primary-host=10.33.102.x installer-spec-file=patch.yamlIf the command requests confirmation, type:
YPress Enter and wait for the node-join operation to finish successfully.
Once the install completes, save the URL and password that the install generates.
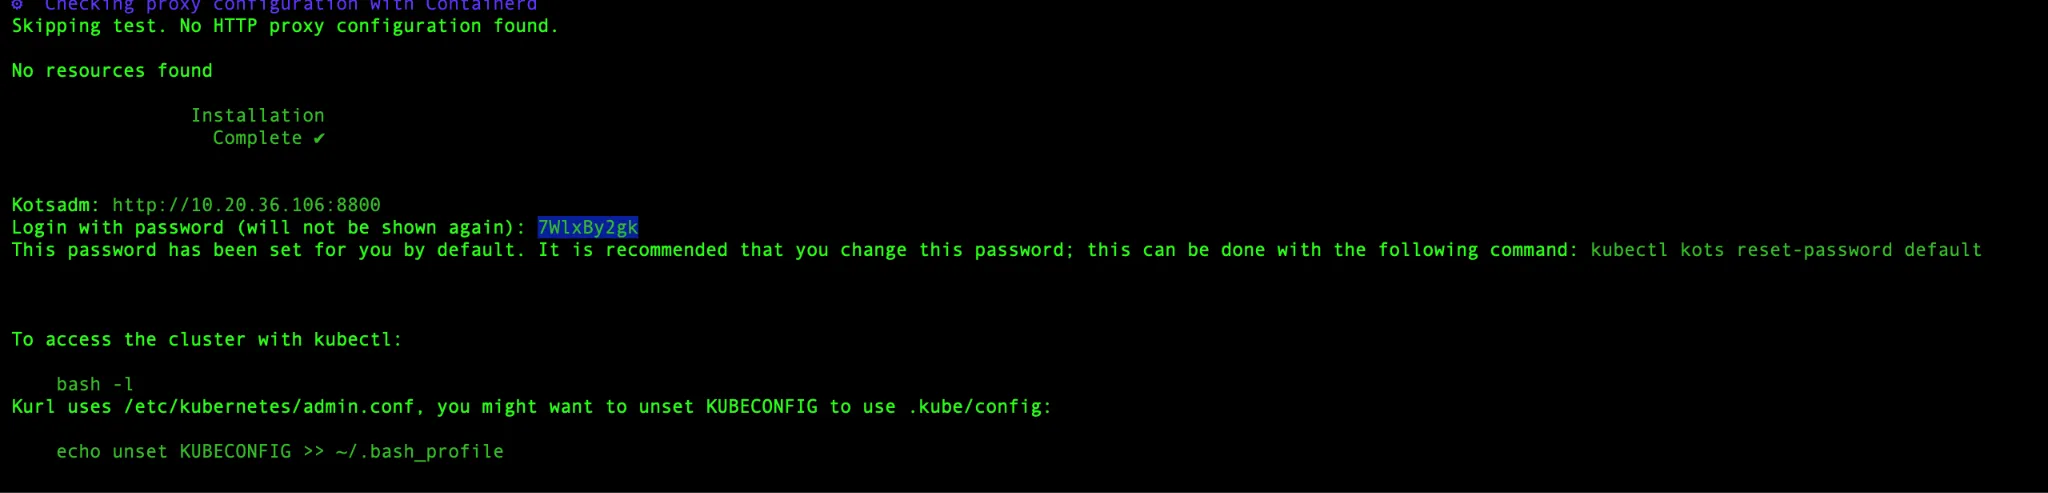
You'll also receive the KOTS Admin Console (KOTSADM) login credentials, including the initial password. Please make sure to save these credentials, as the password is displayed only once during installation. You can change it later if needed.
Also, run the following on node-1 to start using the kubectl commands
mkdir -p $HOME/.kube
sudo cp -i /etc/kubernetes/admin.conf $HOME/.kube/config
sudo chown $(id -u):$(id -g) $HOME/.kube/config
Kubectl get pods -A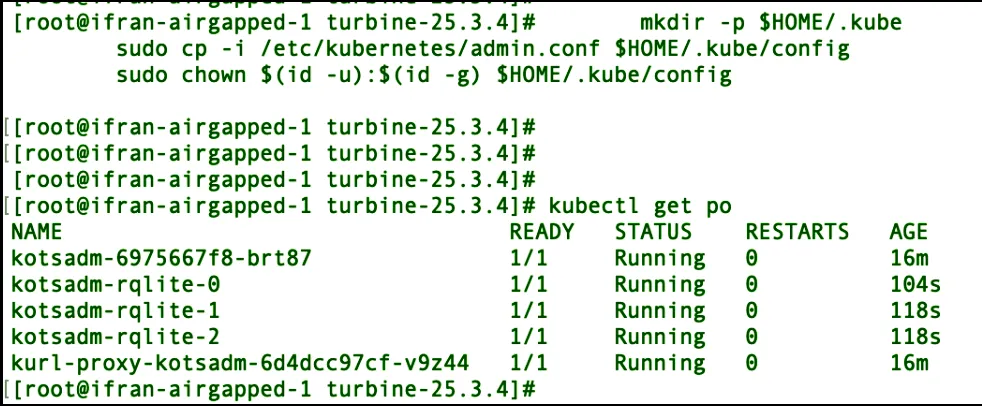
Step 7: Verify the Cluster
After Node 2 and Node 3 have joined, return to Node 1 and verify the Kubernetes nodes:
kubectl get nodes -o wideConfirm that:
- All three nodes are listed.
- All three nodes show a Ready status.
- No node remains in a NotReady state.
Example expected result:
NAME       STATUS   ROLES           AGE   VERSION
node1      Ready    control-plane   ...   ...
node2      Ready    control-plane   ...   ...
node3      Ready    control-plane   ...   ...
Check the status of all pods:
kubectl get pods -AAllow sufficient time for the pods to initialize. Verify that the required pods eventually reach a healthy state such as Running or Completed.
Log in to the Turbine Admin console:
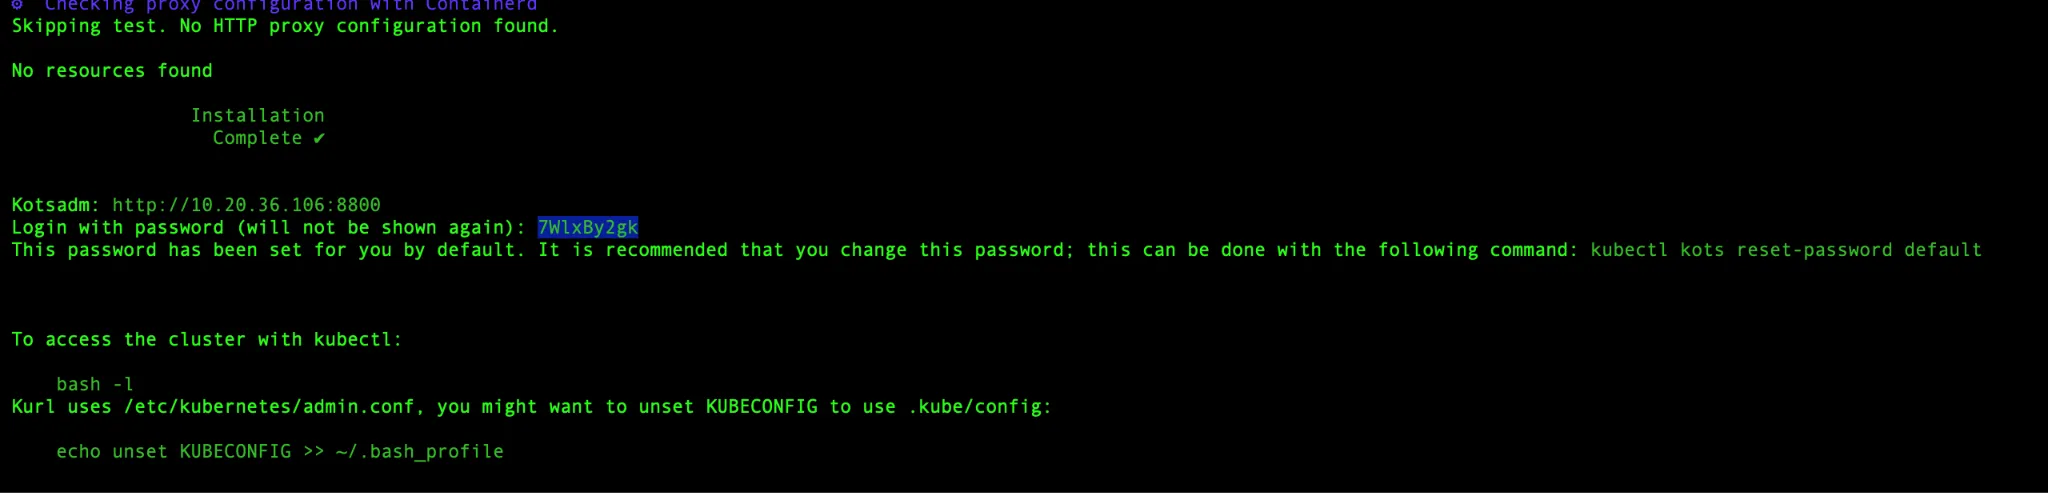
You saved it earlier:
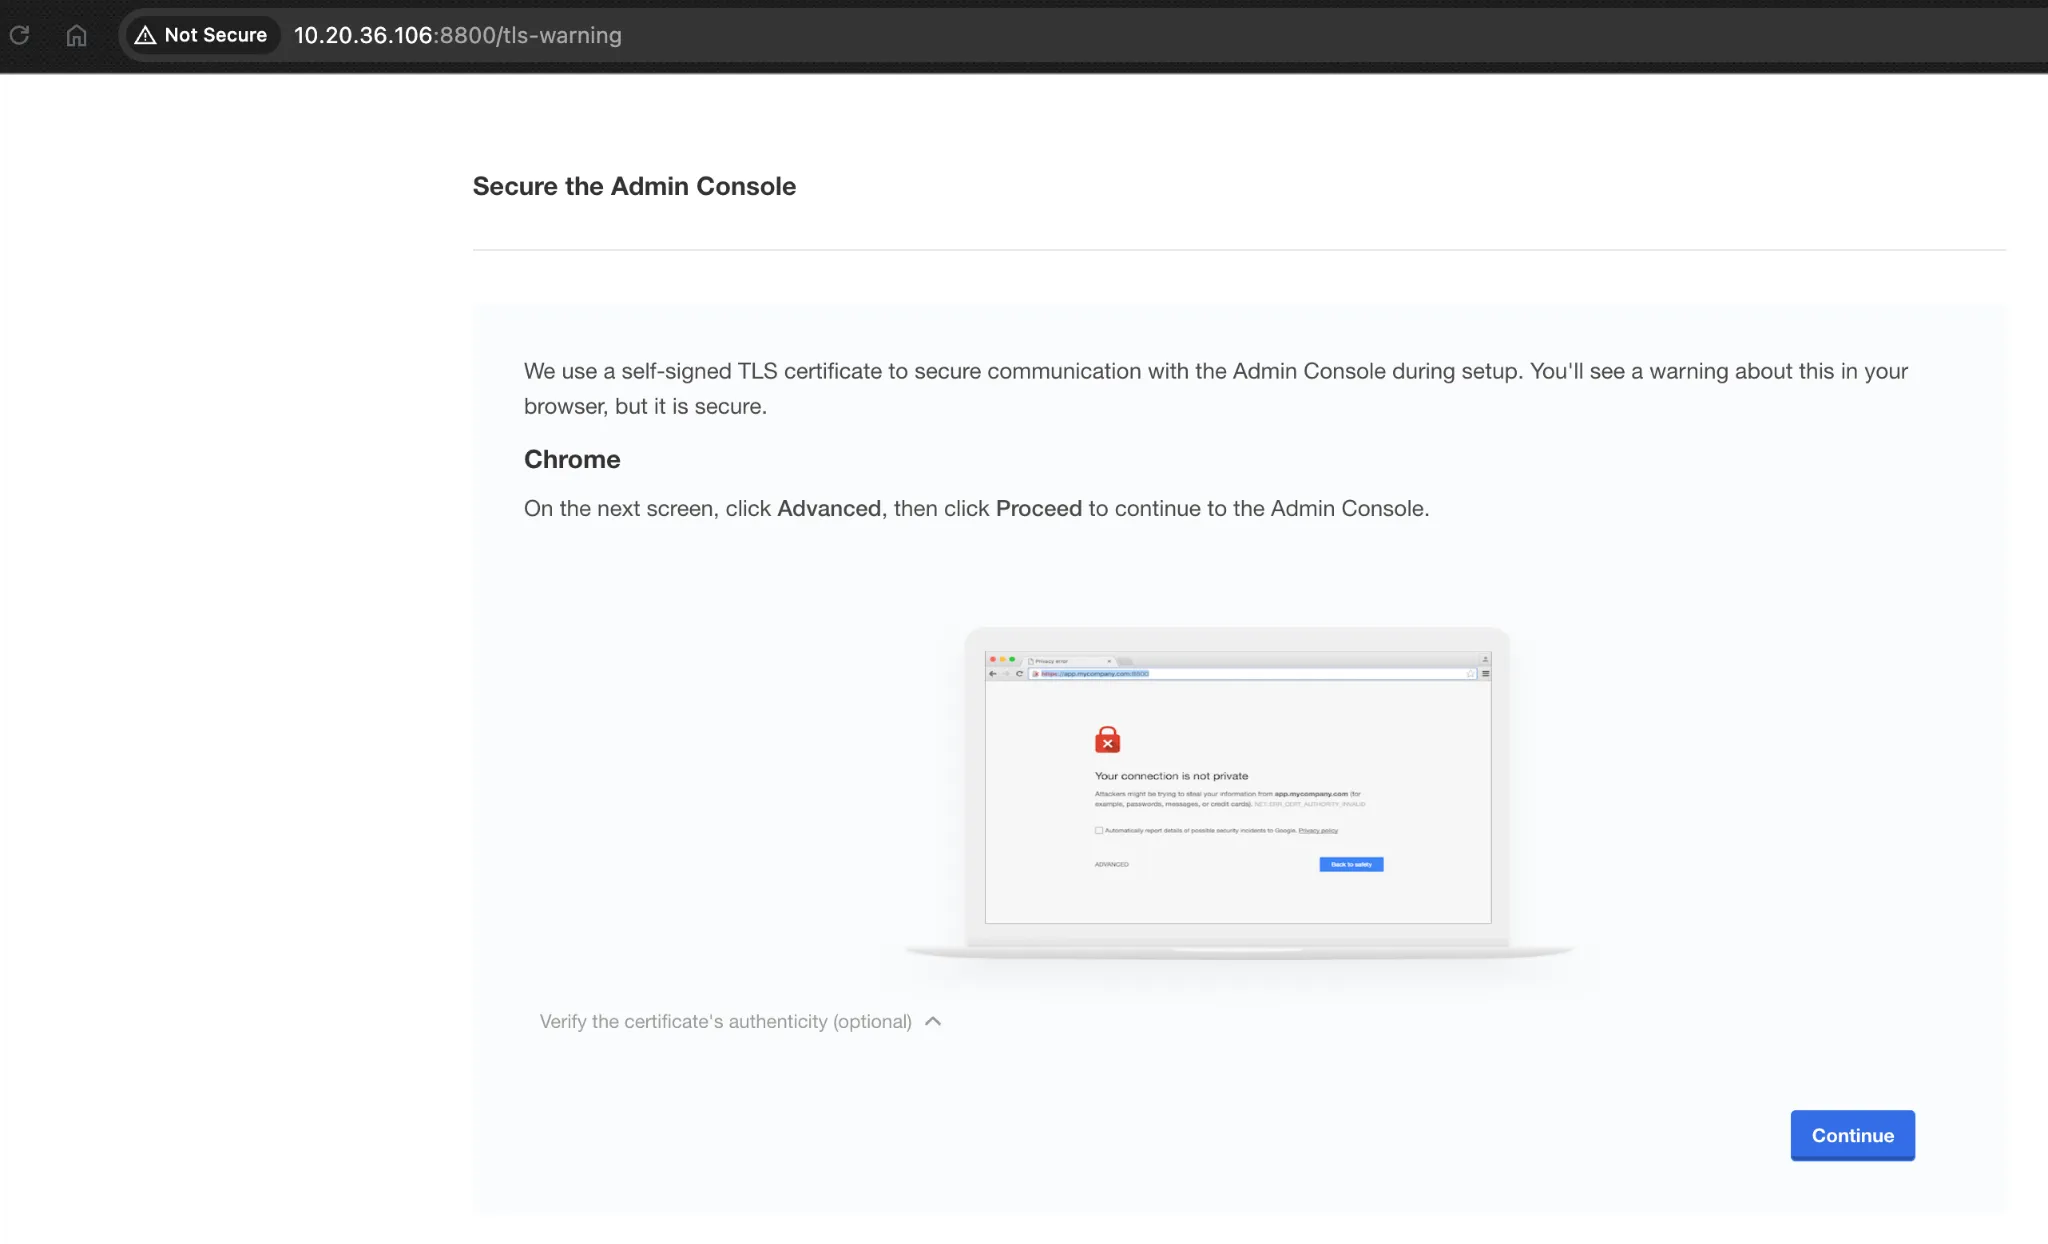
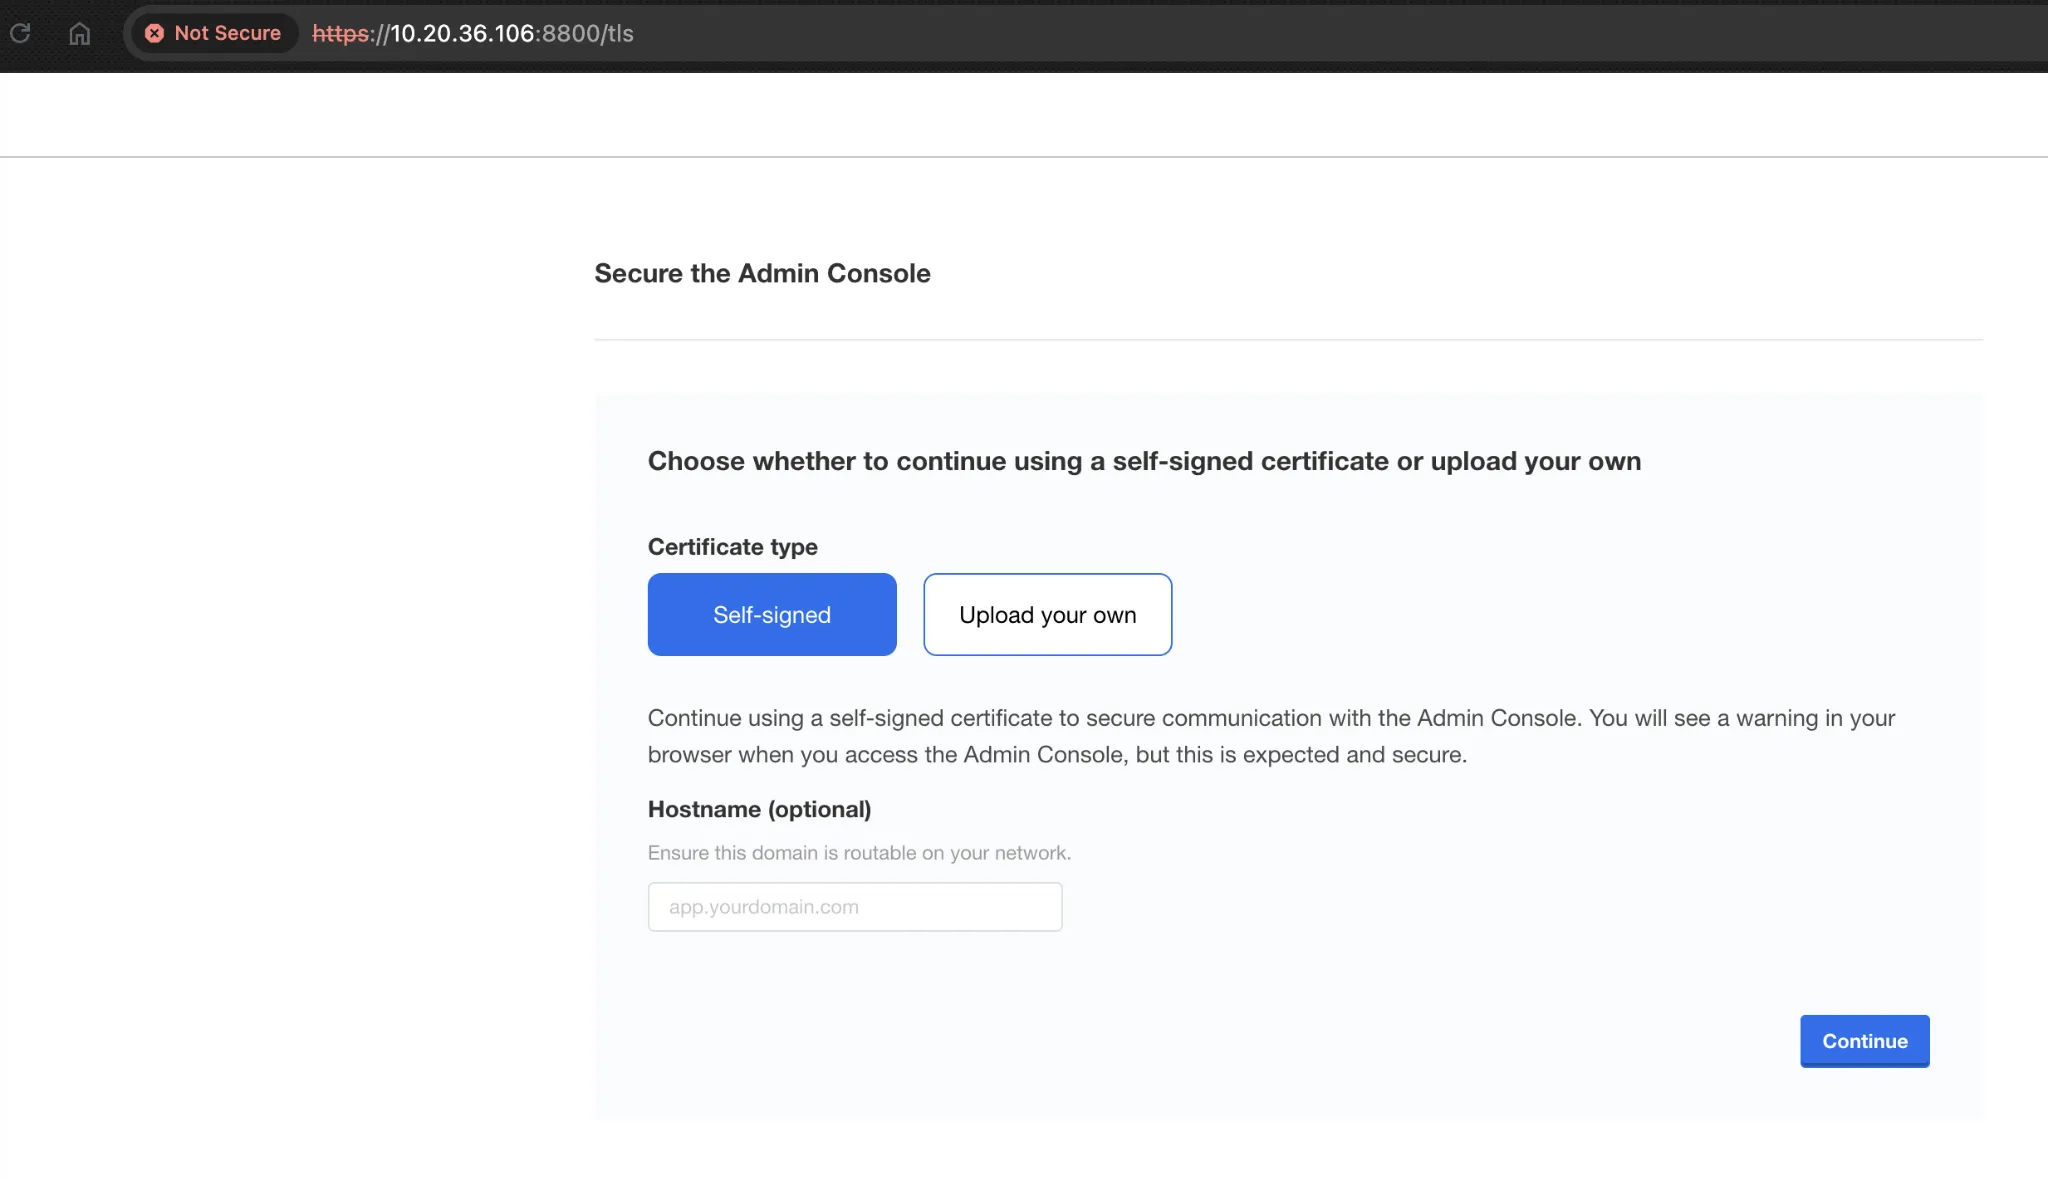
Click on Continue:
Click on Advanced:
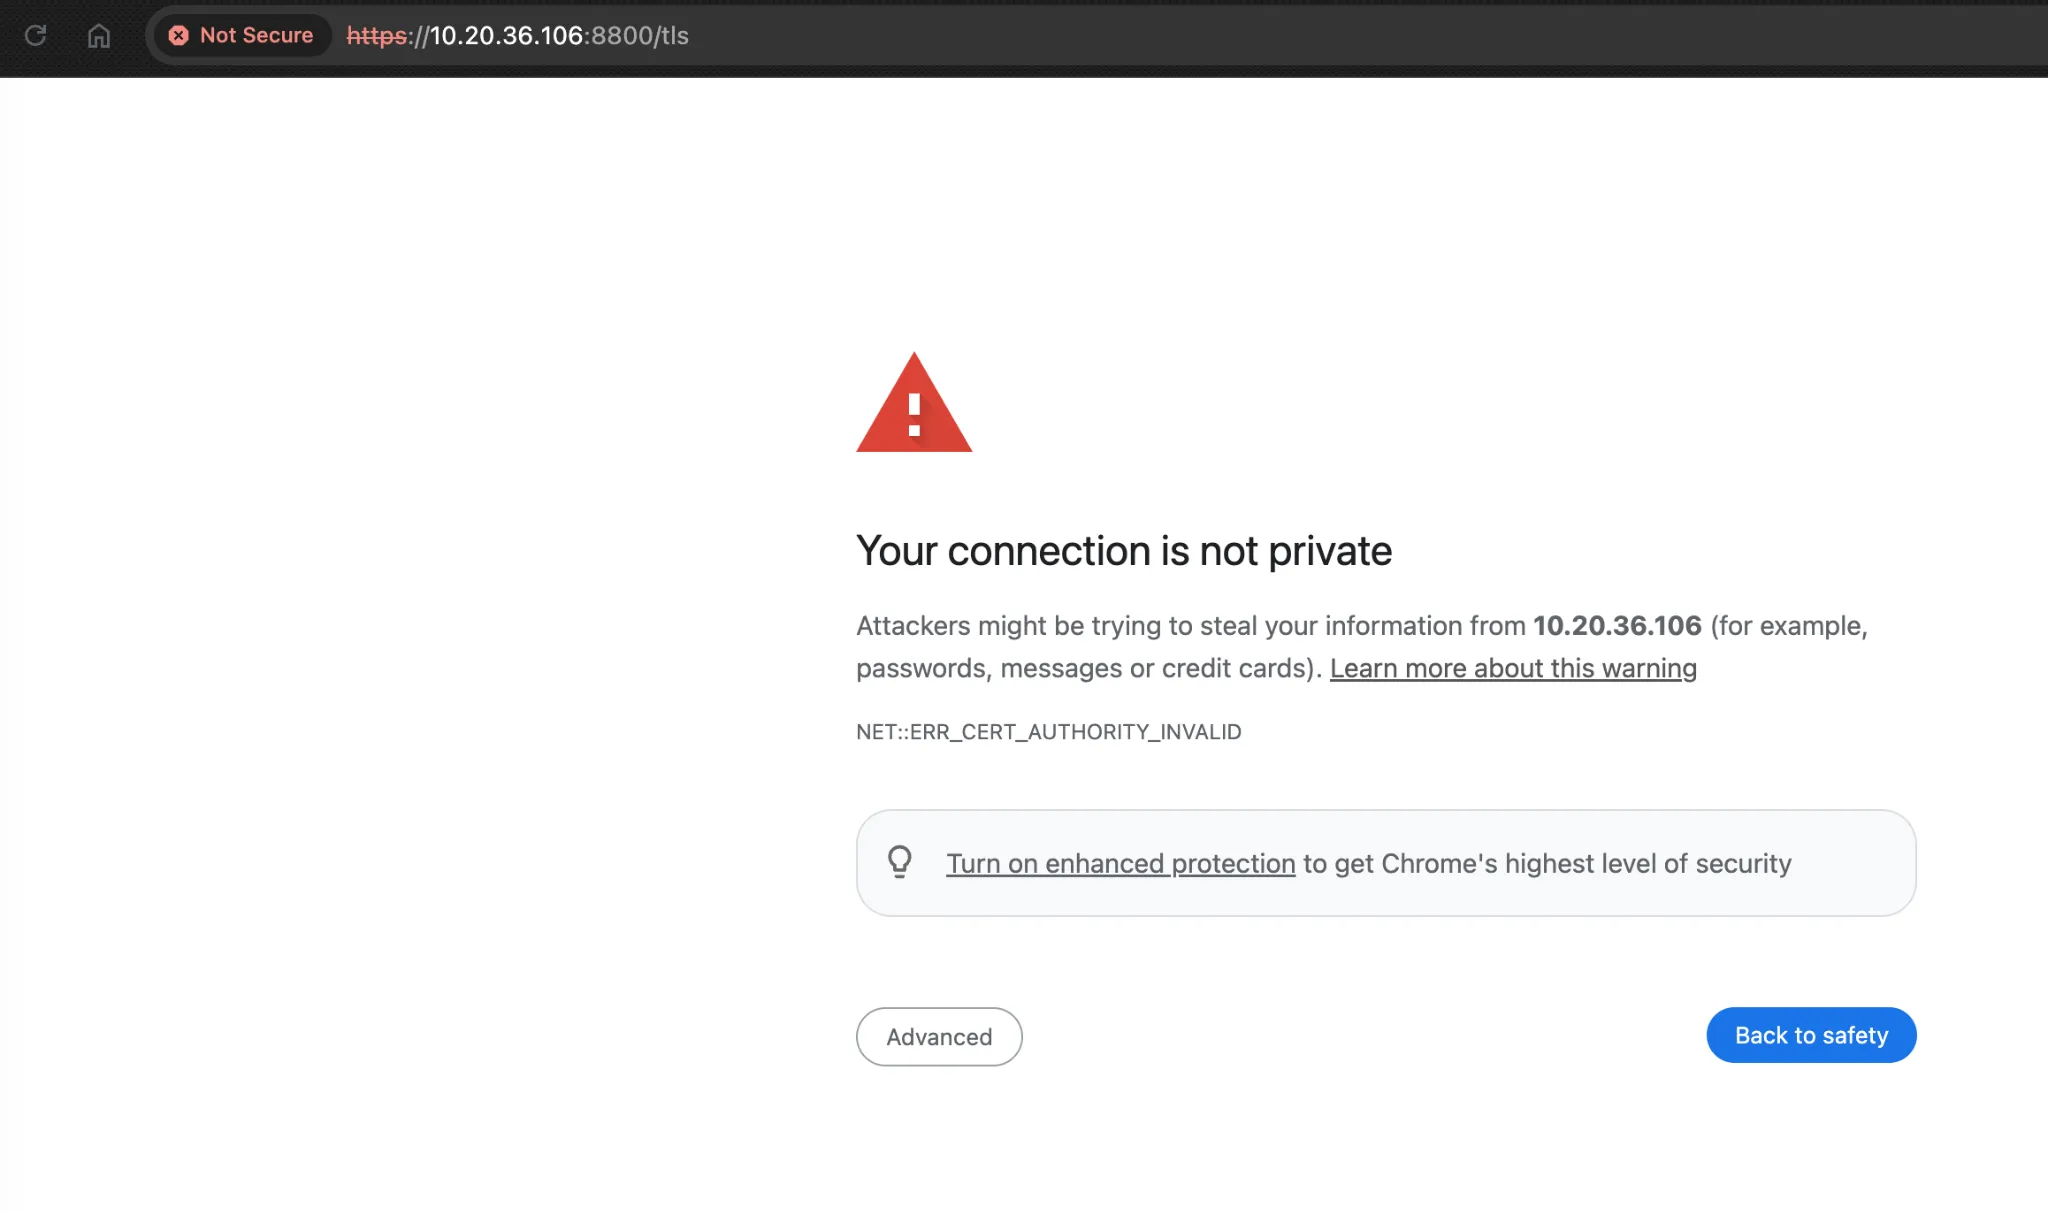
Continue with the Self-Signed Cert.
You can also add your load balancer FQDN
Upload the License file (.yaml) that you received from the Swimlane Support for any version
Note: The license file should be pinned to Stable-Multitenant on the Replicated Portal.
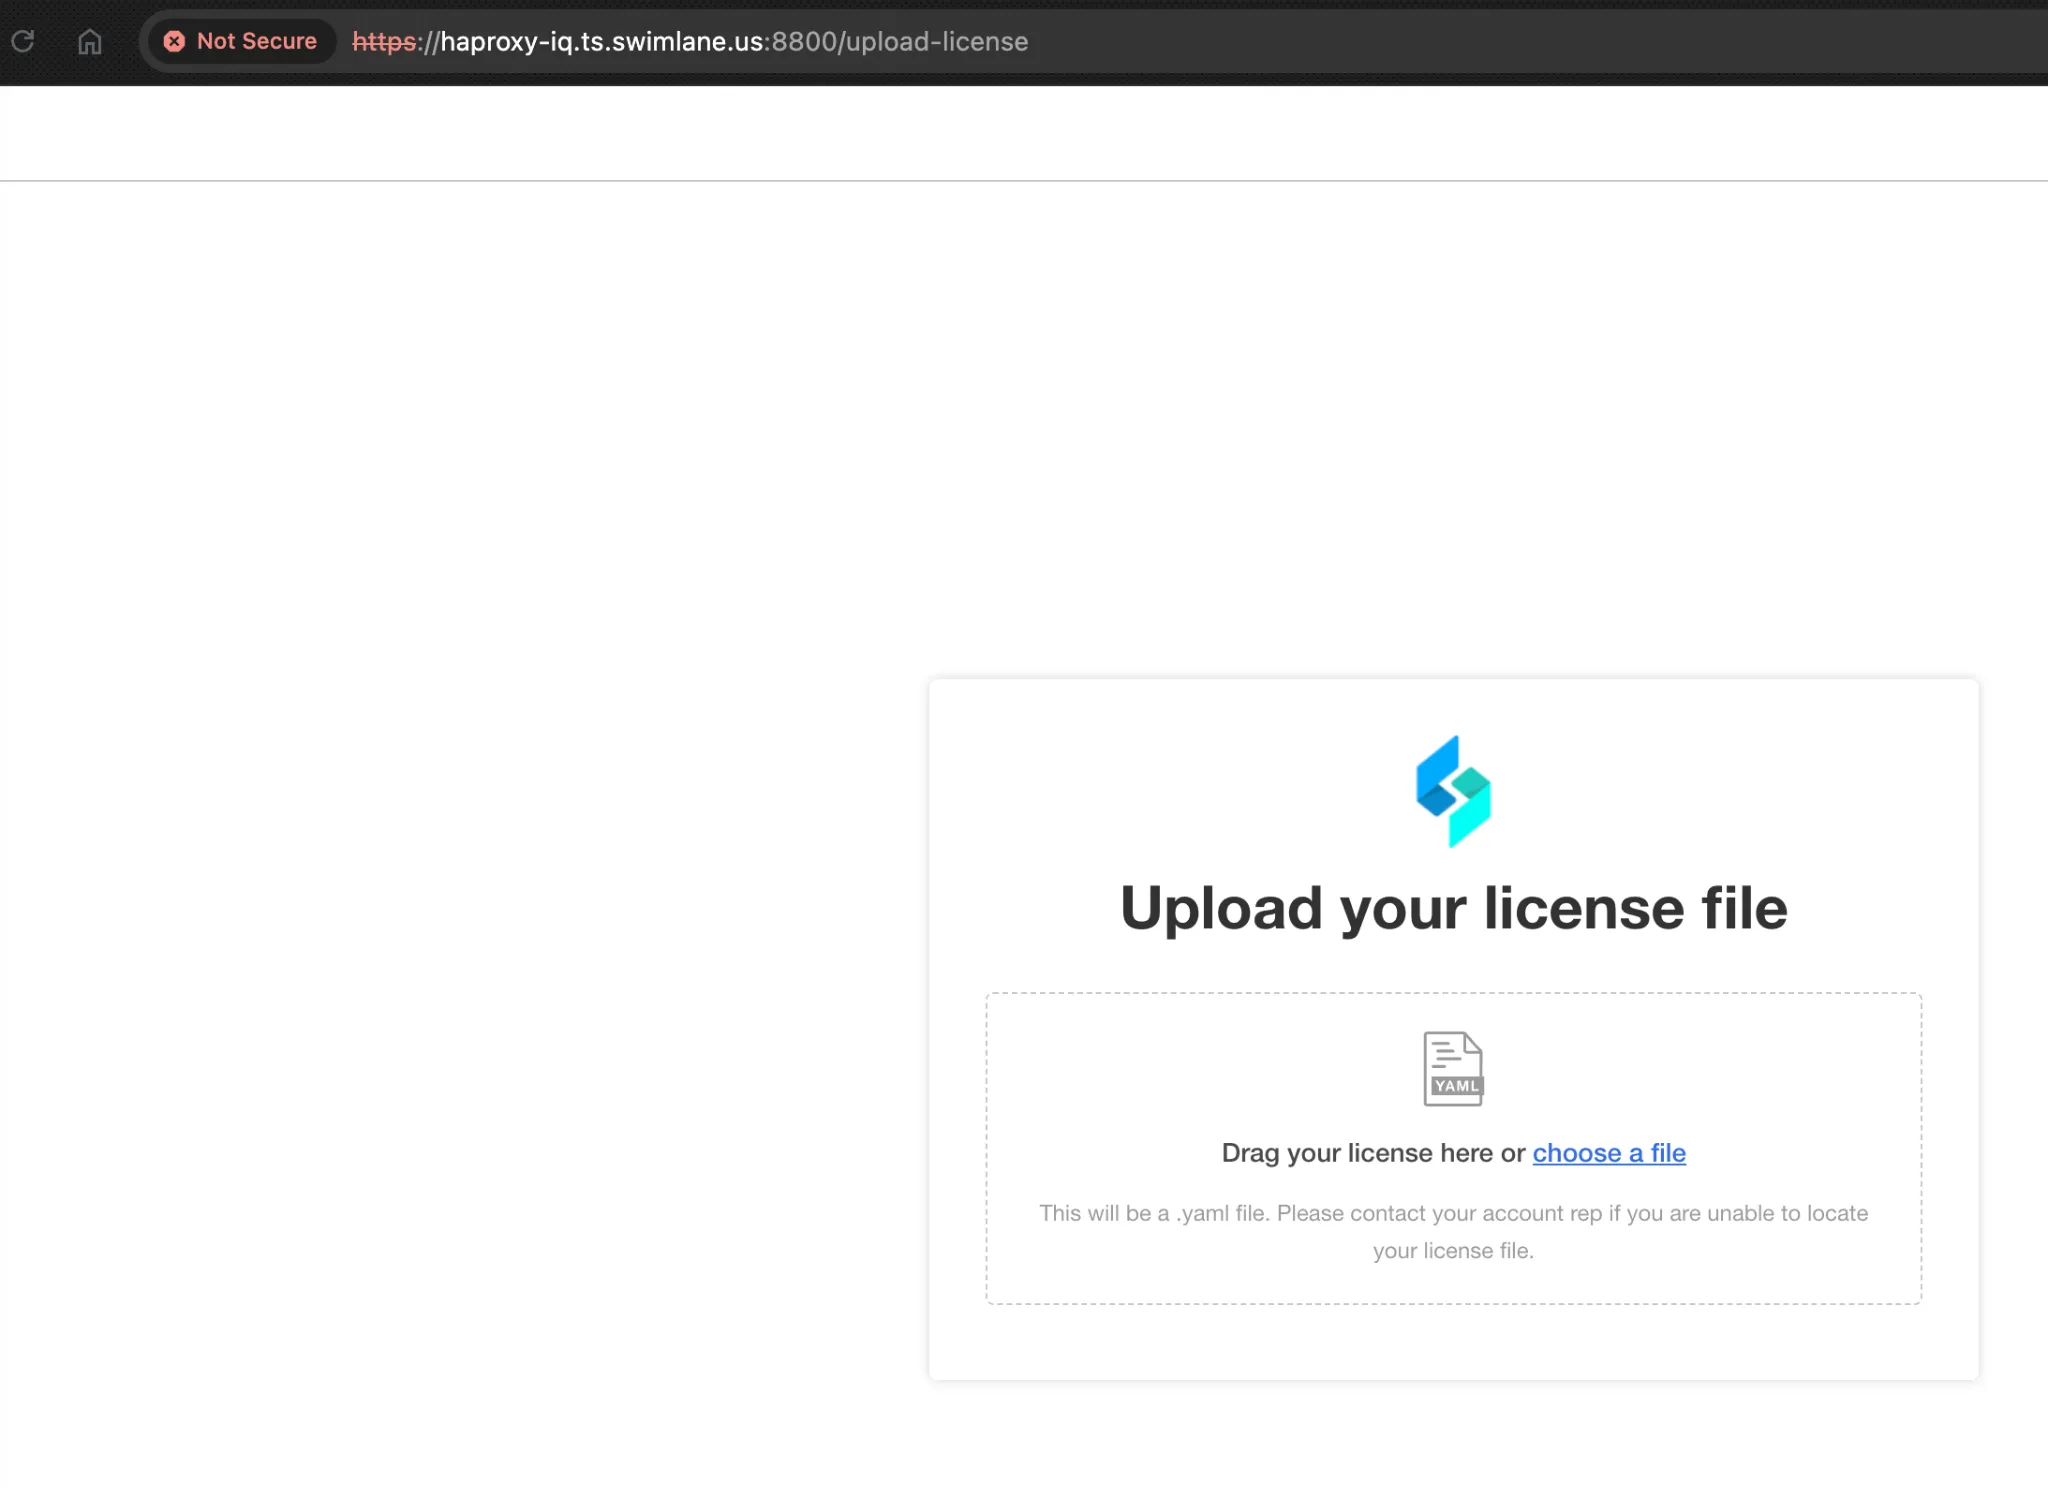
Once you have uploaded the license file, click on:
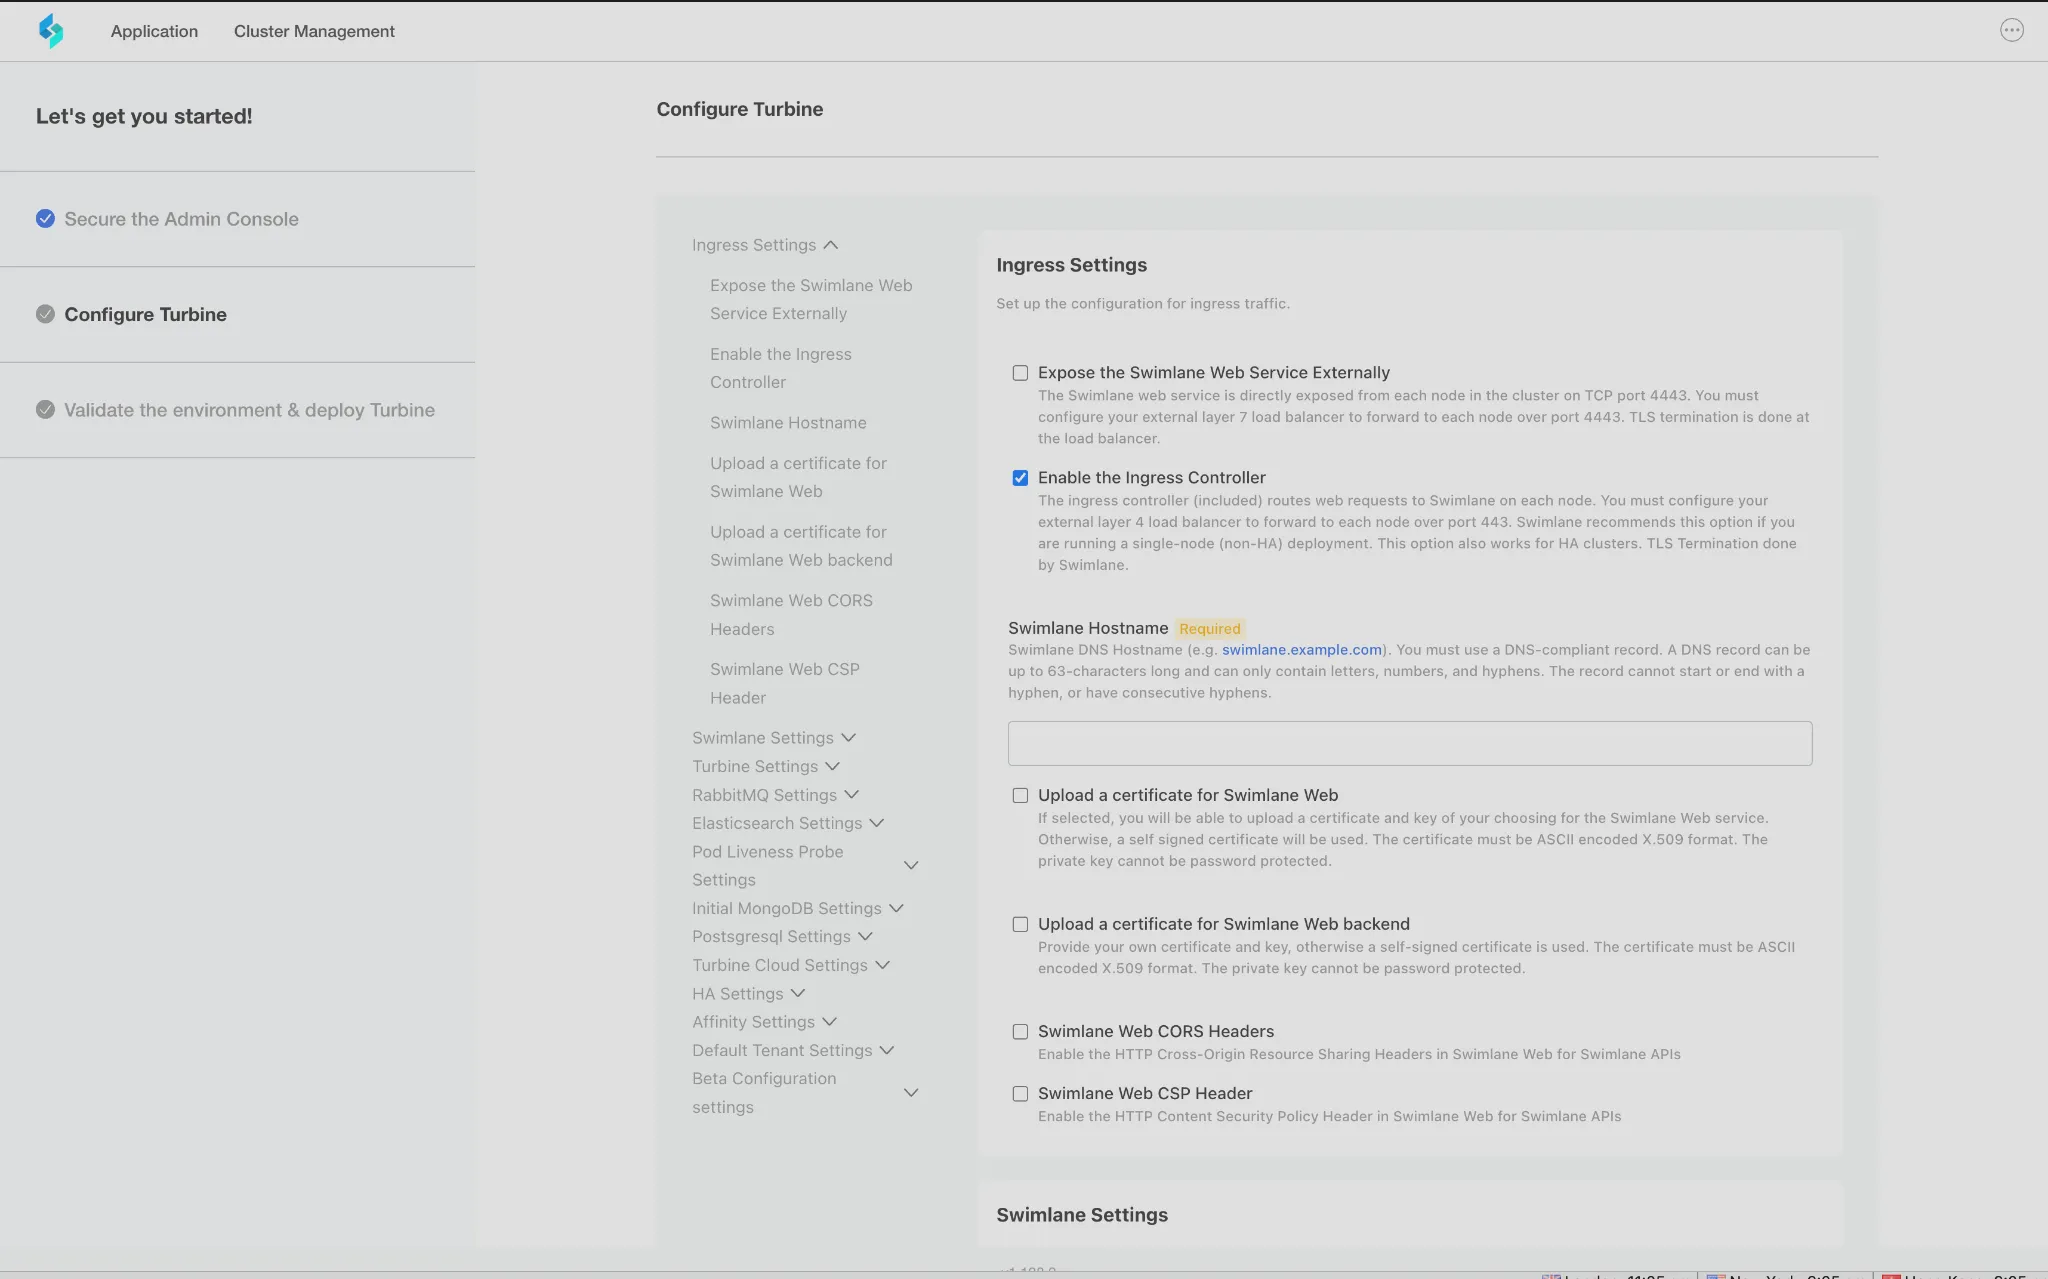
Download Turbine from the Internet

Enter your Hostname:
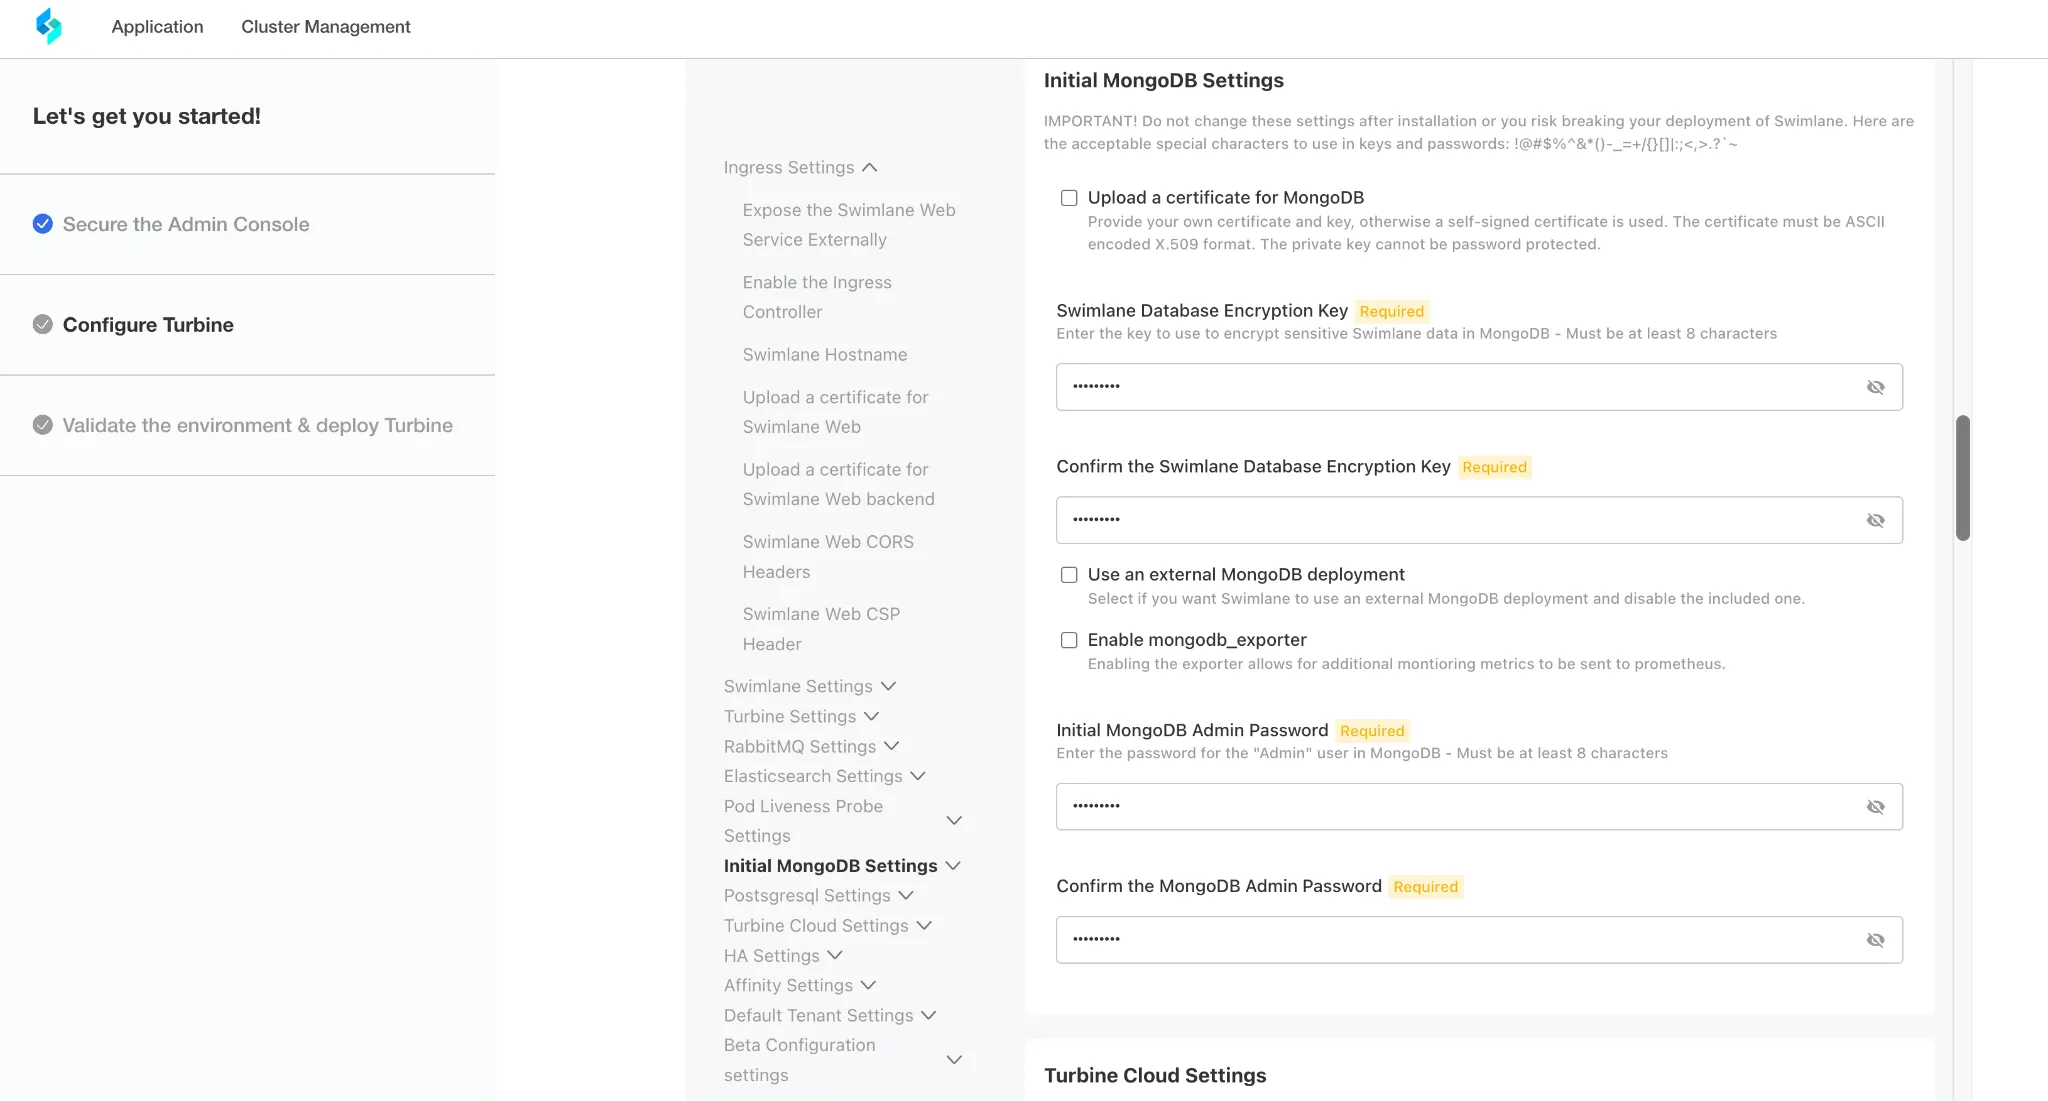
Enter your Database Encryption key/Password.
Note: Pls remember this Key/Password since it can’t be changed further
Enable HA and enter default values:
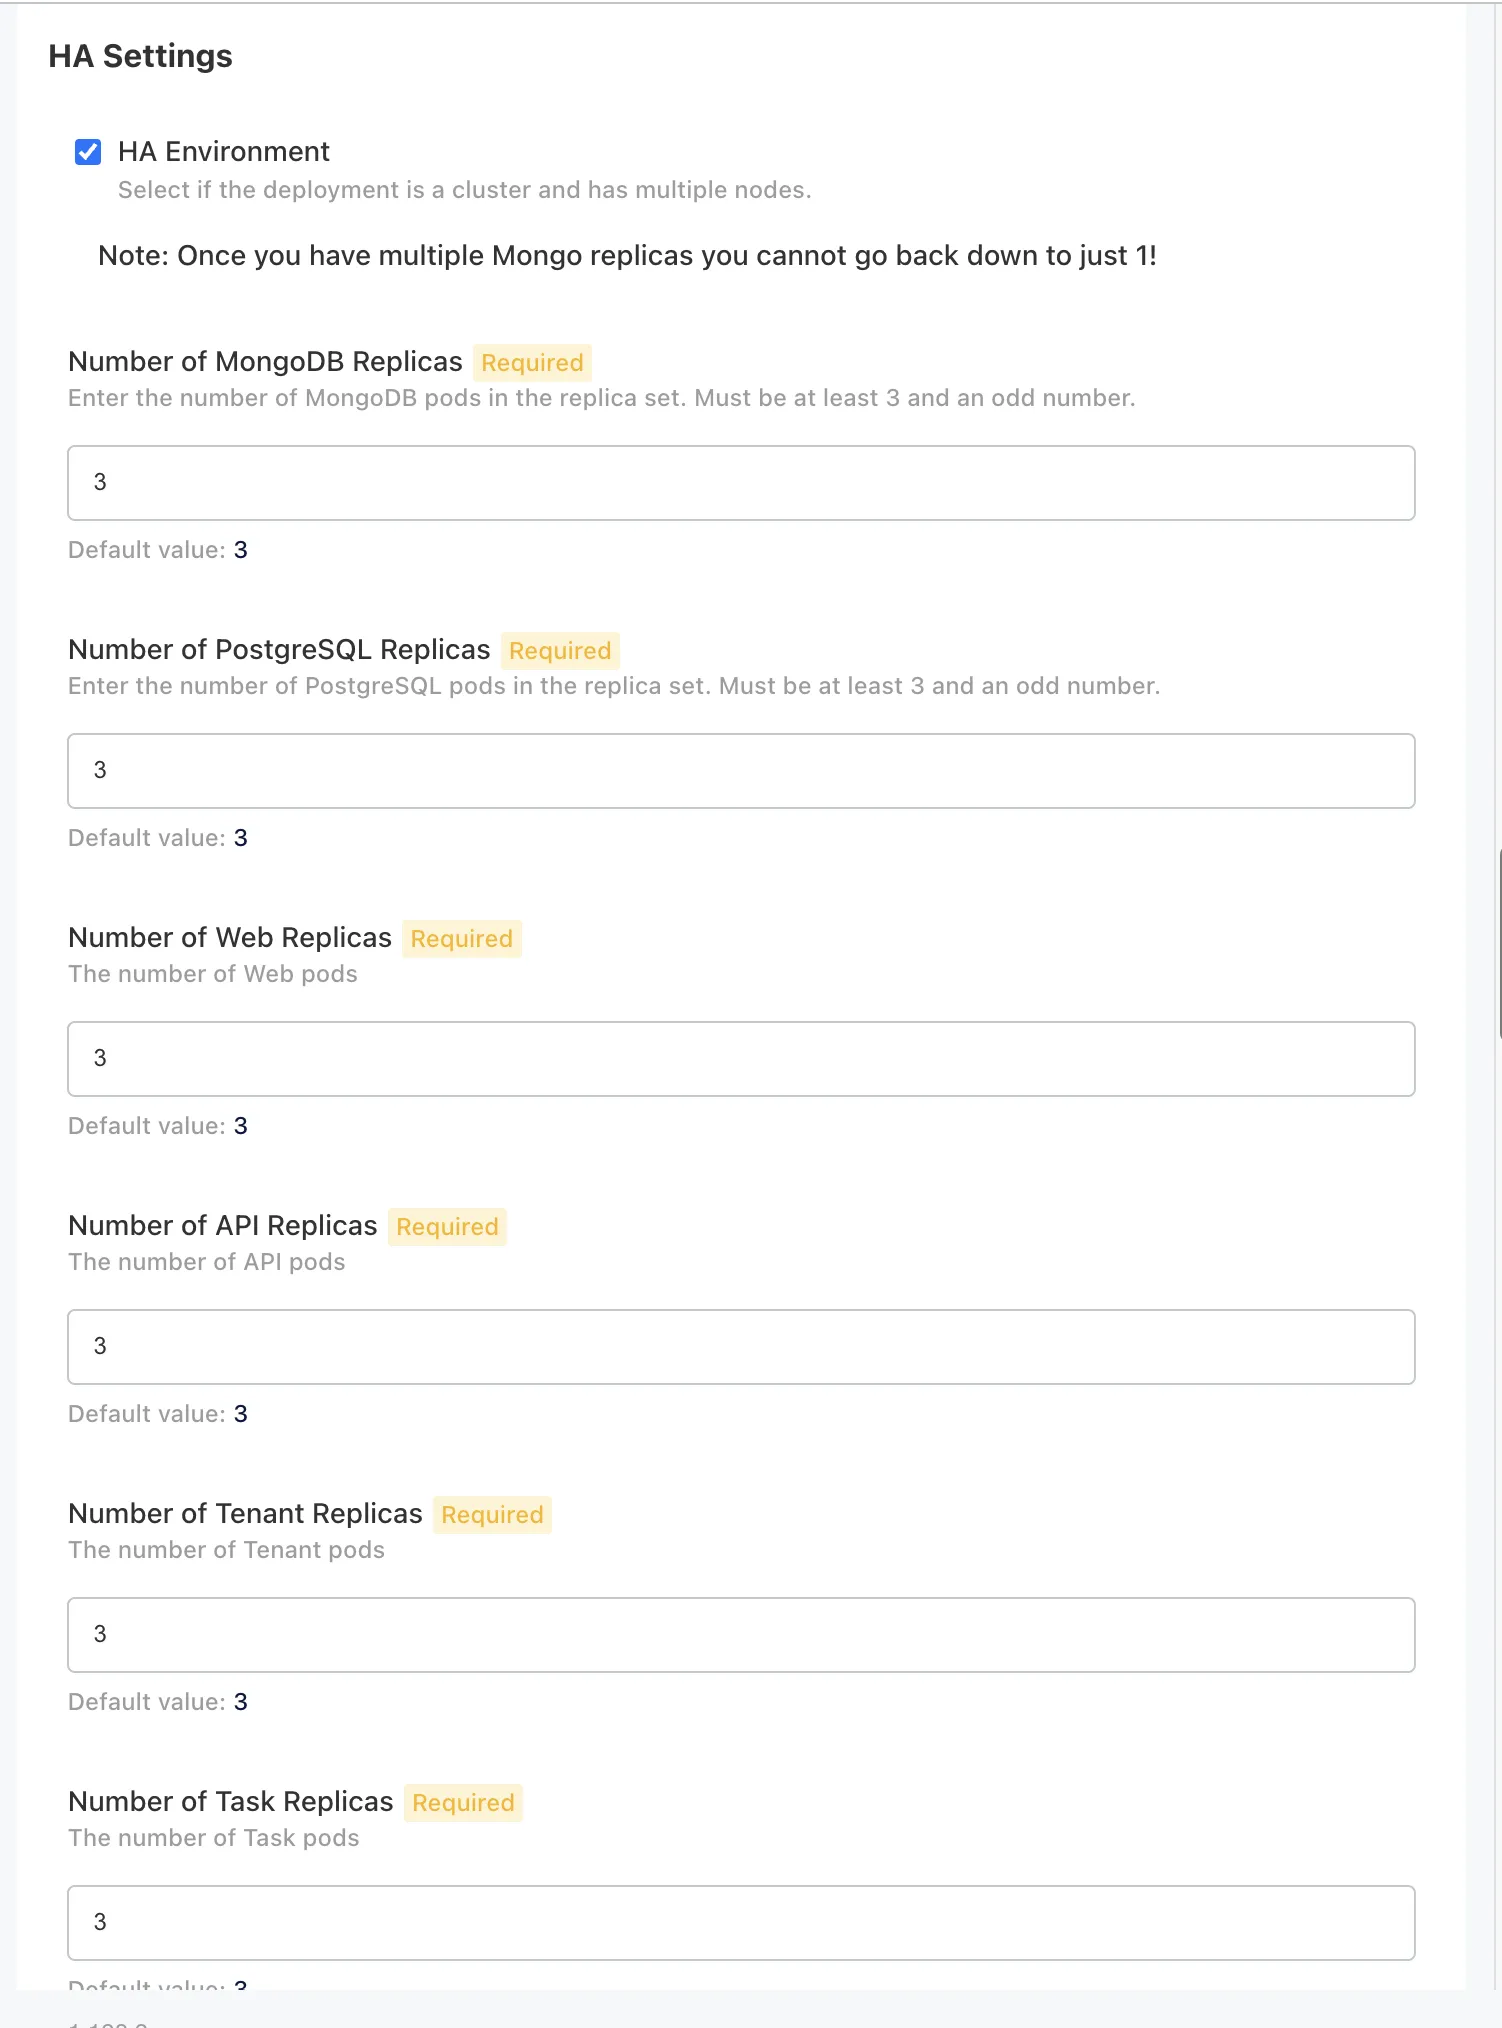
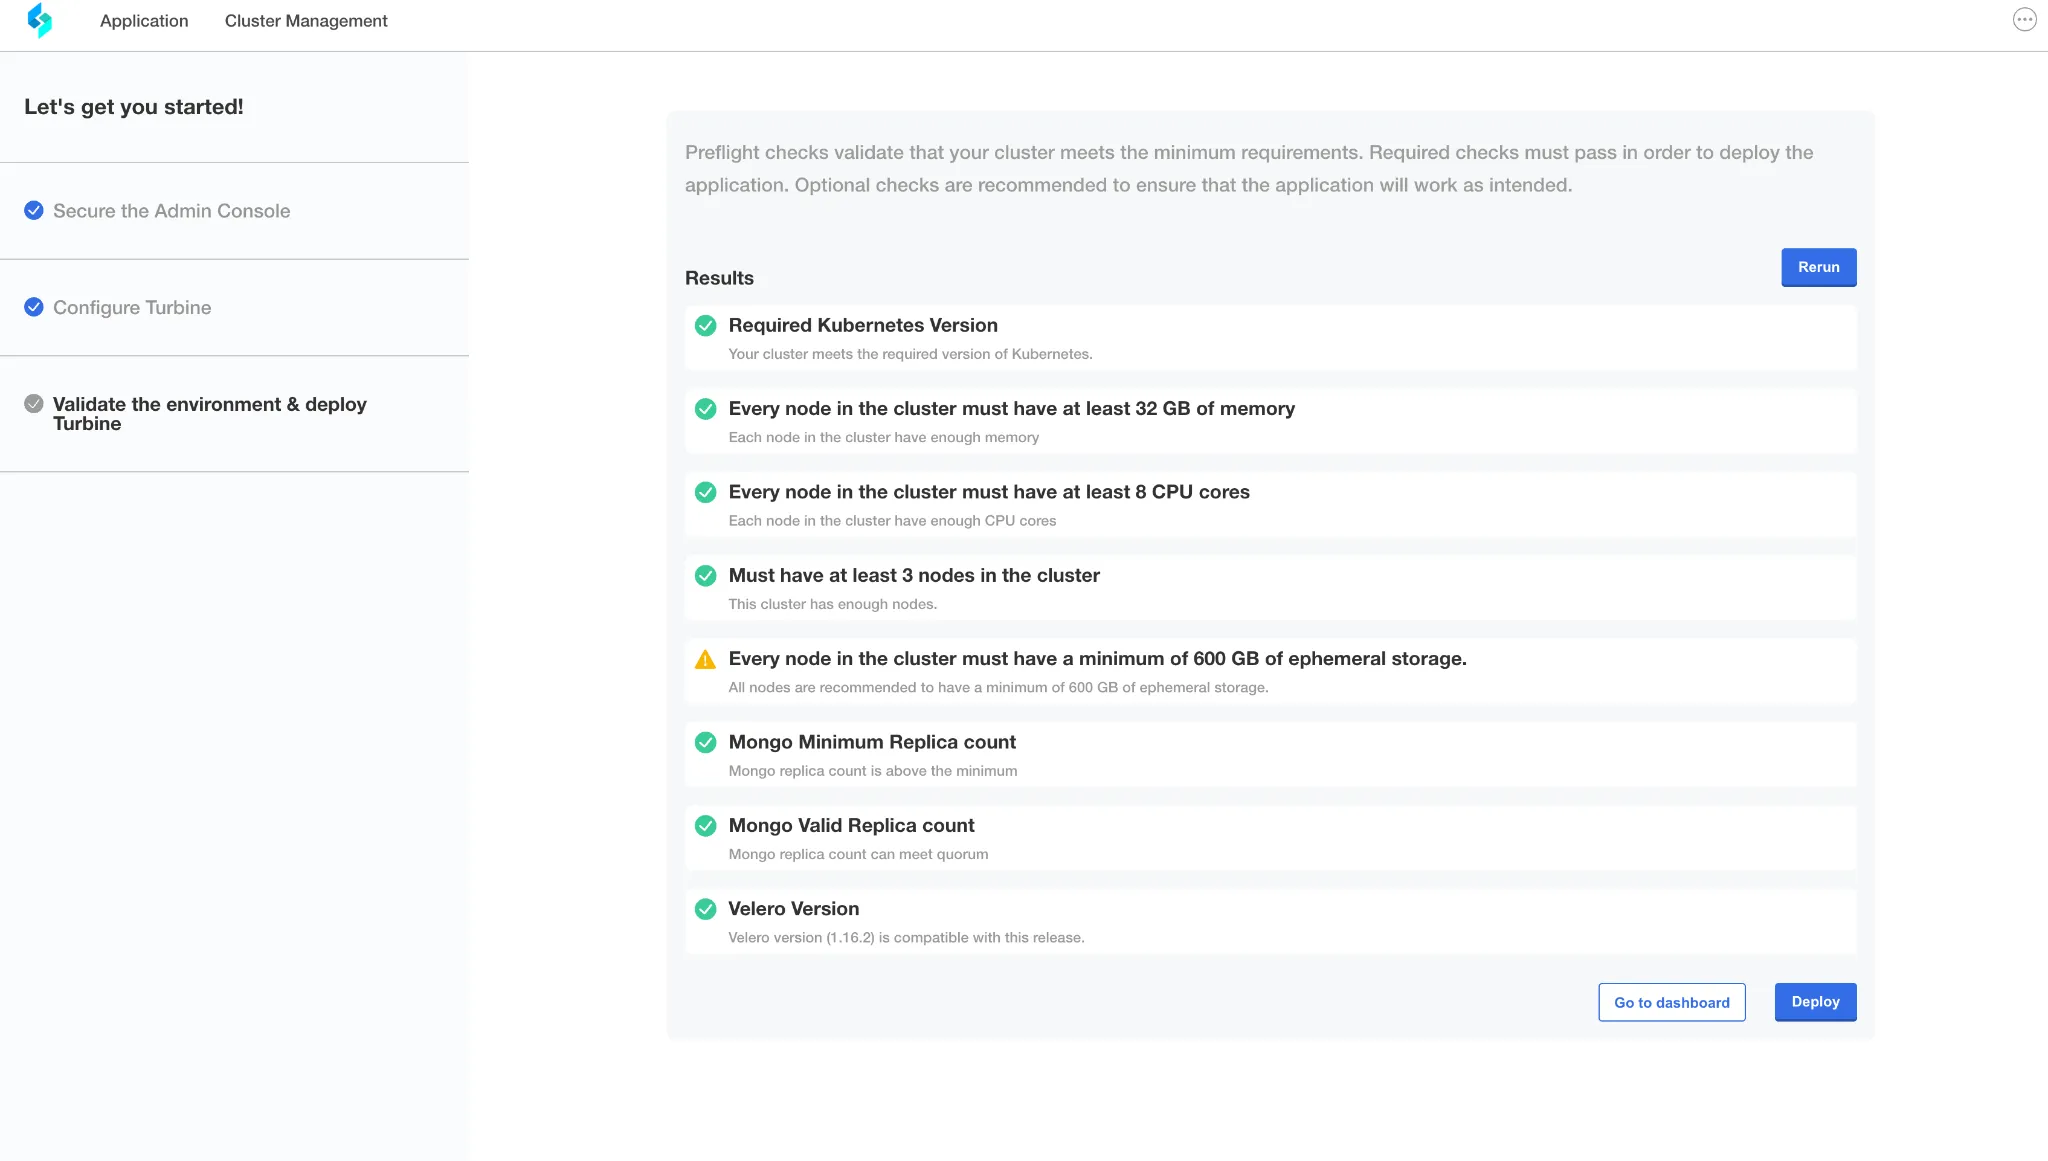
Save the config and deploy
Note: Ignore the warning if you have sufficient storage.
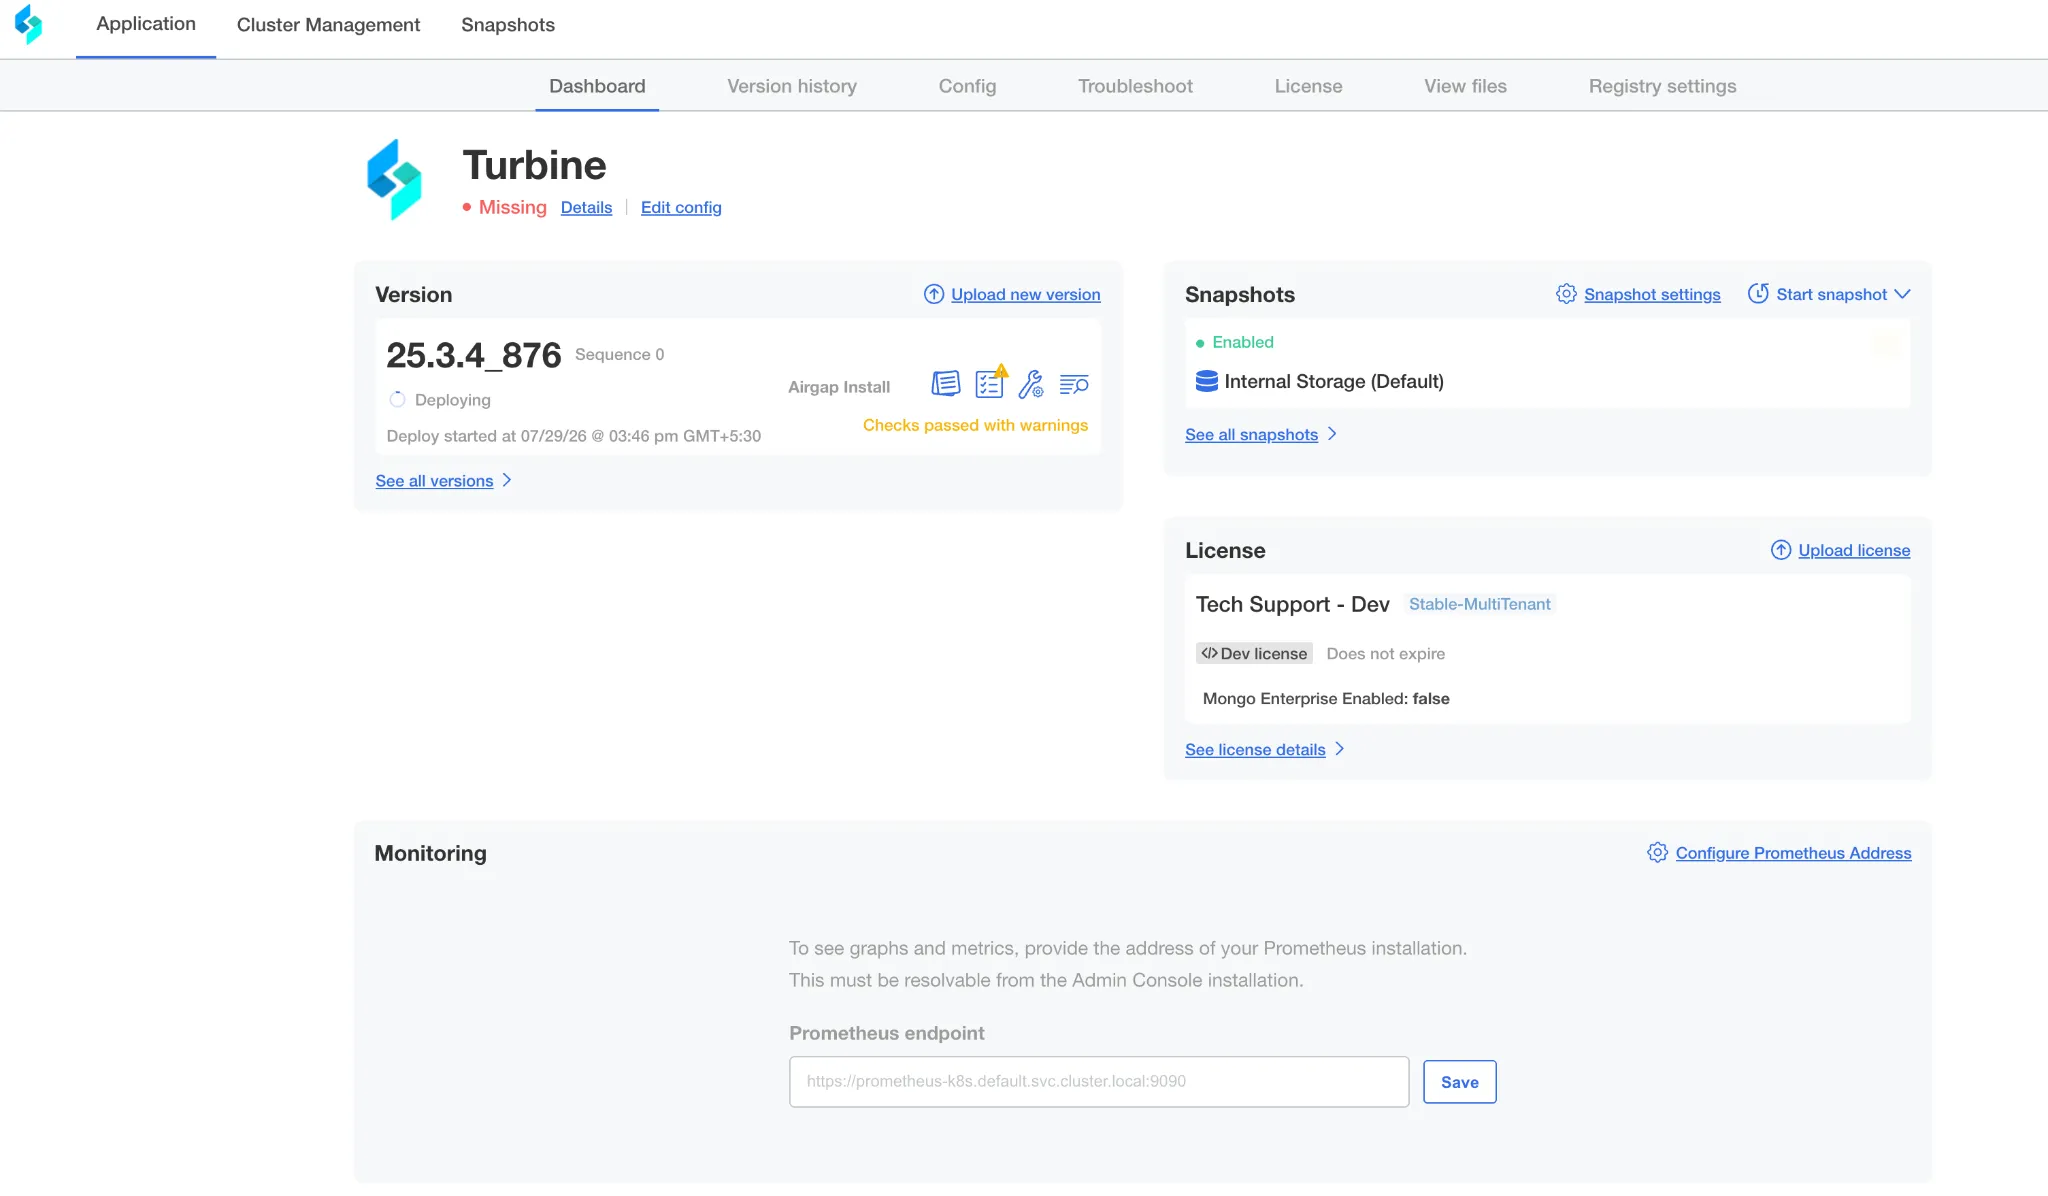
Turbine deploying in progress:
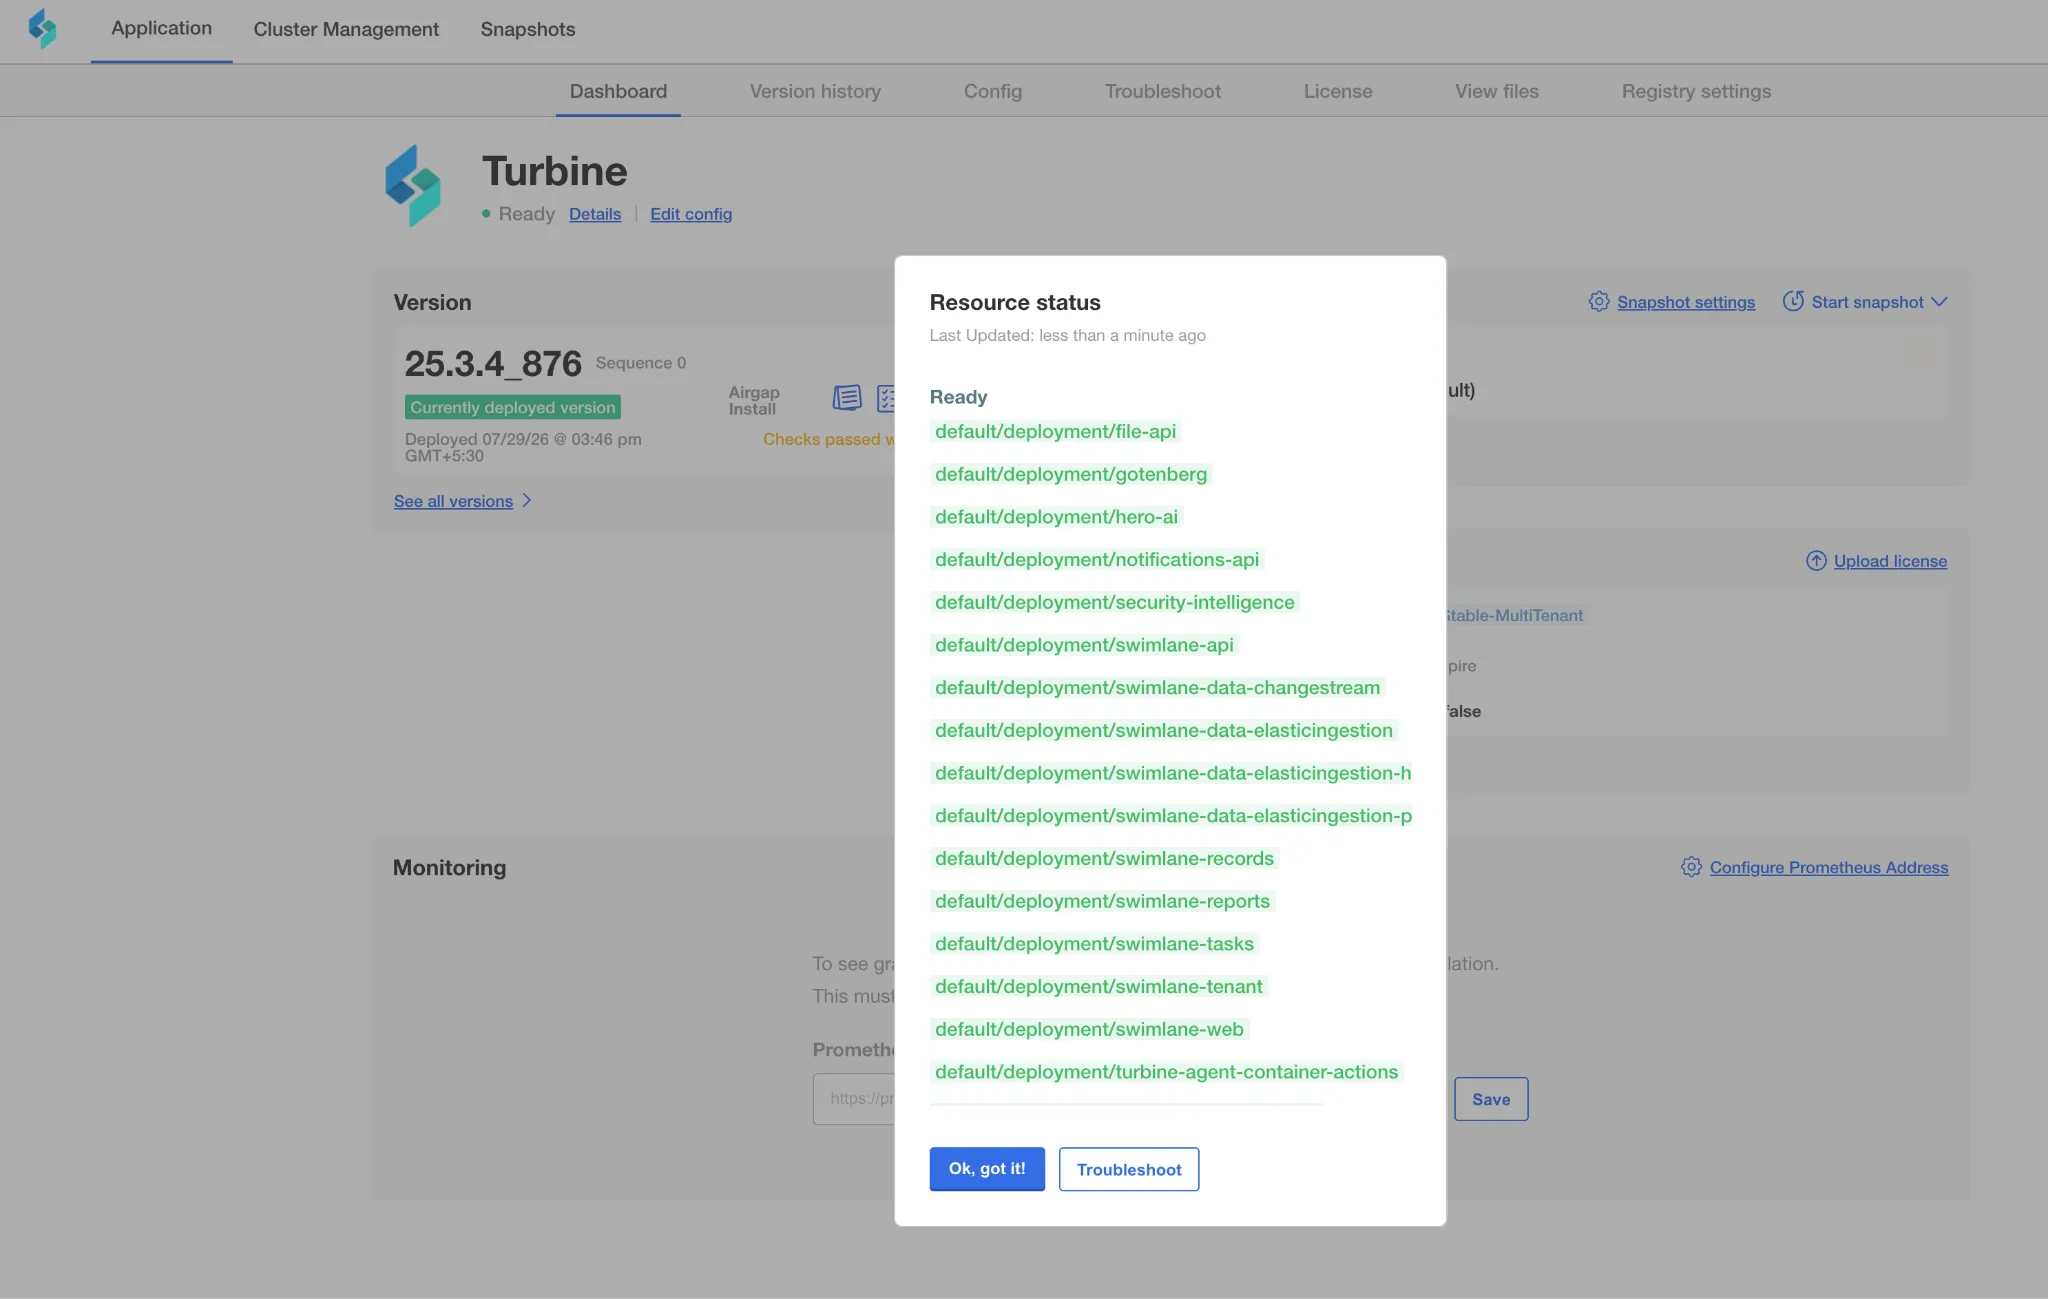
Last window of deployment status from the admin console:
You can also verify from the nodes:
kubectl get pods -A -o wideConfirm that:
- All three nodes are listed.
- All three nodes show a Ready status.
- No node remains in a NotReady state.
- All the pods should be up and running.
- Expect few in Completed state.
Now log in to the Turbine UI:
Upload the Turbine UI license file (.lic)
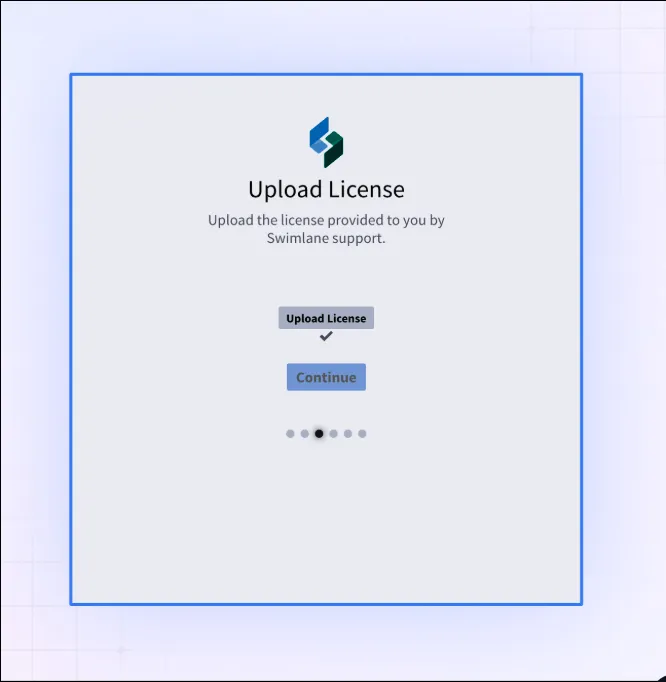
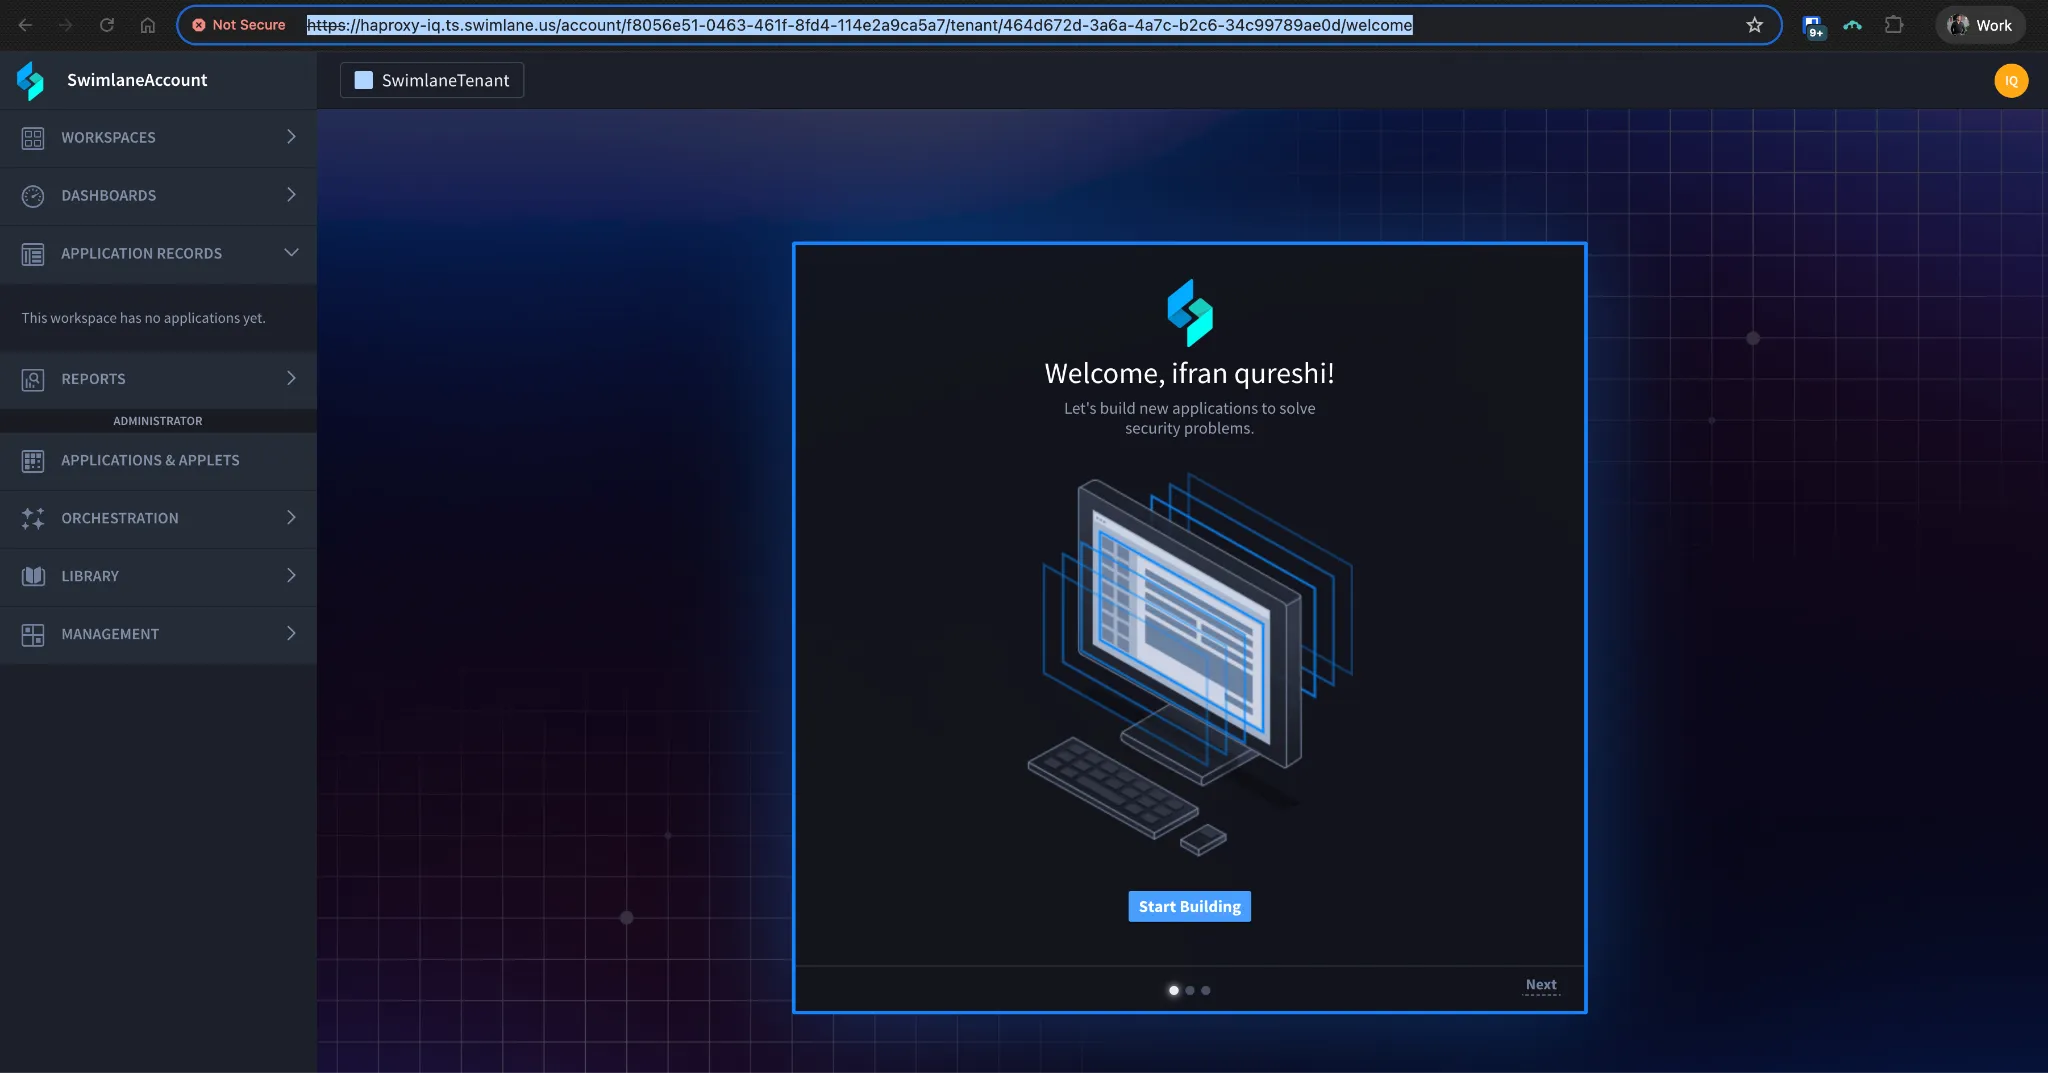
Continue and create your admin credentials and log in:
End of article