Install Turbine on an Embedded Kubernetes Cluster
To install Turbine, you will first need to ensure that you have the necessary server set up to host it.
See System Requirements for an Embedded Cluster InstallSystem Requirements for an Embedded Cluster Install for information on what you need to install Turbine into an embedded Kubernetes cluster.
Once you have the hardware accounted for, you can begin to install Turbine.
Set Up Access to the Turbine Platform Installer
To begin installing Turbine with the Turbine Platform Installer, you must first set up access to the administrative (admin) console.
To set up access to the Turbine Platform Installer:
- From a command-line interface, log in as a privileged user to the system that will host your Turbine Instance.
- Next, run: curl -sSL https://kurl.sh/turbine-stable-multitenant | sudo bash -s ha The installer uses /var/lib/kurl/ to store temporary data during the install process. If you need to override this temporary directory path you can add kurl-install-directory=/path/to/dir/ as an additional install argument and it will be suffixed with /kurl/ and used as the temporary directory that can be removed after installation is complete. The directory must be writable by the user running the install command. The partition this directory exists in is required to have 8GB of free space available. Here is an example install command that overrides the temporary install data path: curl -sSL https://kurl.sh/turbine-stable-multitenant | sudo bash -s ha kurl-install-directory=/path/to/dir/ The installer runs a series of preflight checks to ensure that the node is ready for installation. If any of the preflight checks fail, the installer exits so that the issues can be resolved. In a non-production environment, you can ignore the failing preflight checks and install anyway. To do this, add host-preflight-ignore as an additional install argument, for example: curl -sSL https://kurl.sh/turbine-stable-multitenant | sudo bash -s ha host-preflight-ignore If you need to override any installer settings you must specify the installer override patch file with the installer command. See Overriding Installer SettingsOverriding Installer Settings for more information. When prompted to enter the load balancer address use the Kubernetes API load balancer IP/FQDN in lowercase and specify port 6443, for example, foo.bar:6443. You may be prompted to disable anything on the system that is incompatible. Respond with Y to disable and continue with the installation. Be aware that the installation can take 30 minutes or more to complete.
- Once you see the message Installation Complete copy and paste the URL following "Kotsadm:" and the subsequent password. Save the URL and password.
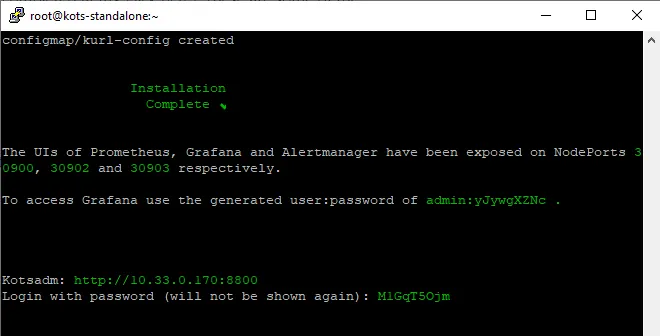
You will NOT see the password again and will need it to log in to the Turbine Platform Installer Admin Console. Be careful to save the URL and password. You should also save the username and password provided for the grafana dashboard. Use this command to create a new password, if you did not save or remember the initial one: kubectl kots reset-password default
Access the Turbine Platform Installer Admin Console
Now you are ready to access the Turbine Platform Installer from a Chrome browser.
To access the Turbine Platform Installer:
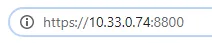
- In a Chrome browser window, enter the URL you copied in step 3 above, appended with :8800.
-
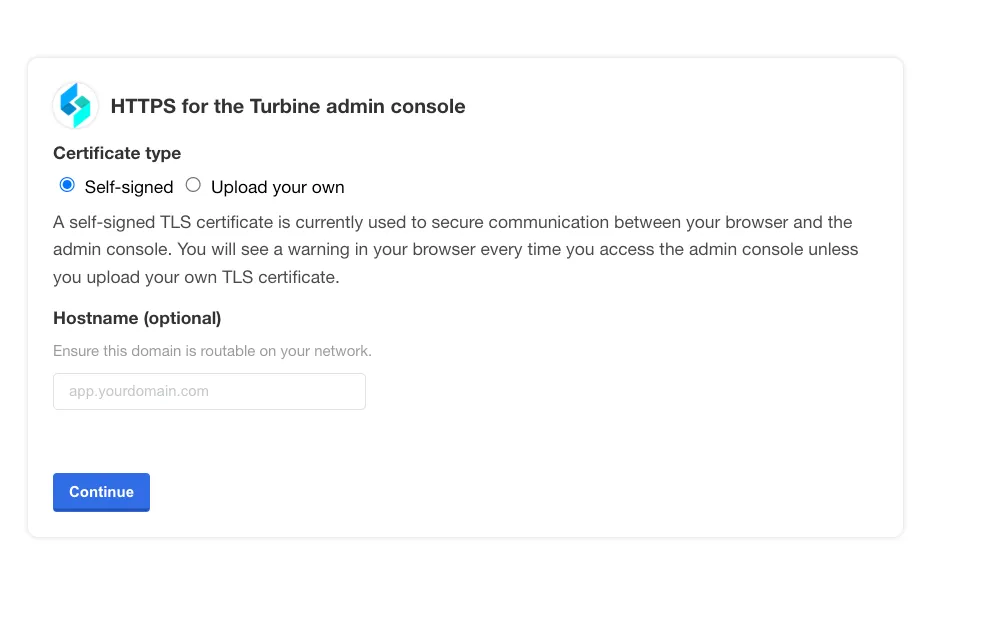
On HTTPS for the Turbine admin console window, select the Certificate type as Self-signed or Upload on your own and click continue. Self-signed
Upload you own: Provide Upload private key and Upload SSL certificate
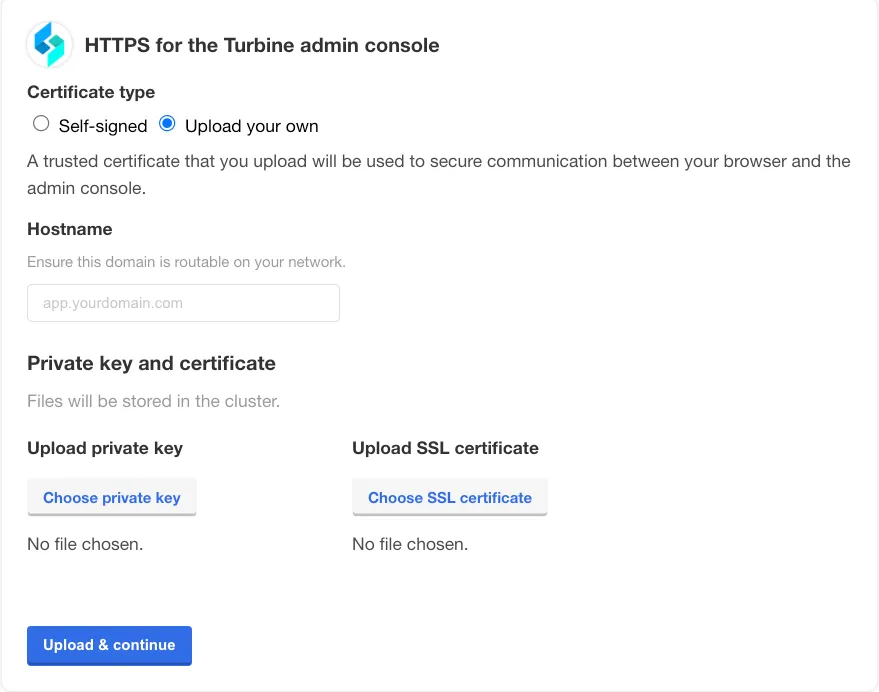
- You can also upload your private key and SSL certificate. You can choose any one option.
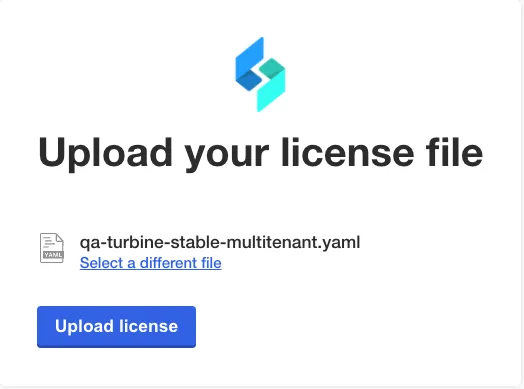
- Next, you are prompted to upload your .yaml license file. Select or drag the file, and then click Upload license.
- License file should we add??
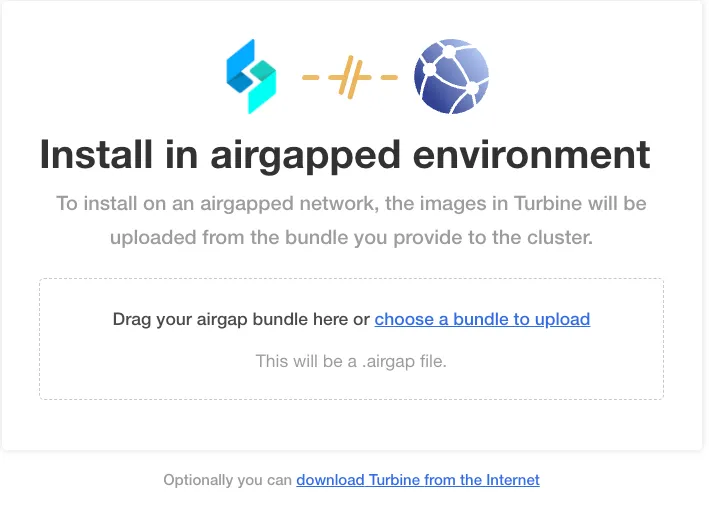
- Click download Turbine from the Internet to proceed further.
- Next, see the Configure the Turbine Platform for an Embedded Cluster InstallConfigure the Turbine Platform for an Embedded Cluster Install topic to configure and deploy Turbine.
- To continue setting up additional nodes to create an HA cluster, continue to Add Additional Nodes to Create an HA ClusterAdd Additional Nodes to Create an HA Cluster.