Upload and Manage Plugins
Plugins enable you to perform out-of-the-box integrations with third-party vendors.
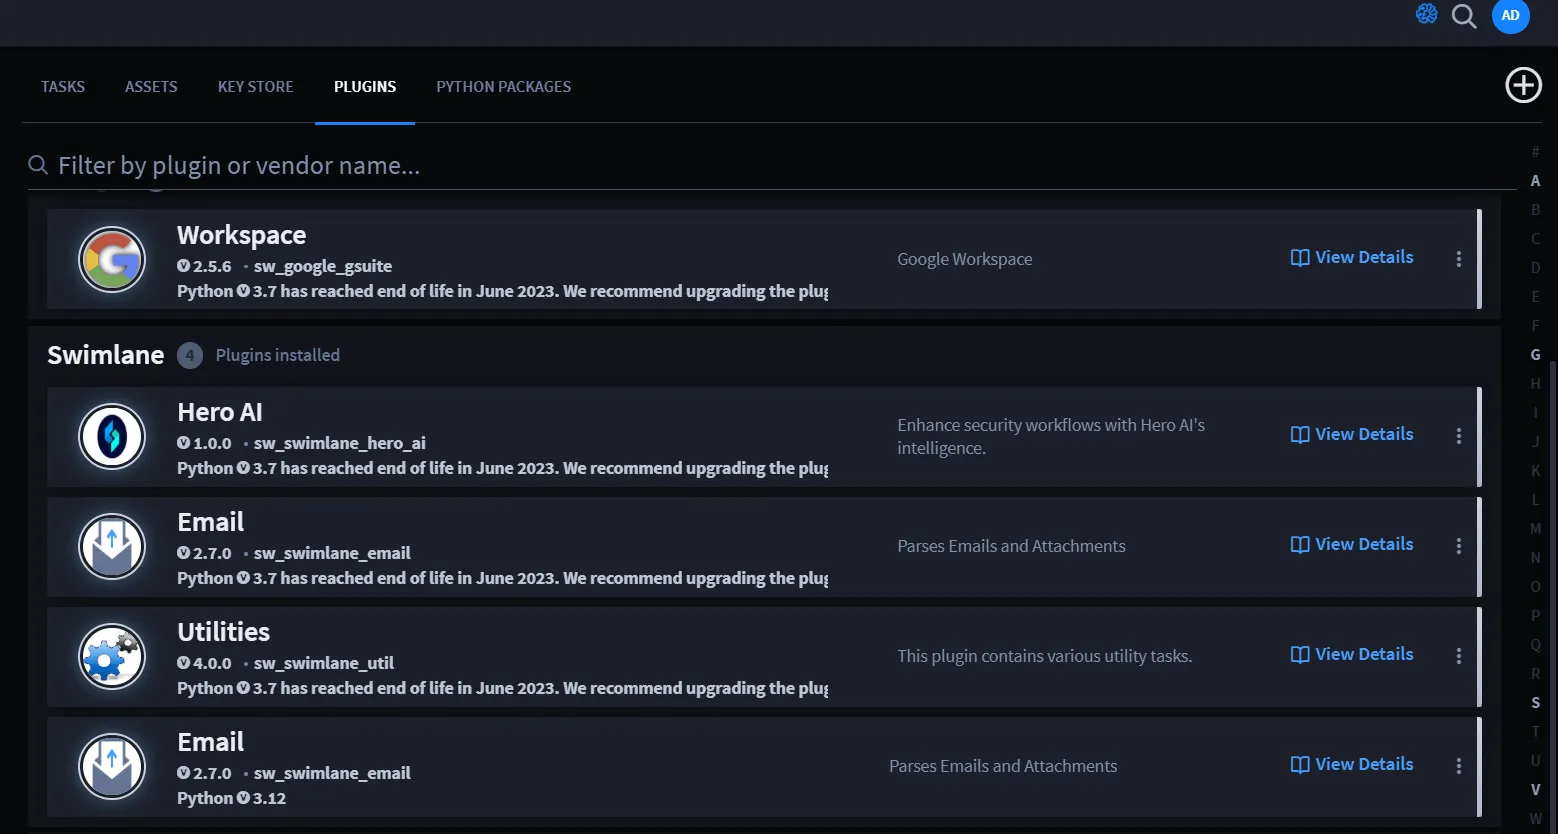
To view installed plugins, from the Integrations page, click the Plugins tab.
Upload Plugins
To upload a new plugin:
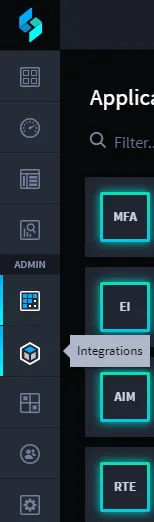
From the global navigation menu navitage to Integrations.
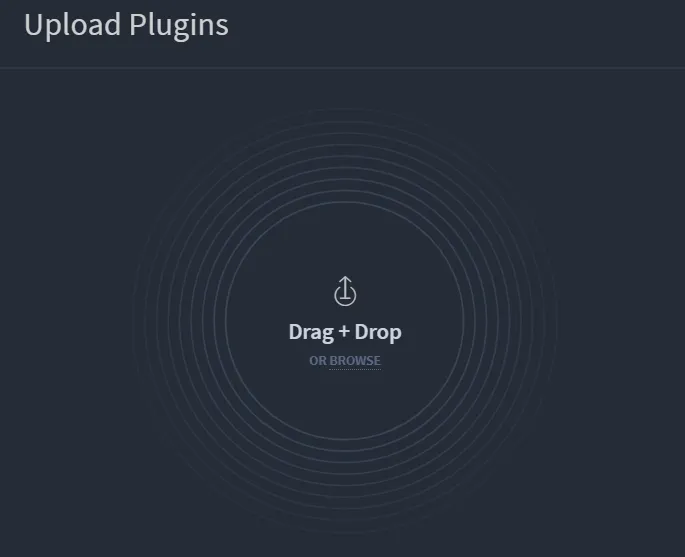
- From the Integrations taskbar, click the Plugins tab and then click the plus menu icon. Upload Plugins dialogue box appears.
- In the Upload Plugins dialog, you can either drag and drop the plugin files or click BROWSE to locate and select them from your local system.
-
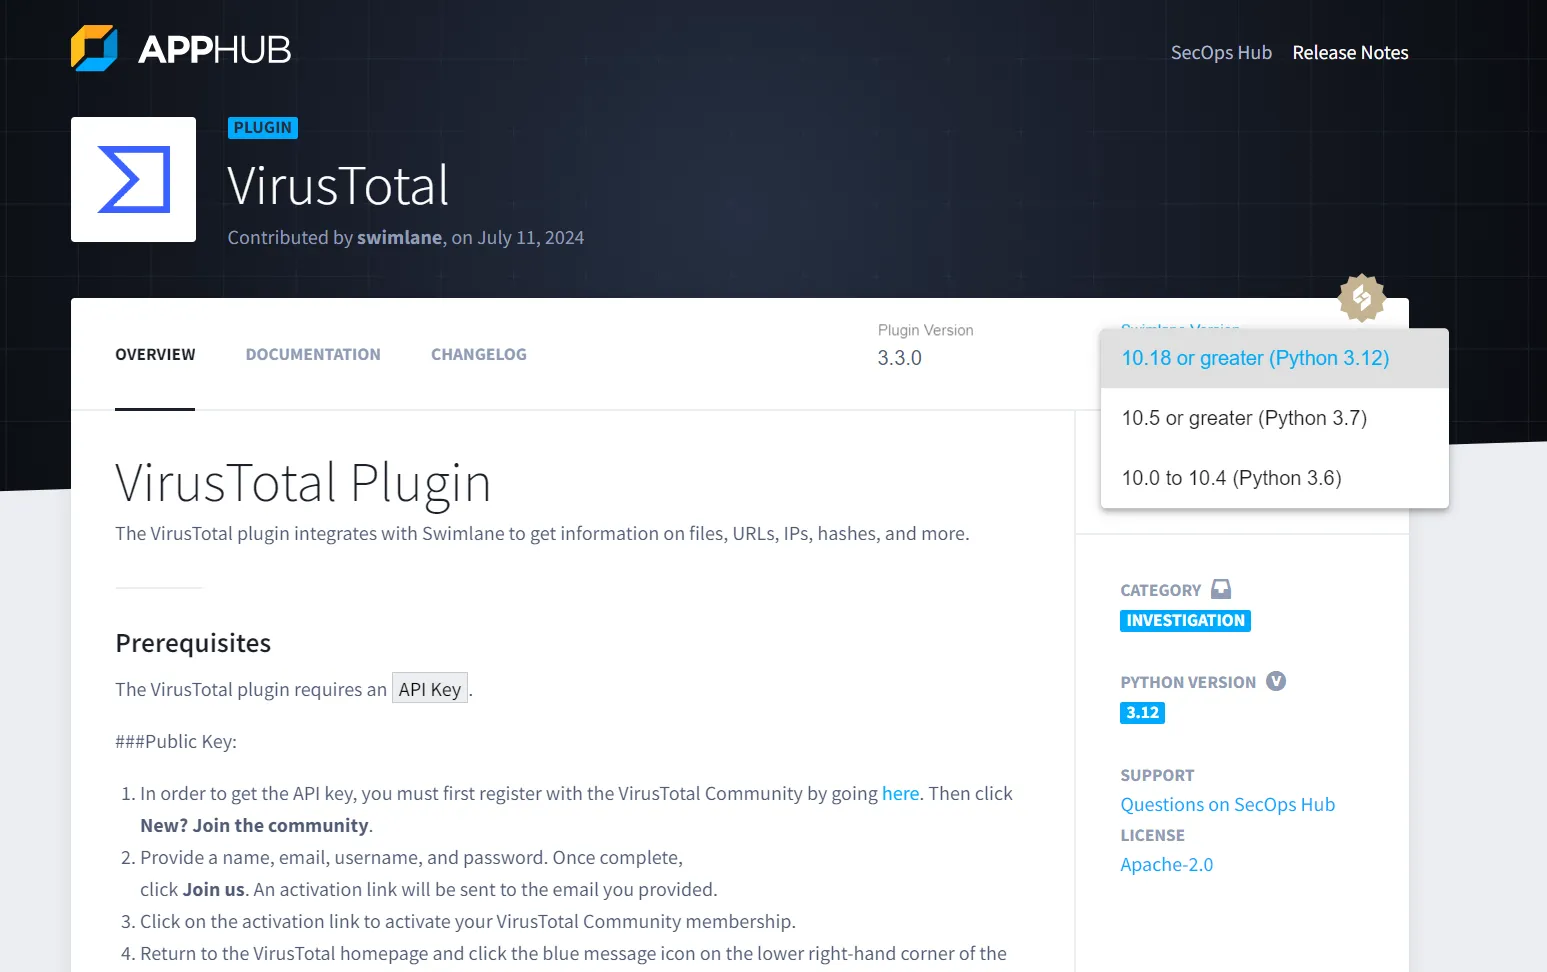
Plug ins can be downloaded from online sources or from apphub.swimlane.com. Select the desired plug in and Swimlane version, download it to your local system, and then drag and drop it into the dialog box to upload.
- On the Upload Plugins dialog, a list shows the uploaded plugins and the install status.
-
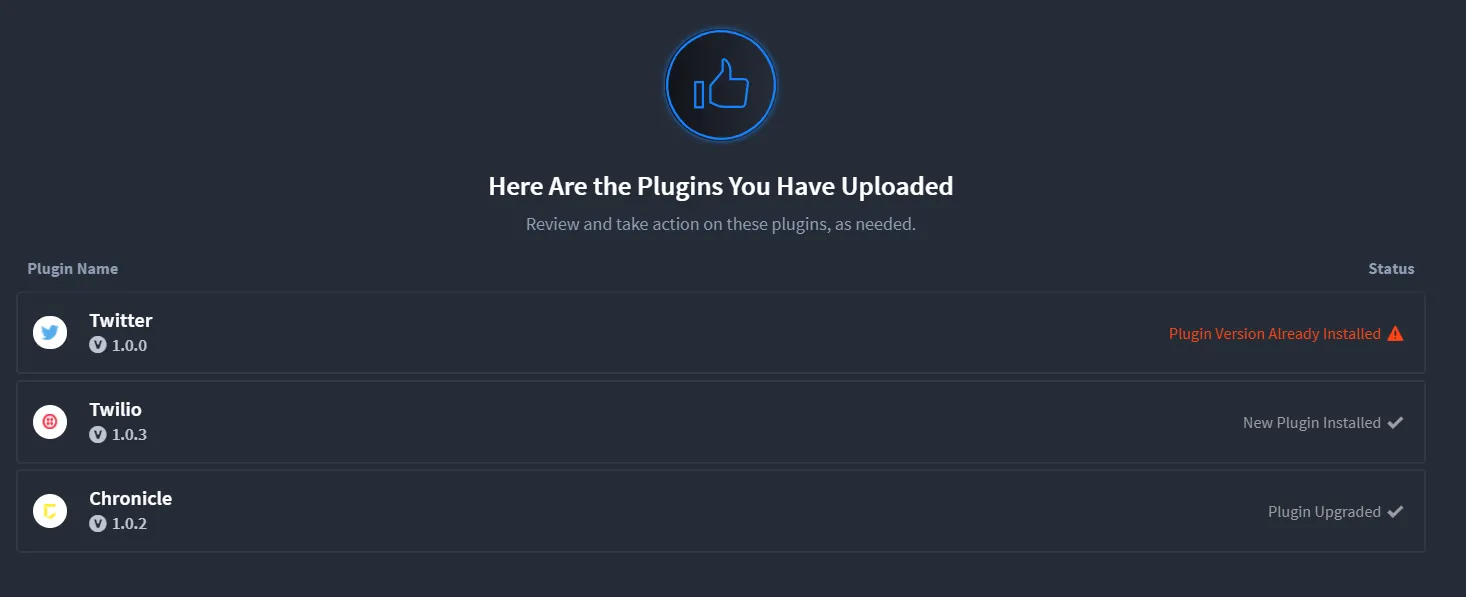
- When you upload a plugin, you introduce the library or utilities for interacting with the third-party software into Swimlane. After uploading, proceed with creating an asset with credentials from the plugin library .
Identify the Version of Installed Plugins
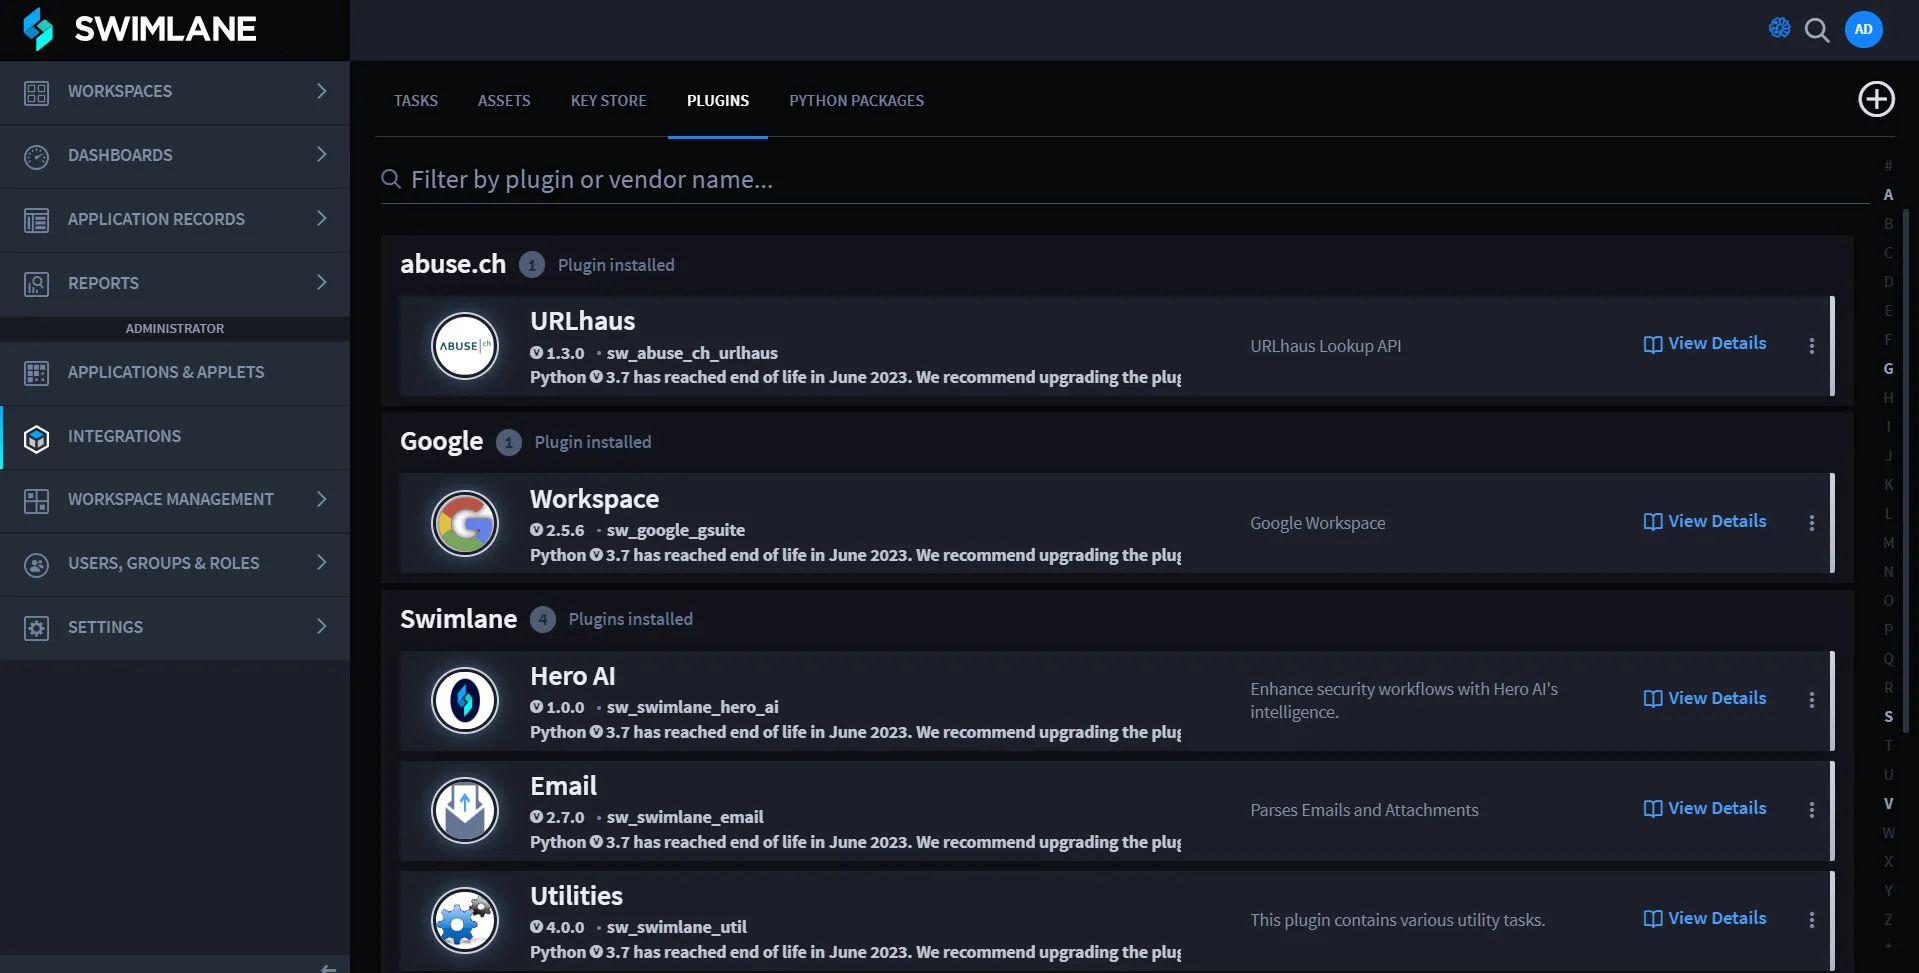
You can identify the plugin by either of the following two methods.
Method 1:
Find the version of each plugin and the corresponding Python version for all plugins in the list of installed plugins.
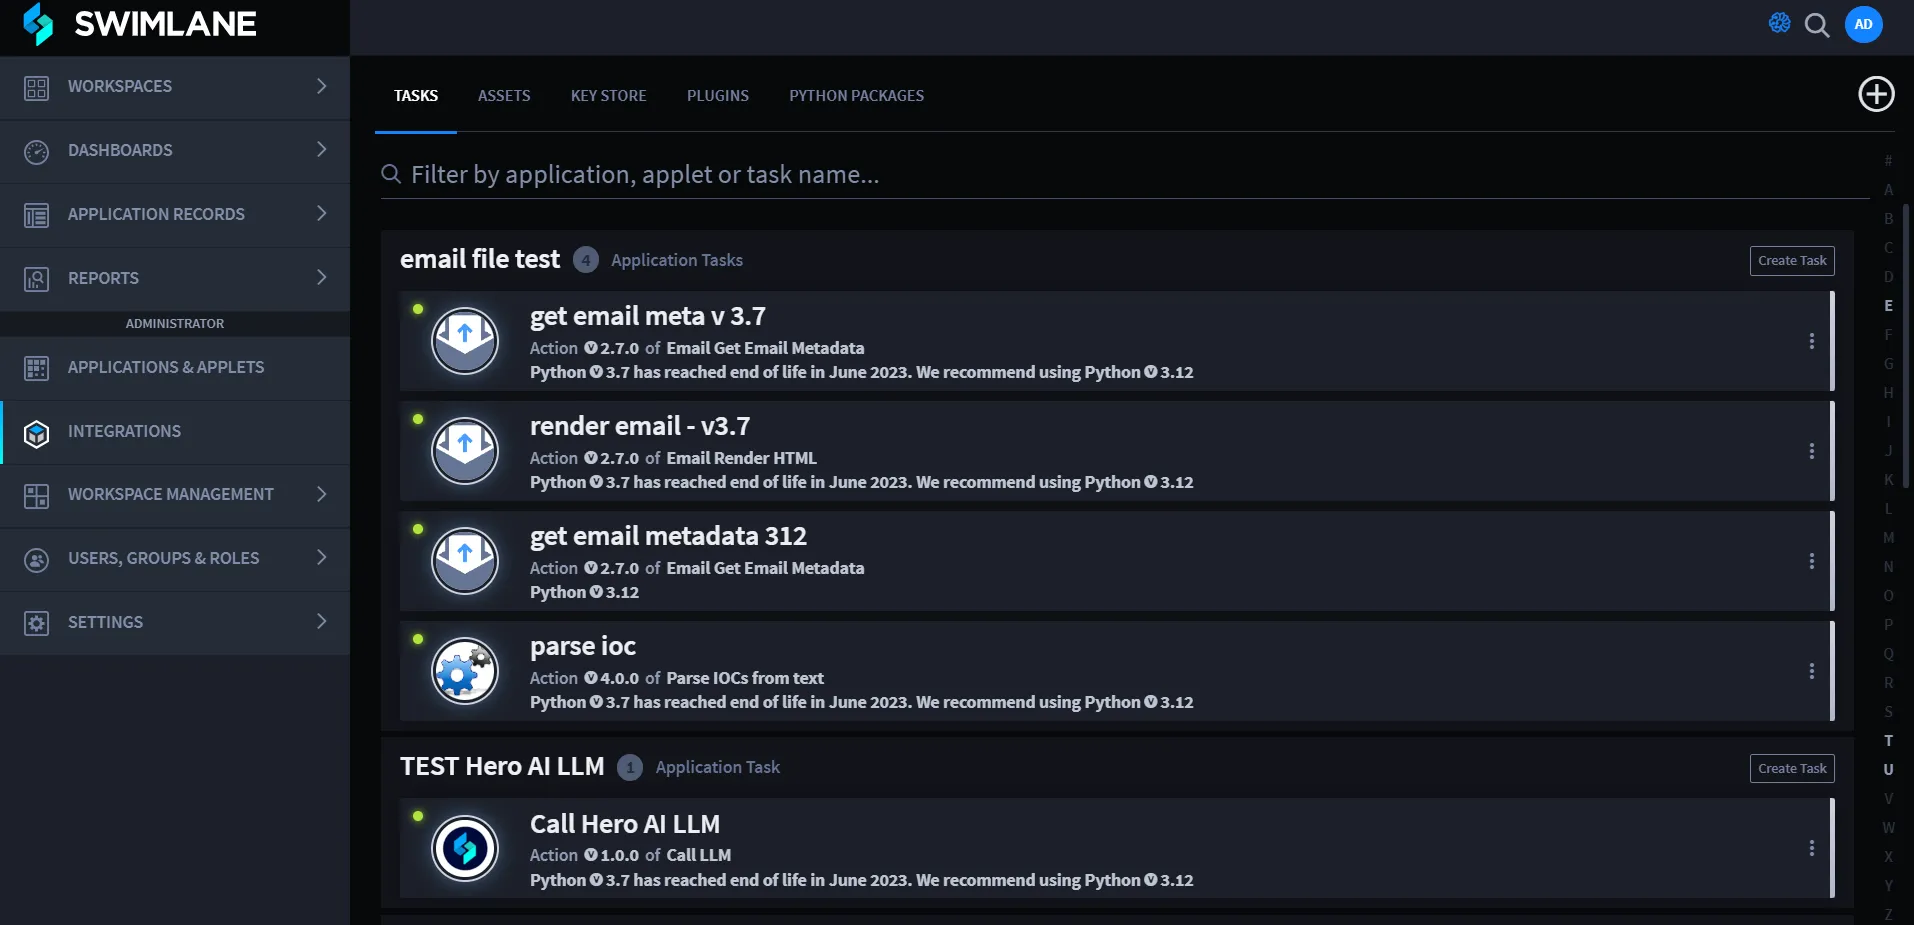
Method 2:
Locate the version of the plugin in the list of Tasks.
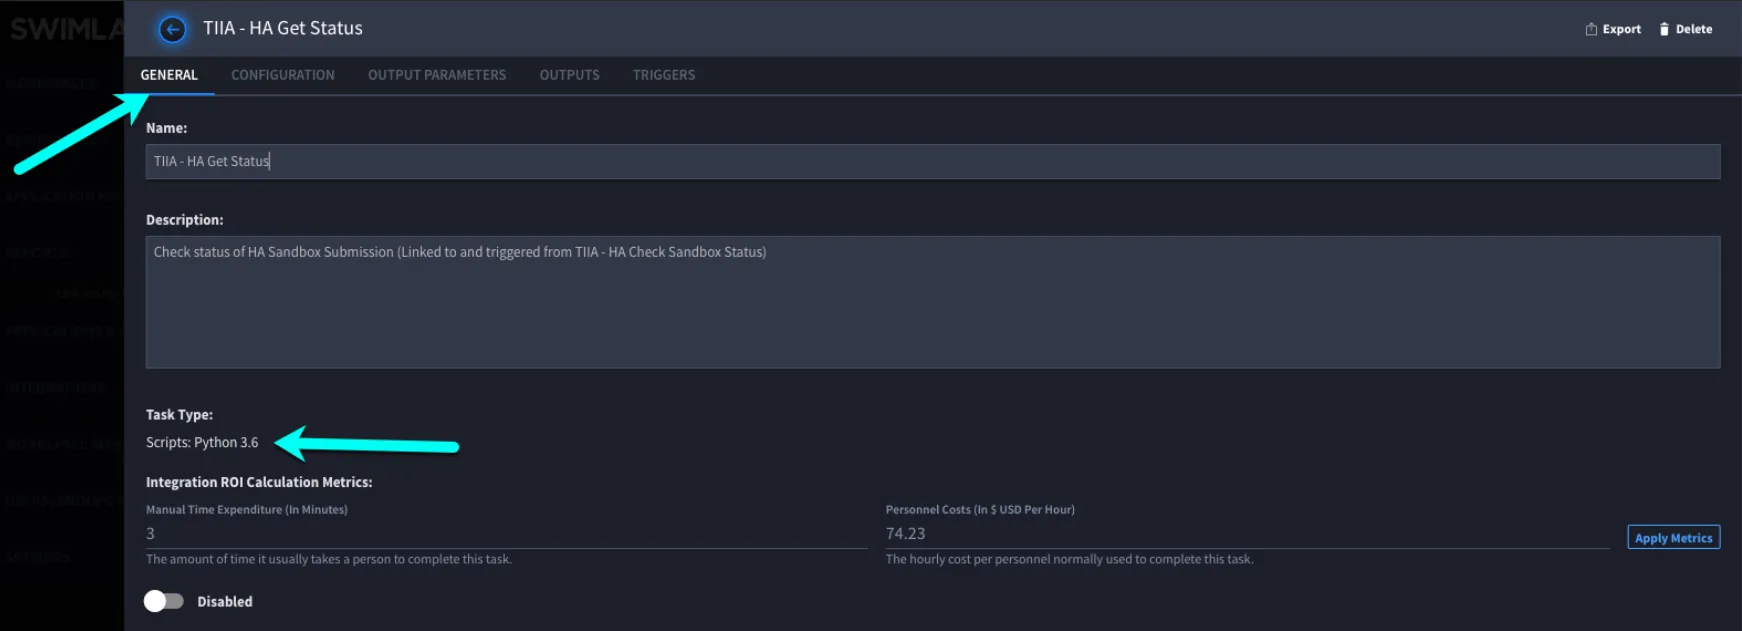
Click on the related Task and see the Plugin version under Task Type.
Upgrade Plugins
When uploading a newer version of a plugin, if a breaking issue is detected the status on the Upload Plugin dialog indicates that a new plugin version has been detected. This allows you to upgrade the plugin to the new version without losing previously defined tasks, assets, and configurations. If no breaking change is created by the upgrade, the plugin automatically upgrades without any additional input.
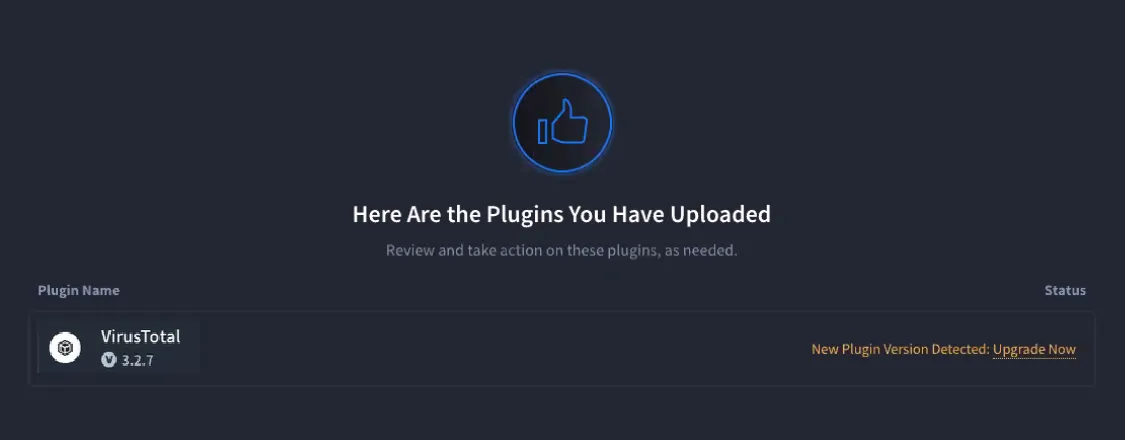
To upgrade a plugin:
- Click Upgrade Now to the right of the plugin.
- The Upload Plugins dialog opens to show the tasks and assets that upgrading the plugin will affect.
- Click Continue Upgrade.
-
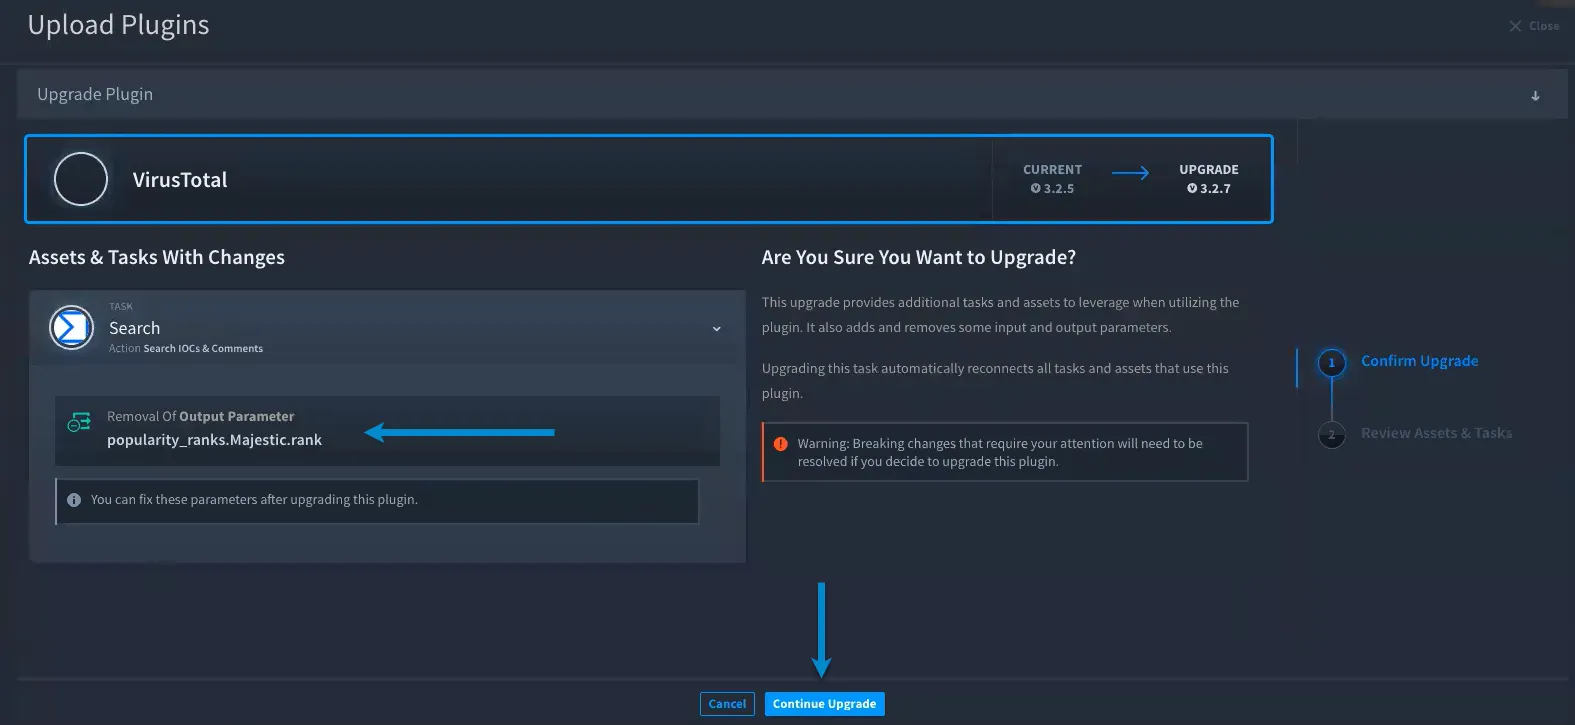
- A dialog opens stating "You are about to upgrade a plugin which will create breaking issues." Click Ok.
-

- The Upgrade Plugin window opens showing the tasks and assets affected by the plugin upgrade. This allows you to view and resolve issues.
- Click Resolve # Issues to the right of the item.
-
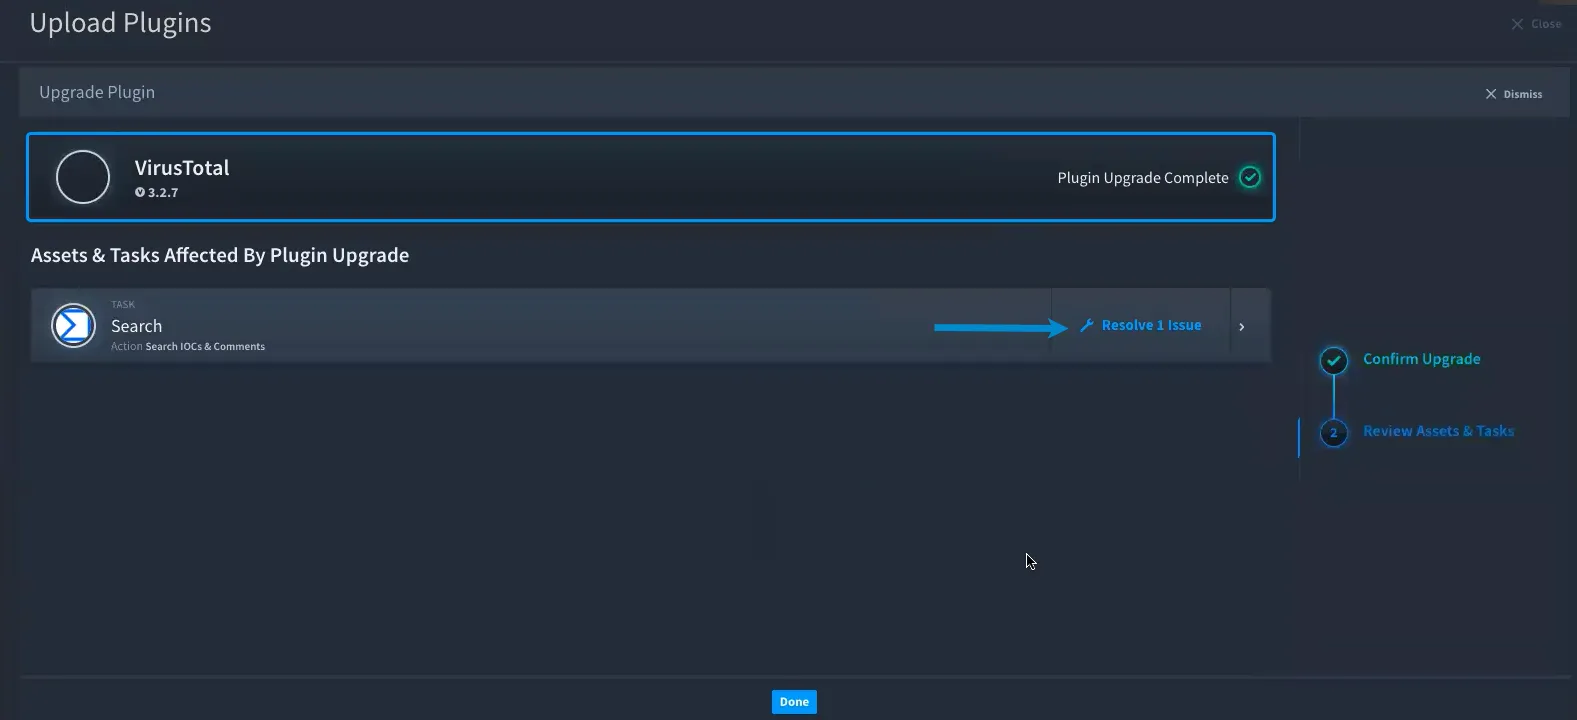
- To resolve issues associated with a task/asset, navigate to the broken parameter.
- Note: There can be more than one task/asset to resolve.
- Note: This example uses a broken output parameter. So, we navigate to the OUTPUT PARAMETERS tab.
- Click Discover Parameters.
-
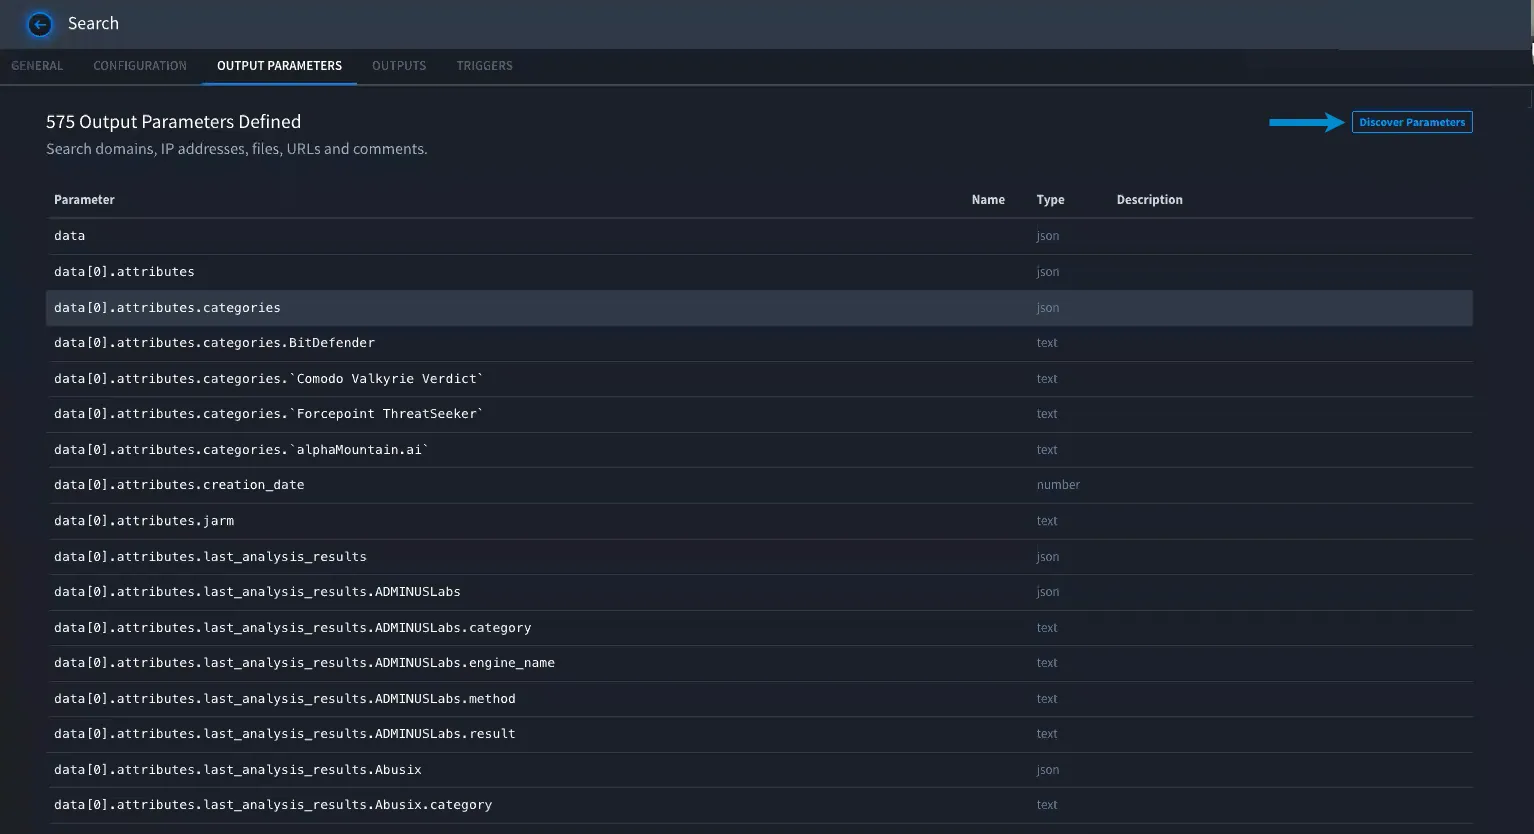
- On Discover Parameters, click Run Task to display the discovered parameters' input values.
-
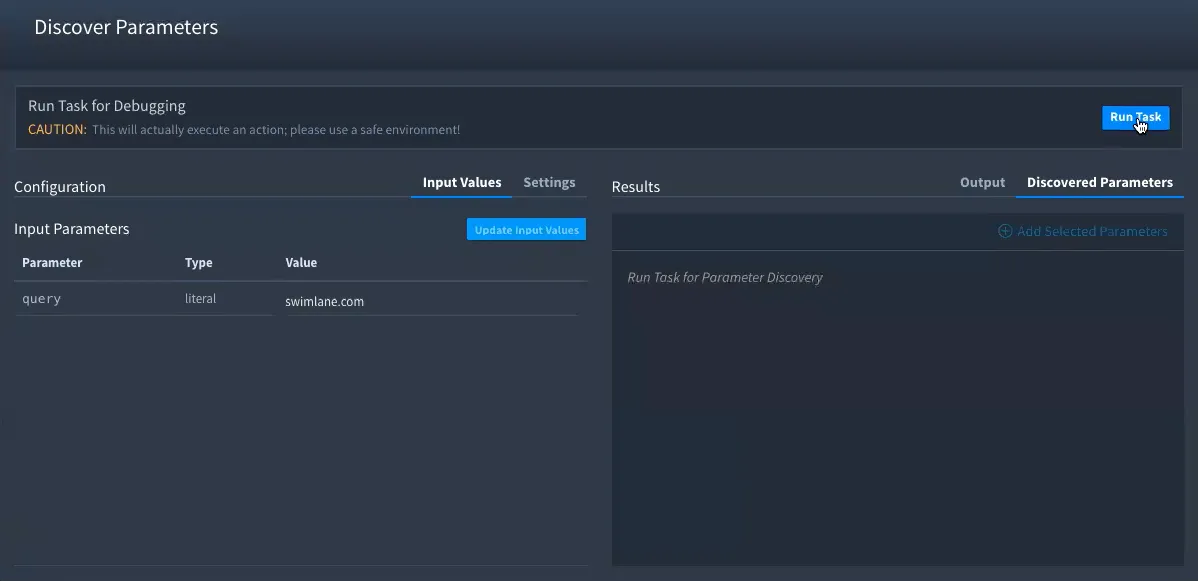
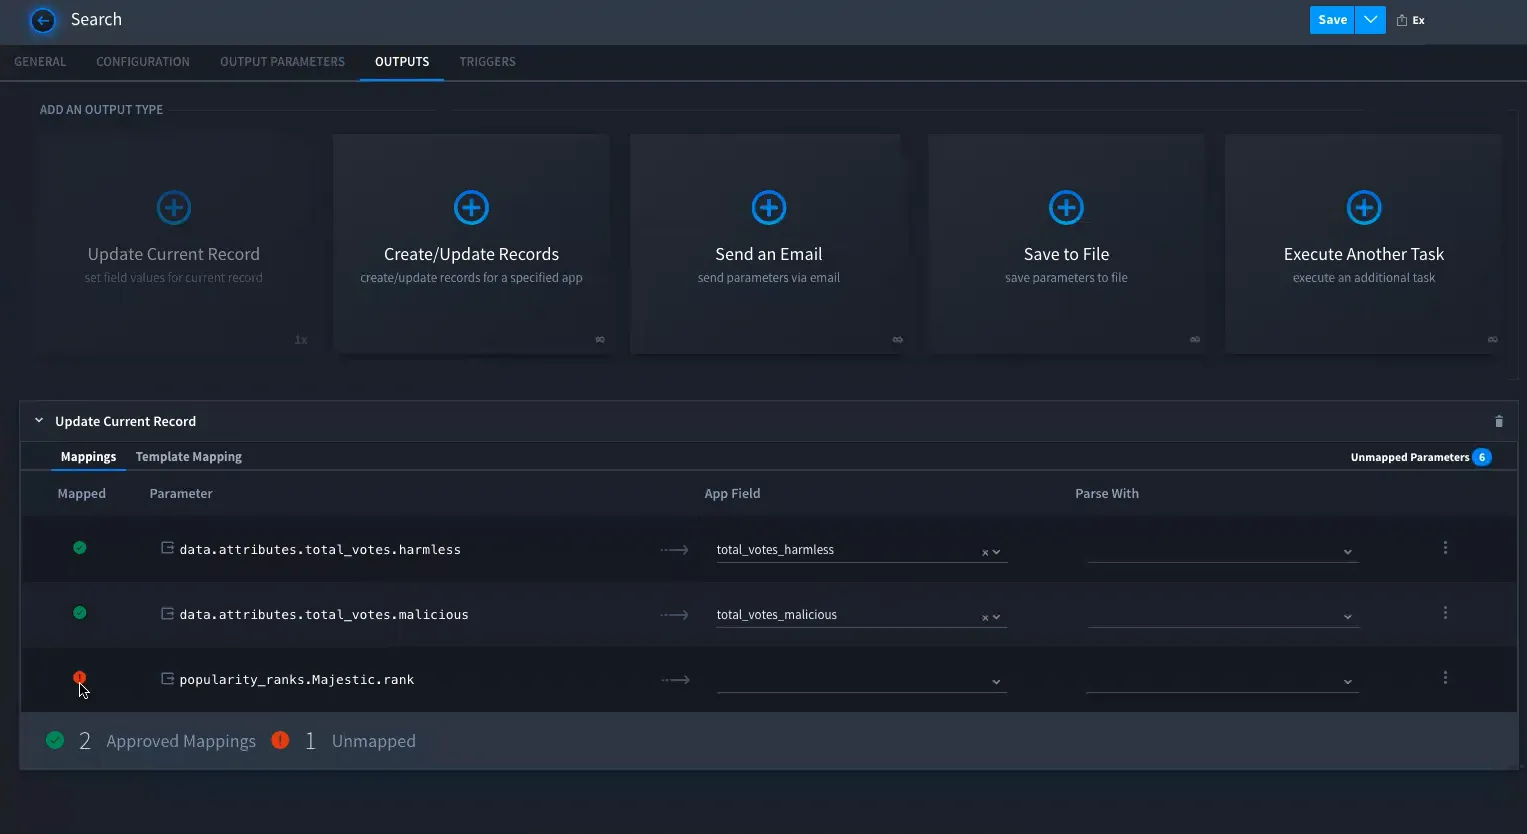
- Select the parameters that the application alerted, and then click Add Selected Parameters.
- Tip: A red alert icon indicates unmapped parameters.
- Important! This adds the parameter, but we still need to map it!
- Click Unmapped Parameters to verify the unmapped parameter.
-
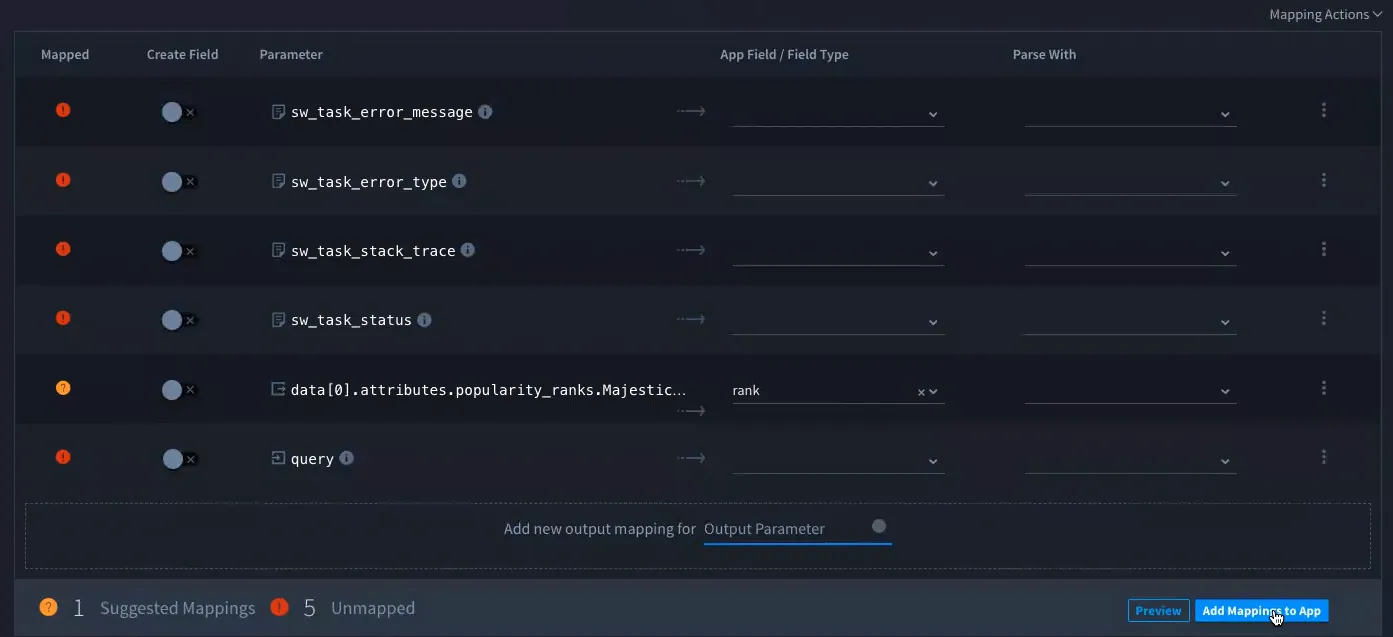
Click Add Mappings to App.
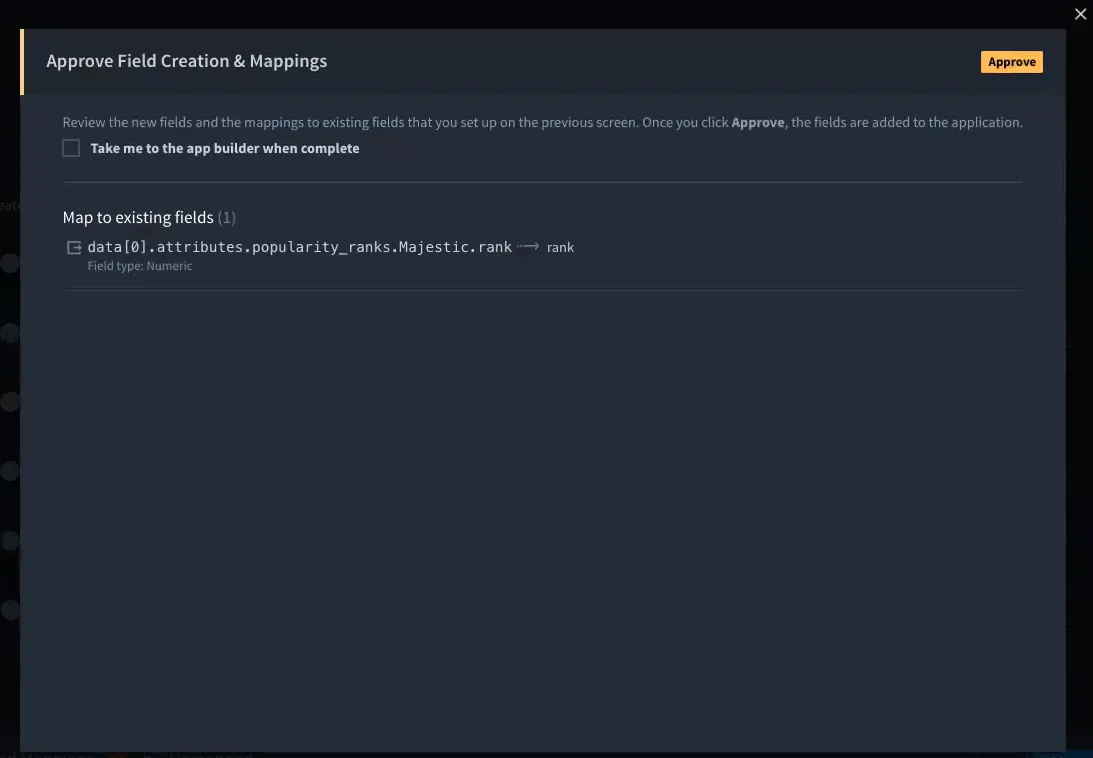
Click Approve to add the new fields to the application.
The parameter is updated, which shows as mapped.
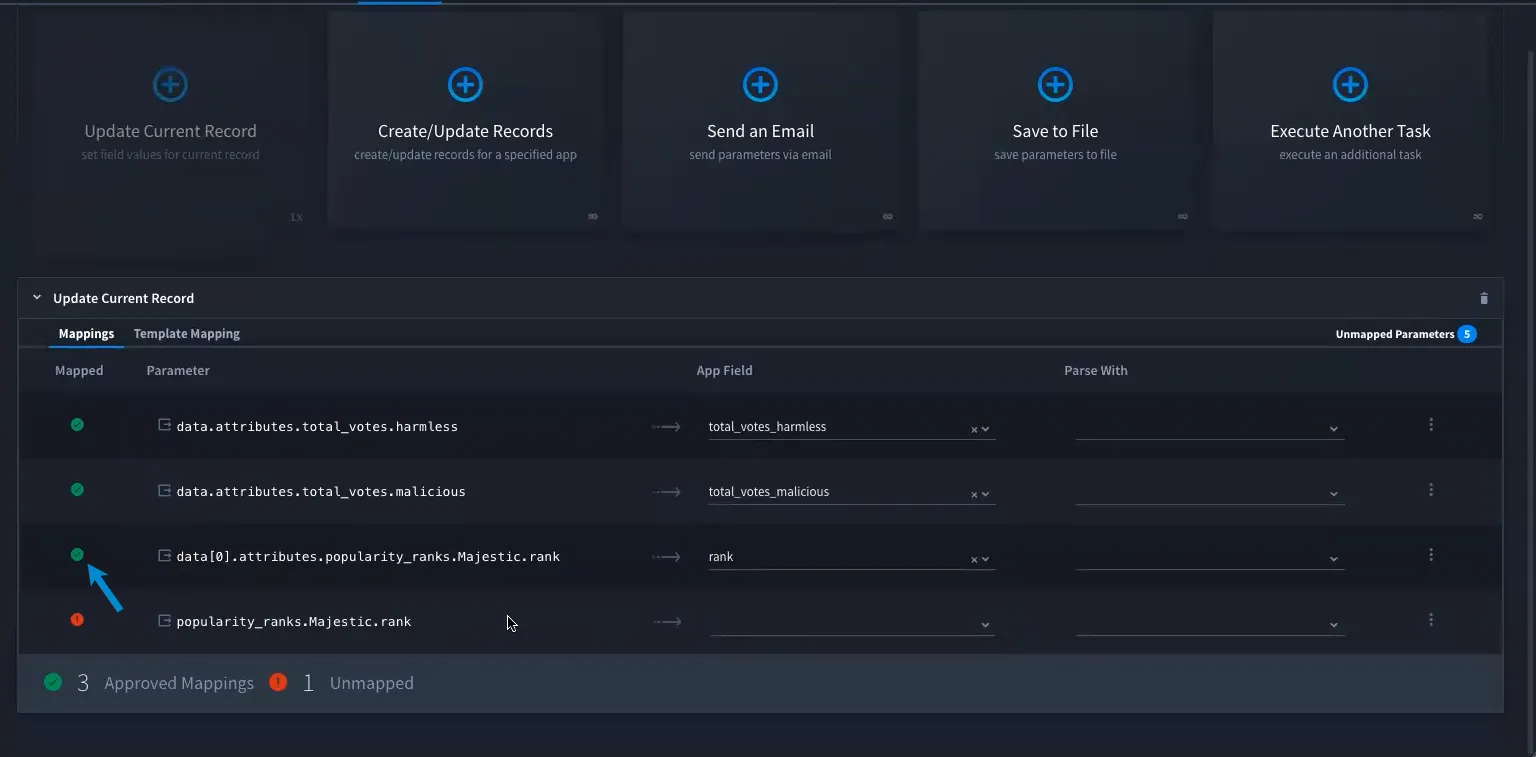
- Click Save.
- Close out of the remaining screens, navigate back to APPLICATION RECORDS, and select the desired application and add a new record. The new field is available.
To test the record, click Run Search.
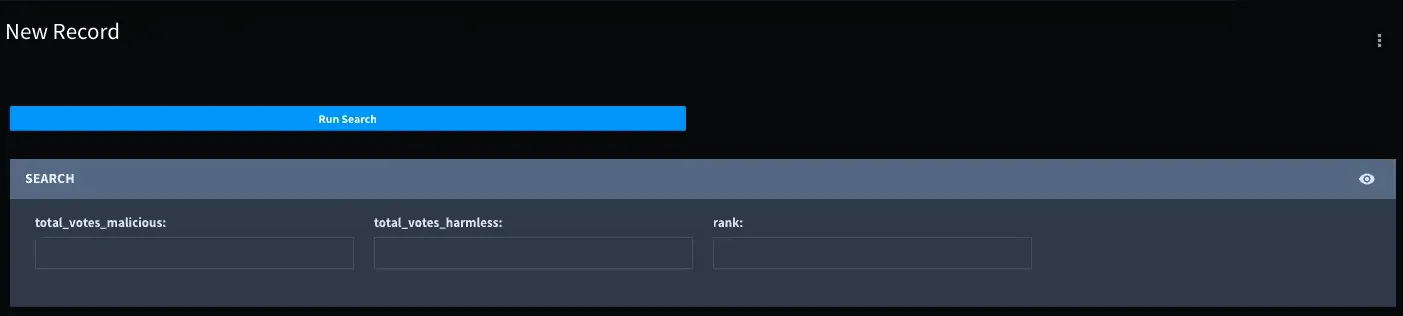
The search runs successfully!
Delete Plugins
To delete a plugin:
- On the plugin, click the ellipsis menu and select Delete Plugin.
- The Delete Plugin dialog opens to show the tasks and assets deleted and the applications, applets, and forked tasks affected by removing the plugin.
-
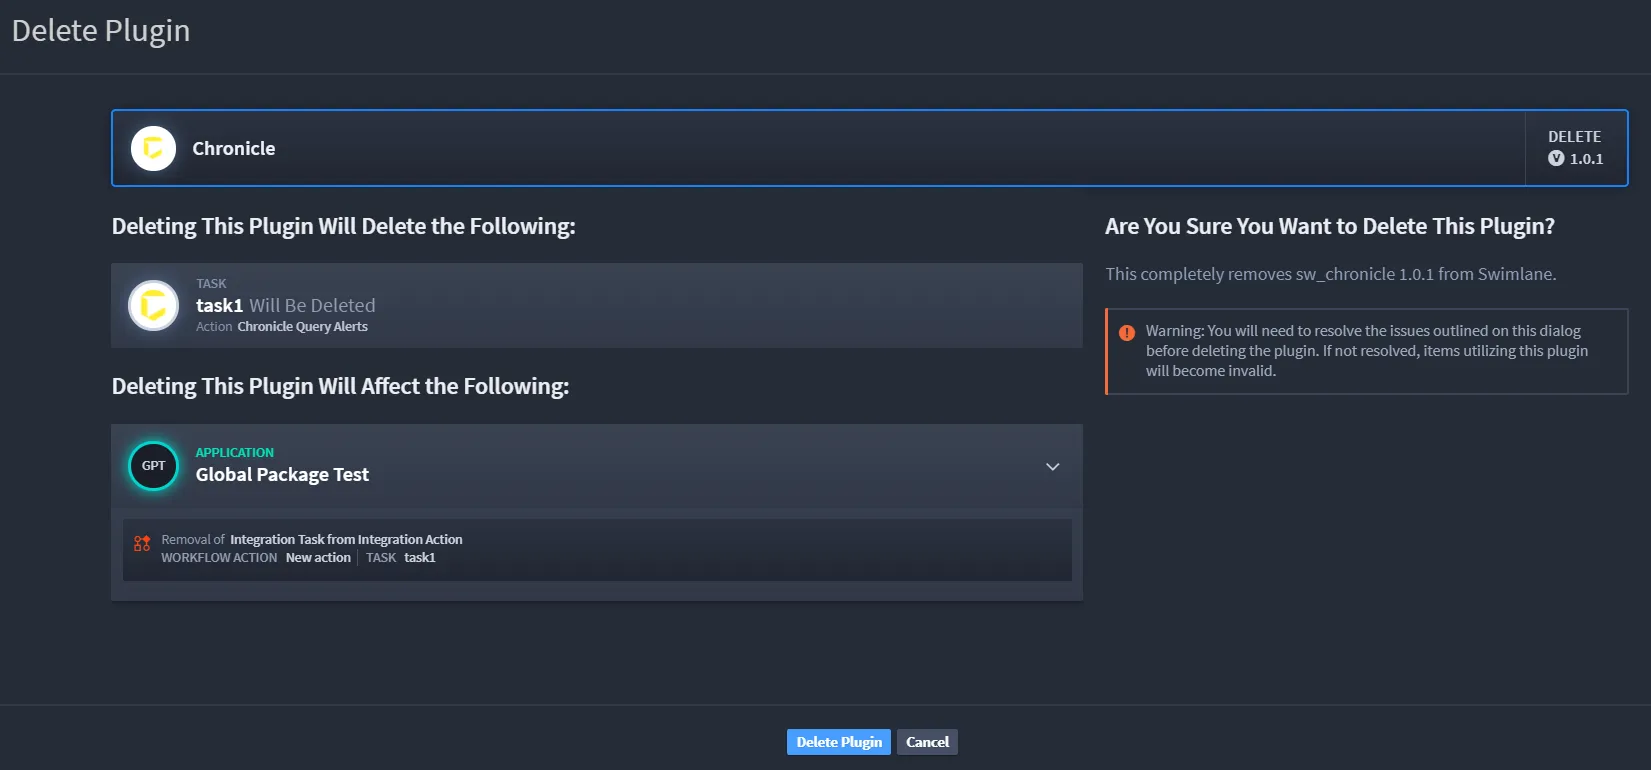
- Click Delete Plugin.
- A dialog opens stating "You are about to delete a plugin. This will create breaking issues." Select Delete Plugin.
- Note: Once the plugin is deleted, the breaking issues noted by this dialog need to be fixed.
- Now the plugin has been removed.