Import Record Data
You can import data, as CSV files, into your Swimlane application.
To open the data import panel, click the button labeled Import from the Default Report toolbar.
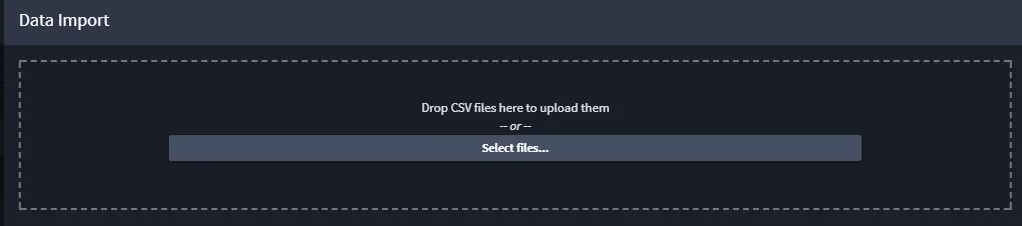
The Import Data window opens, where you can upload a CSV file by either dragging it into the marked area, or clicking Select File and selecting the file.
Mapping Fields
After the file is selected, the system parses it by the column delimiters.
On the Data Mapping tab, select a column and select the field from your application that you want to map the data to.
Some field types can have additional options that can be specified, for example:
- Value List fields have an option to add missing values into the field's options.
- User / Groups fields have an option to choose the name format of the data in the column. Test user field mapping by clicking the test mapping icon.
- Date fields have an option to specify the date format of the data in the column.
Advanced Options
To configure advanced options, click Advanced. Then set the following:
Creation Type
- Insert only: only insert new record during import
- Insert and/or Update: insert new and update existing records. Existing records are identified by the field selected in the Key Field dropdown. If a record with the same value for the key field as the CSV row that is currently processed exists, that record will be updated instead of creating a new one.
Error Handling
If an error occurs while importing data from a column:
- Set as Empty: the field mapped to that column will have empty value
- Skip Row: the whole row will be skipped and no record will be created
- Stop Import: importing the file will stop immediately and no further rows will be created
Header Row
If the uploaded file doesn't have a row with column headings, toggle this option and the columns in the Data Mapping tab will be marked as "Column 1", "Column 2", etc.
To import the uploaded data, click Run. Import begins immediately in a background process. To view the imported records, refresh the Default Report page.