Dashboard Card Operations
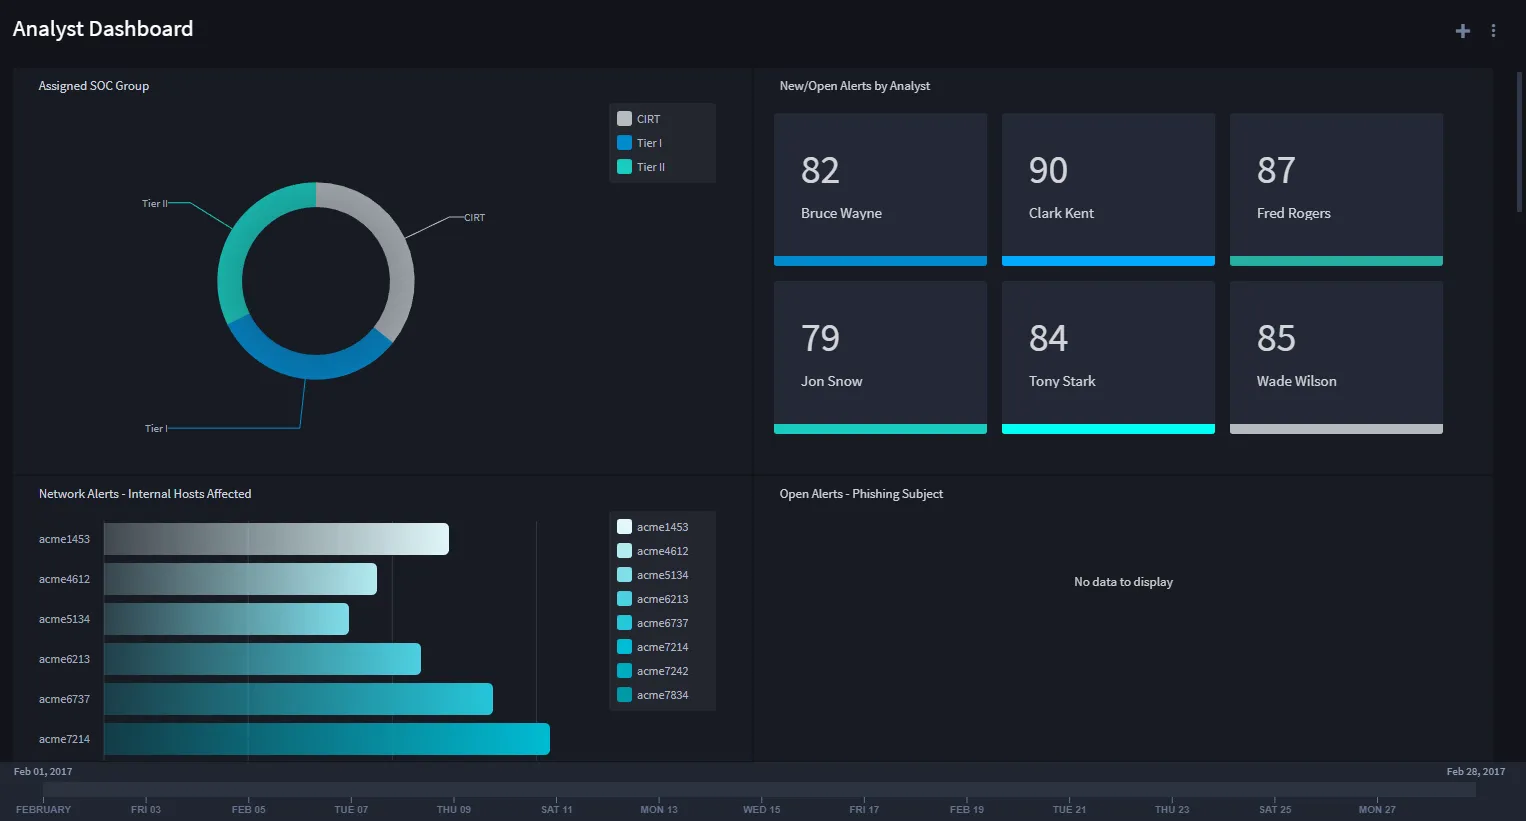
Cards display reports, usage statistics, or HTML. Cards are completely customizable and can be resized and rearranged on dashboards by administrators and users with proper access.
Click within a card to open the report in Search with the record list, or click a chart element to open Search with drill-in filters when the chart grouping supports them. Group by day of week and Group by hour have known drill-in limitations; see Drill-in. A variety of chart types is available, which makes dashboards useful for exploring records quickly.
If the report uses a Widget (PyGrid) chart or other advanced chart types, dashboard All Filters, exports, and empty states may not match a standard chart card. See Dashboard Behavior and Limitations before you interpret missing data or export gaps.
Create New Cards
To create or edit new cards:
- From the Dashboard taskbar menu, select New Card.
- On New Card, provide a name and description for the card.
- Select Type and specify whether the card will display a report, HTML, or a usage statistic.
- After selecting a Report for the card, note whether the saved report has a chart or is table-only. Chart reports show the chart (or PyGrid widget) in the card; table-only reports show a data table. Chart-specific dashboard behavior in DashboardsDashboards applies only to chart cards.
- Define how the card handles time filtering. This determines which timestamp field drives the card's data when a date range is applied.
- Use Dashboard’s Global Date Range (Default)
- By default, the Always use the dashboard’s date range selection toggle is enabled.
- This ensures that the card filters data using the dashboard’s global time range setting.
- Even if the dashboard’s global date range is used, you can specify which field in the report’s parent application will be used for filtering. To do this:
- Expand the Date field referenced by date/time ranges dropdown.
- Select the appropriate timestamp field for your data needs.
- Custom Date Range:
- Toggle the inheritance OFF.
- Select the calendar picker.
- Choose a static or relative date range using the calendar picker.
- Click Apply.
For HTML, enter valid HTML code in the Code window.
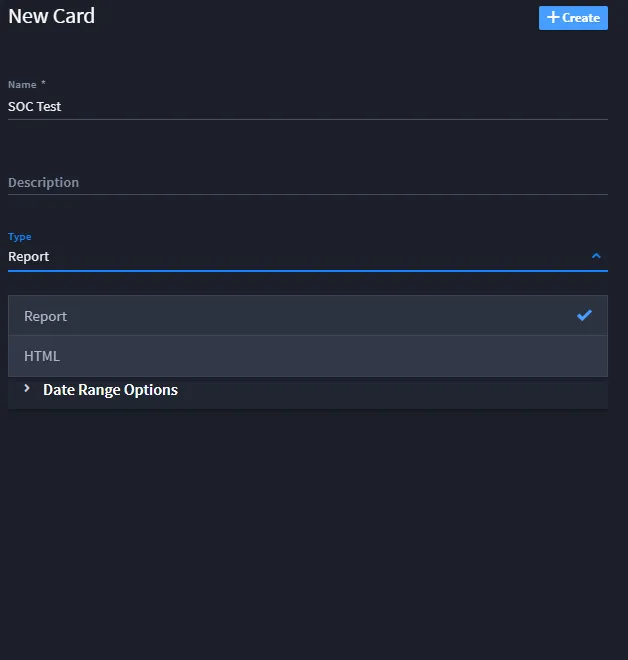
Any JavaScript inserted into the HTML code will be executed in the user's browser when they open a dashboard containing that card.
Modify Cards on a Dashboard
Once a card is created, it is inserted into the dashboard. Every new card added to a dashboard will be inserted as the first card in the top left corner of the dashboard.
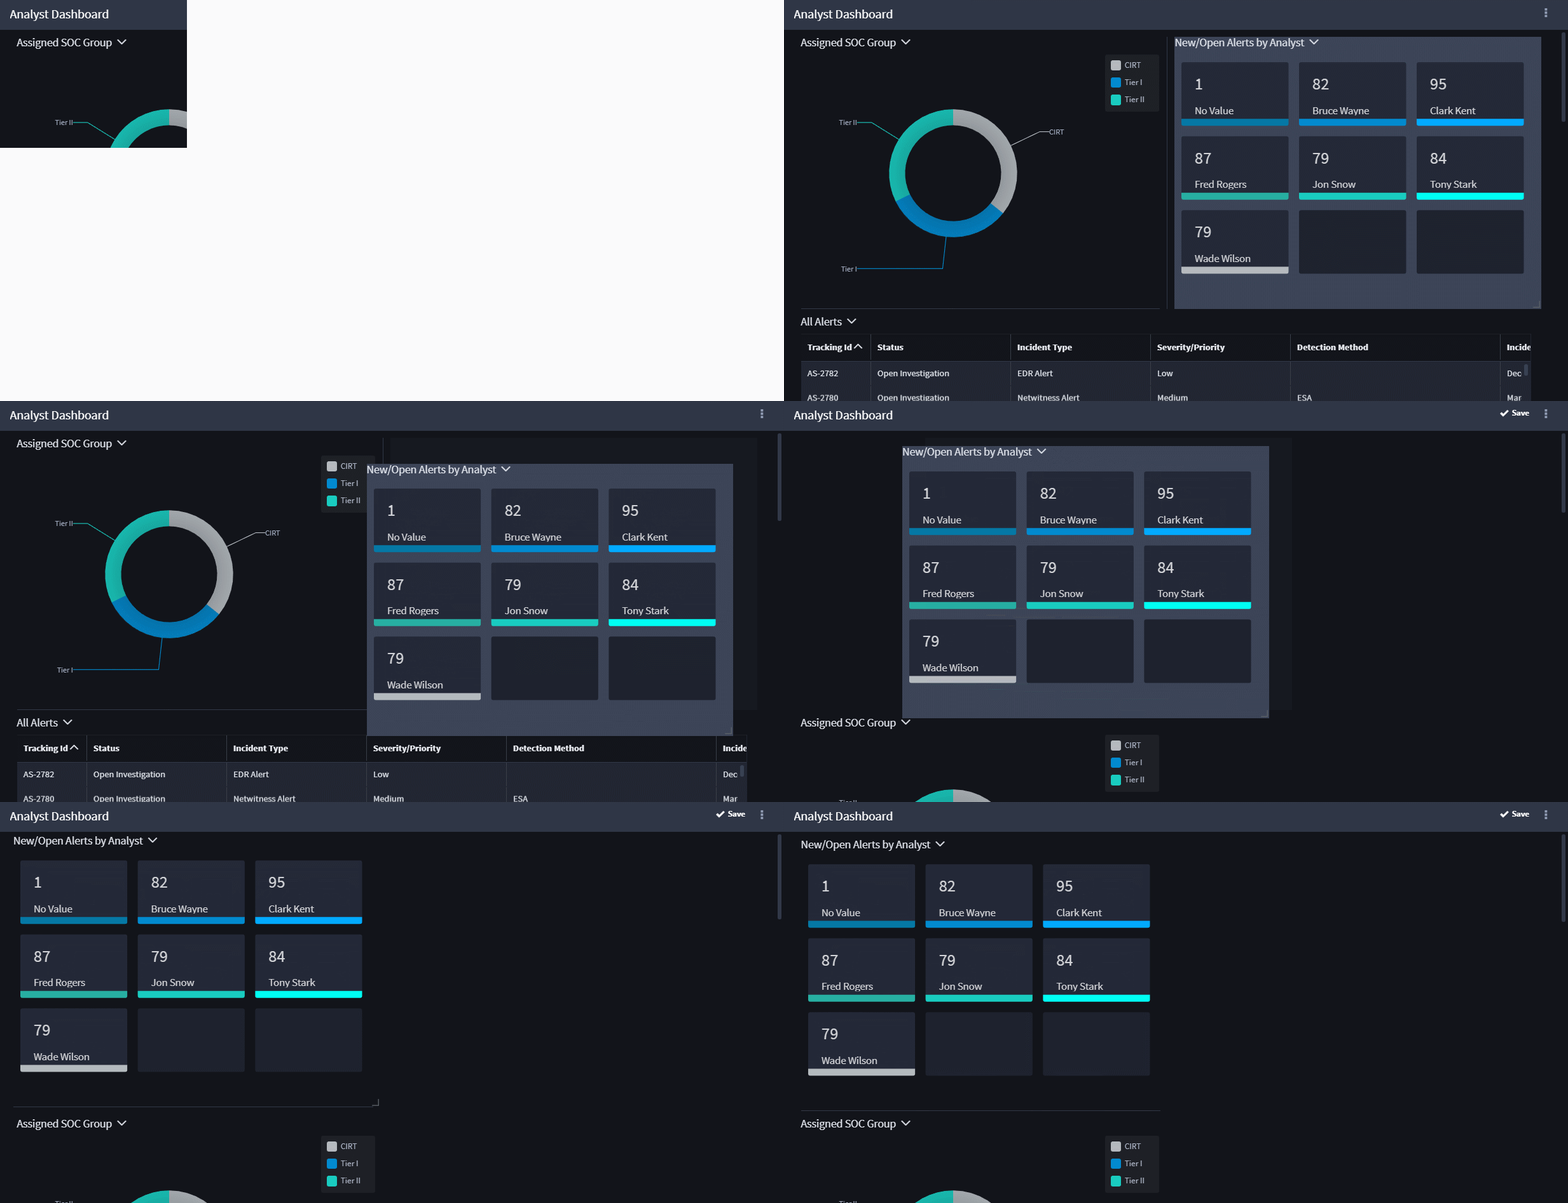
Cards can be resized and repositioned on the dashboard. To reposition a card, click and drag the heading area of the card, and drop it in the desired location.
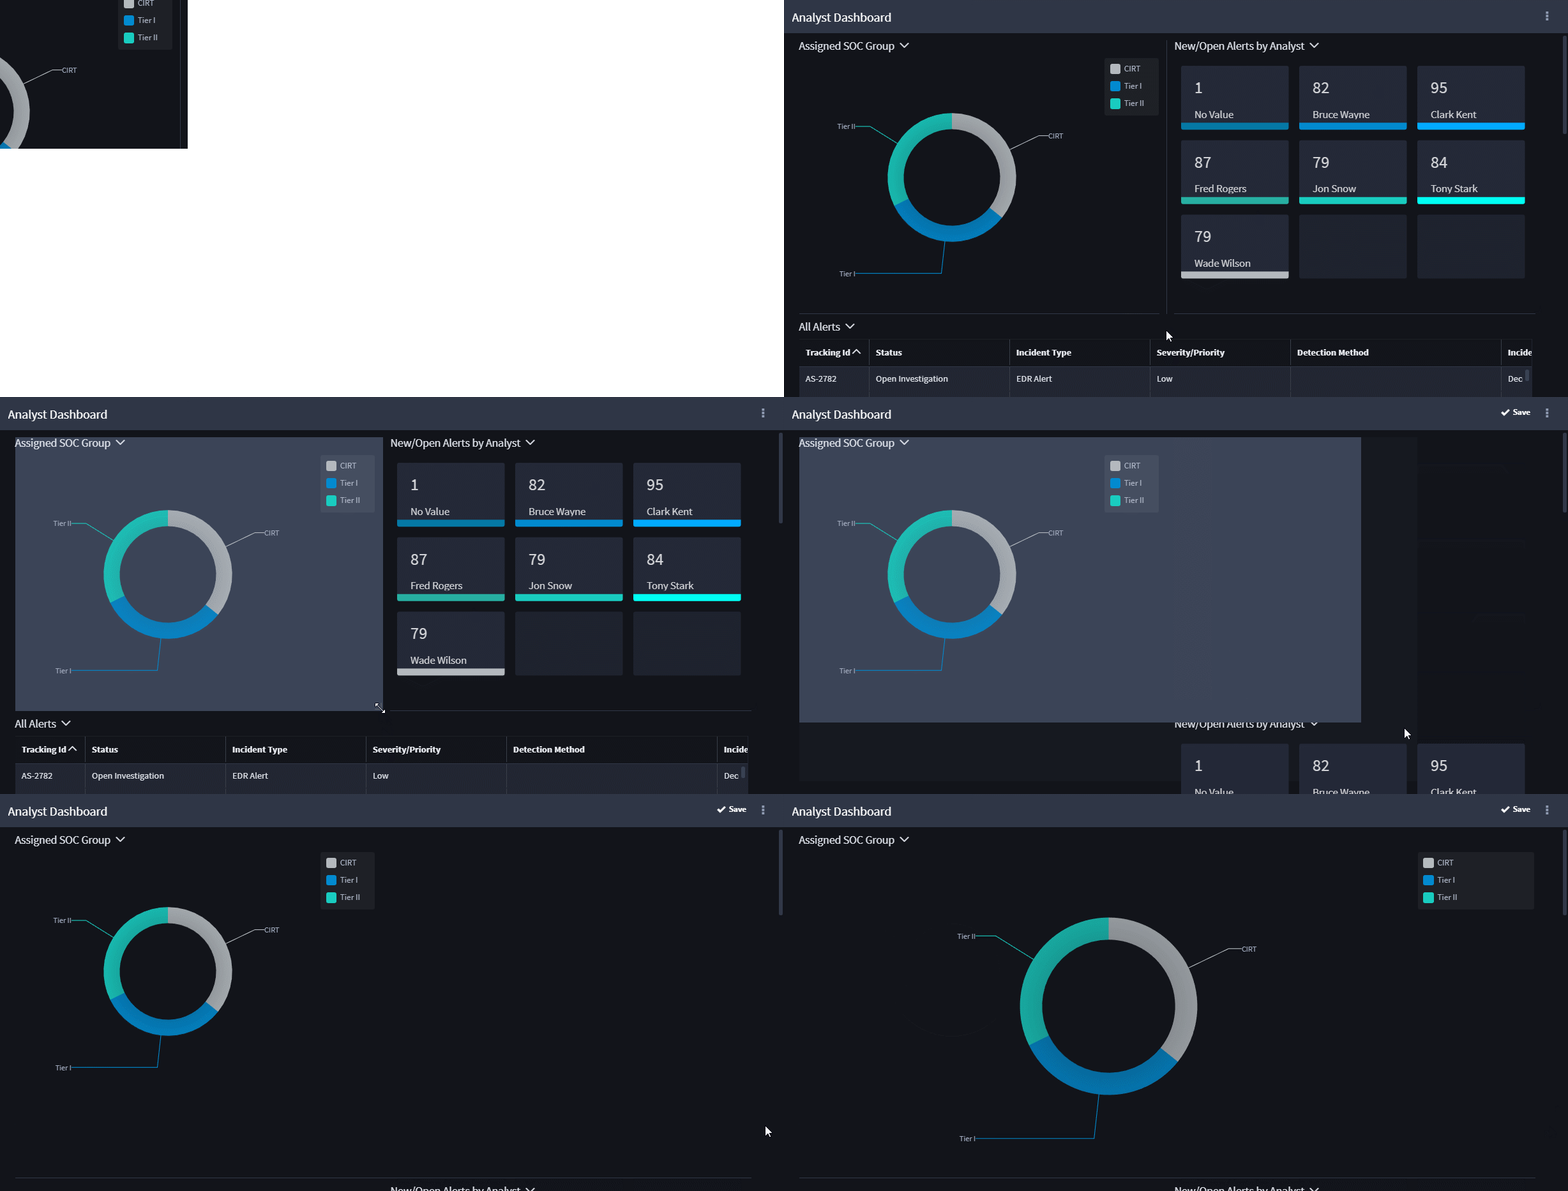
To resize a card, hover over the card and click and drag the resize element that will appear in the bottom right corner of the card.
A 1x1 tile is not supported for pie and Advanced Pie charts. Size Advanced Pie cards to at least 3x3 so the Total value and label stay visible. A 2x2 Advanced Pie card can still cut off the Total label. For chart examples, see Chart TypesChart Types.
From the Card you can click the ellipsis submenu to open the card-specific drop-down menu. From this menu you can select from the following:
- Display in Search: open the report shown on the card in the search page
- Edit Card: edit the card details
- Remove card: remove the card from the dashboard
Refresh Card Display
You can refresh reports and usage statistics in cards. To refresh the data, click the Refresh icon.
After saving the card:
- Click the clock icon on the top-right of the card.
- Select an auto-refresh frequency:
- Options: 1 min, 5 min, 15 min, 30 min, 1 hour, 1 day, or Off.
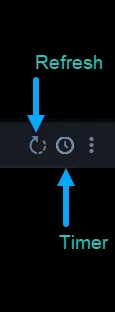
If you want the data displayed in the card to automatically refresh at a specific time increment, specify the time increment on the Timer icon.
Save Changes and Update Schedules
When you save any change to a dashboard that has an associated schedule, you will see this message:
- Adding Cards: You must manually update each affected schedule to include new cards.
- Removing Cards: Deleted cards are automatically removed from both dashboards and schedules.
Check "Don't show this notification to me again" if you do not want to see this message in the future.