Install Into an Online Existing Kubernetes Cluster
Prepare the SPI Kubectl Add-on
- Download the SPI kubectl add-on for the OS version where you run kubectl commands from:
Linux:
https://get.swimlane.io/existing-cluster/install/linux
OSX:
https://get.swimlane.io/existing-cluster/install/osx
- Untar the file:
tar zxf kots_<OS version>.tar.gz
- Rename the kots binary to kubectl-kots:
mv kots kubectl-kots
- Move the kubectl-kots binary into your PATH so that it can be recognized by kubectl (e.g. /usr/local/bin/)
mv kubectl-kots /usr/local/bin/
Install the SPI Using the Kubectl Add-on
- Choose the namespace that you will install the Swimlane Platform Installer and Swimlane Platform into. These instructions refer to this namespace as your-namespace.
- First, run:
kubectl kots install swimlane-platform --namespace your-namespace
This automatically creates the namespace specified if it does not exist.
If the KUBECONFIG environment variable is not set you will need to add --kubeconfig /path/to/kube/config to the install command above so that it can authenticate to your cluster.
After a few moments of initialization you are prompted for what you want the SPI Admin Console password to be.
- When the install is complete it automatically proxies the SPI UI to http://localhost:8800.
-
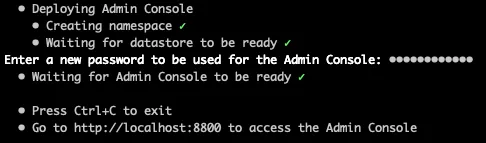
In a Chrome browser window, access the SPI UI at http://localhost:8800 to begin configuring the Swimlane platform.
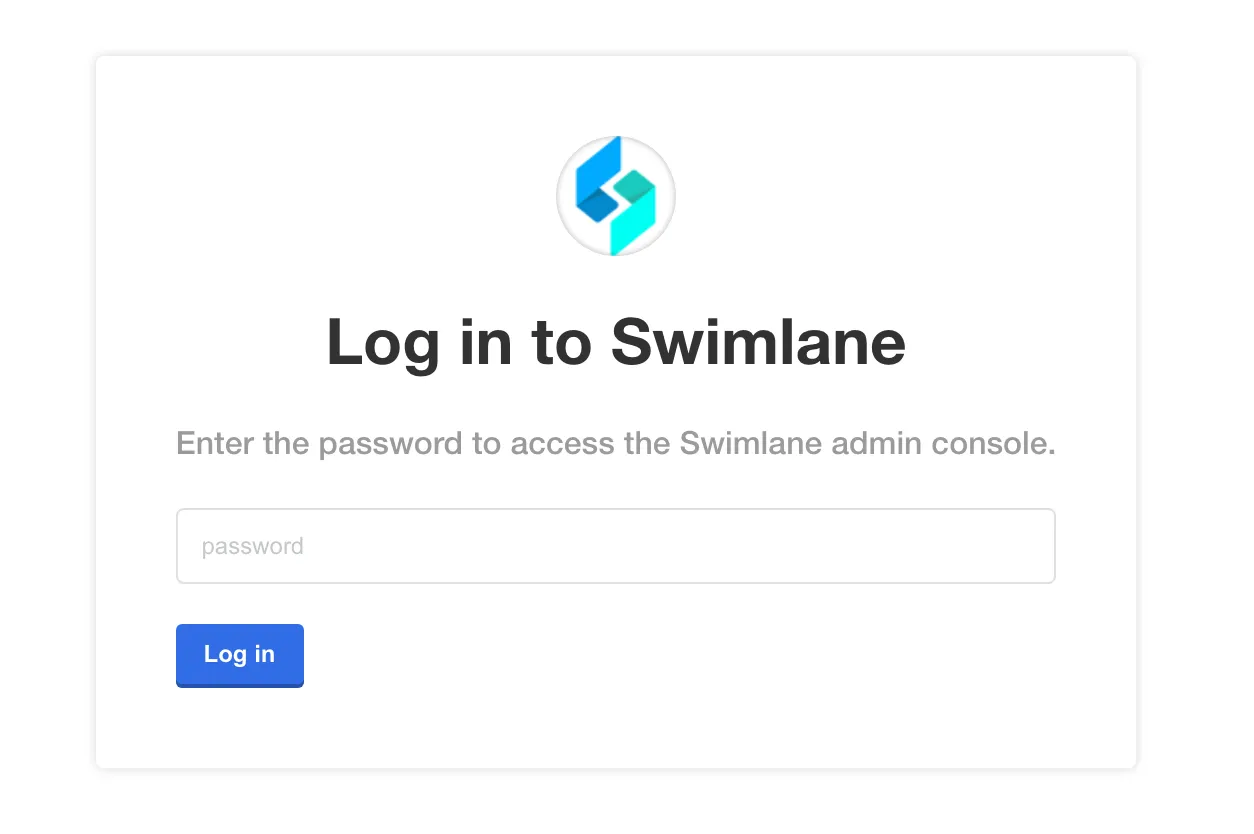
- Enter the password you specified during the install process.
-
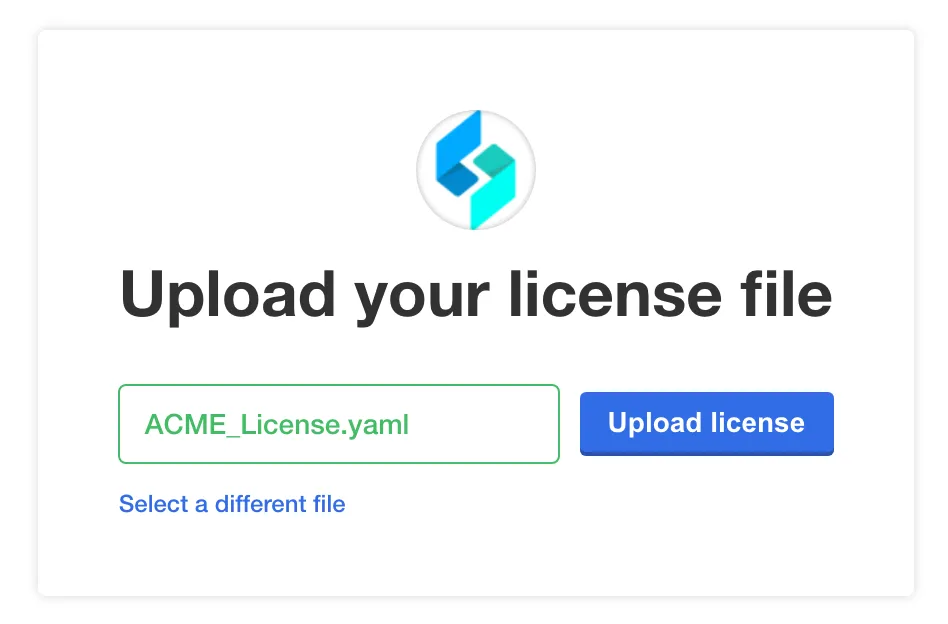
- Next, you are prompted to upload your .yaml license file. Select or drag the file, and then click Upload license.
-
- After the license is uploaded you are prompted to either install in an airgapped environment or download from the internet. At the bottom of the page, click the download Swimlane from the Internet link.
- Next, see the Configure the Swimlane Platform for an Existing Cluster InstallConfigure the Swimlane Platform for an Existing Cluster Install topic to configure and deploy Swimlane.