Directory Services
Swimlane Turbine supports integration with Microsoft Active Directory (AD) and LDAP directory services. By integrating with Directory Services, administrators can streamline user management and ensure consistent authentication across their organization.
Feature availability
Multiple Directory Services configurations in one account are available only when the Multi-SSO feature flag is enabled for the account (the same flag that enables multiple SAML identity providers). To enable Multi-SSO, contact Swimlane Support. If you are a Turbine Platform (TP) customer, a Super Admin can enable the feature flag for the account. If enabling fails because SAML is missing an Identity Provider certificate, open the single-SSO SAML Settings dialog, paste the certificate into the certificate text area or use Upload Certificate, then Apply and Save Account Settings first. See Enable SAML for SSOEnable SAML for SSO.
When Multi-SSO is enabled, Turbine supports multiple Directory Services configurations within a single account. Each configuration is managed independently and can be used to connect to a different directory source. When Multi-SSO is not enabled, the account uses a single Directory Services configuration.
Directory Services configurations are displayed on the Directory Services page, where administrators can create, edit, enable, disable, or delete configurations as needed.
Use Cases and Benefits
Many Turbine administrators leverage Directory Services to:
- Enable SOC Engineers and Analysts to log in to Turbine with previously established directory credentials.
- Automate user and group management, reducing administrative overhead for large teams.
- Increase security by centralizing authentication and maintaining compliance with corporate policies.
Users are synced upon each login. Automatic synchronization occurs every night at midnight, server time.
These settings are at the account level and propagate to all the tenants associated with users through roles or groups.
Directory Services Configurations
The Directory Services page displays all configured directory service connections for the account.
The list contains the following information:
Column | Description |
|---|---|
Name | The administrator-defined name of the directory service configuration. |
Protocol | The directory protocol used by the configuration. |
Status | Indicates whether the configuration is enabled or disabled. |
Use the More Actions menu (⋮) beside a configuration to:
- Edit the configuration
- Delete the configuration
- Enable or Disable the configuration
To create an additional directory service connection, click + Add.
Create a Directory Services Configuration
Before you begin, verify that your server settings are correct and ensure you have the necessary permissions to configure Directory Services.
To Create a Directory Services Configuration
- Click your profile and then click the Admin Panel.
- Navigate to Settings > Account Settings > Directory Services.
- Click + Add.
- Enter a unique Name for the Directory Services configuration.
- Configure the remaining settings as required.
- Click Save.
The configuration can be enabled or disabled using the Enabled toggle, or from the More Actions menu (⋮).
Name
The Name field uniquely identifies a Directory Services configuration within the account.
This is especially useful when multiple directory service connections are configured, allowing administrators to distinguish between different directory sources.
Examples:
- Corporate Active Directory
- Partner LDAP
- Internal Directory
Each Directory Services configuration should have a meaningful, unique name. The name is displayed throughout the platform to help distinguish users and groups that originate from different directory sources.
Server Settings
- Click > to expand Server Settings. Under Server Type, select either OpenLDAP or Active Directory.
- Input your server settings. Ensure that the Username is an LDAP Distinguished Name (for example, cn=Manager,dc=example,dc=com).
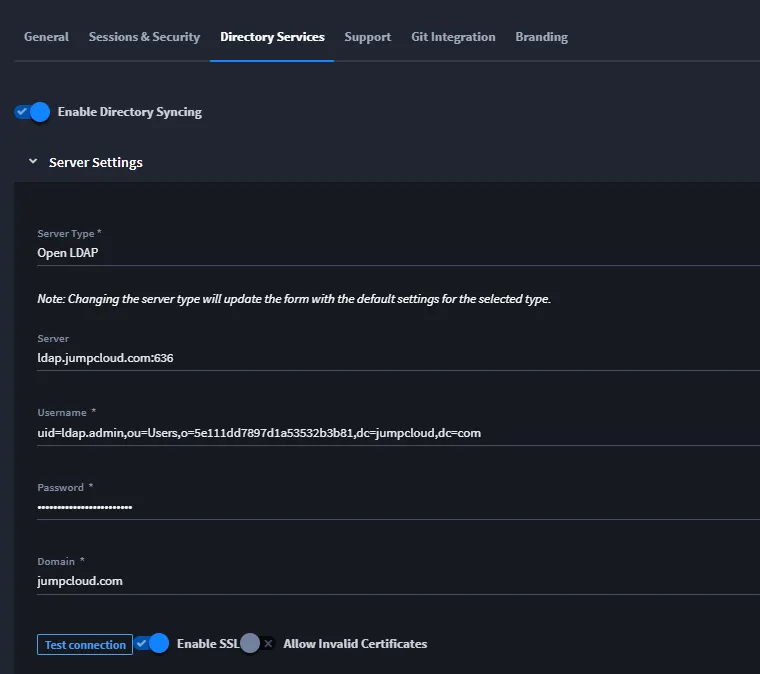
If you want to test the connection to the server at this point, enter placeholder text in all required fields, including those in other sections, and then click Save. Once your initial settings are saved, you can click Test Connection.
User Settings
- Click > to expand User Settings and review or update the values there.
- The default values for OpenLDAP are often the most appropriate, but they may need to be altered to conform to your Directory server’s configuration.
- Ensure that the Member of Field Target is empty by default, and update if required based on your organization’s needs.
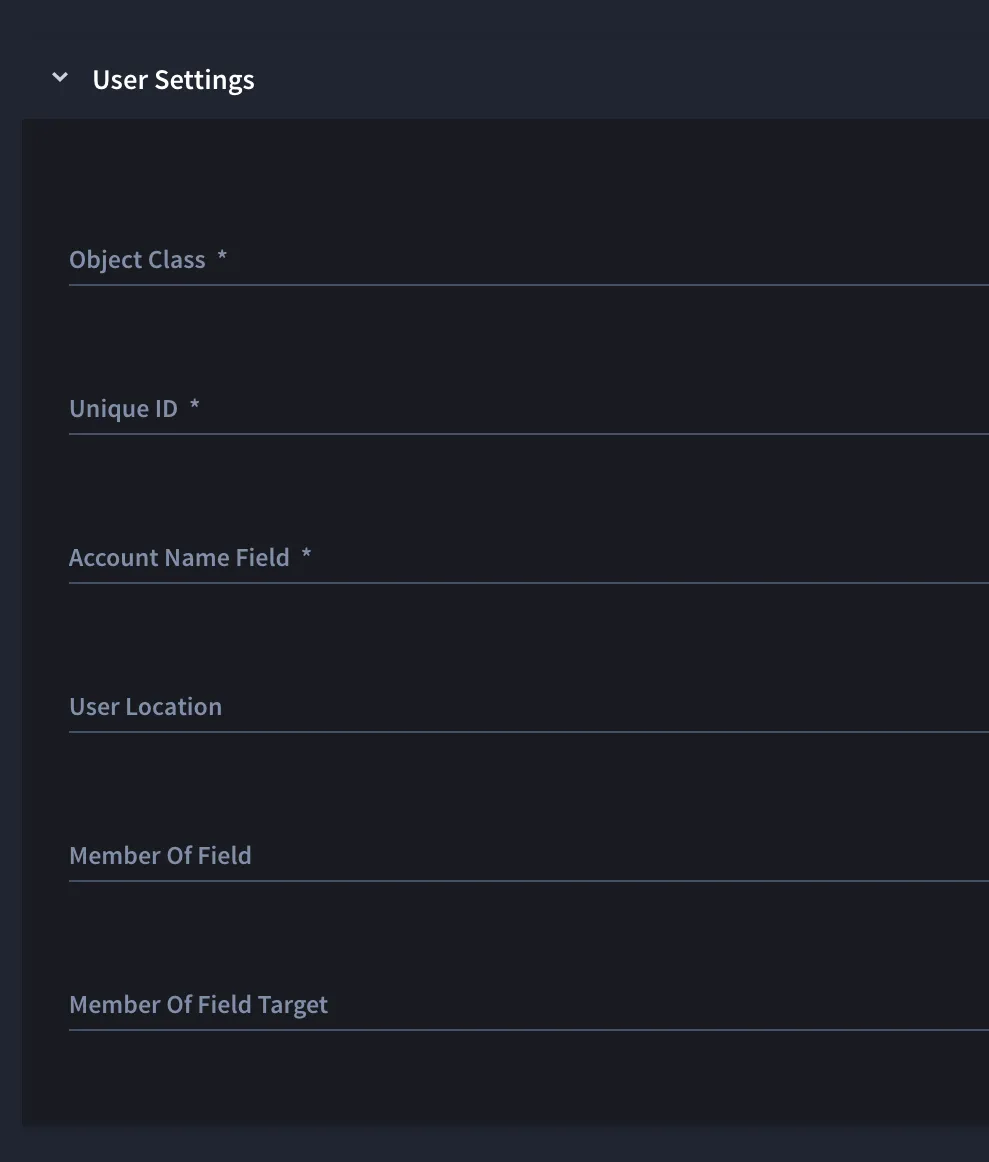
Field Mapping
These values rarely need to deviate from the defaults provided. Review and update as necessary to match your directory configuration.
Group Settings
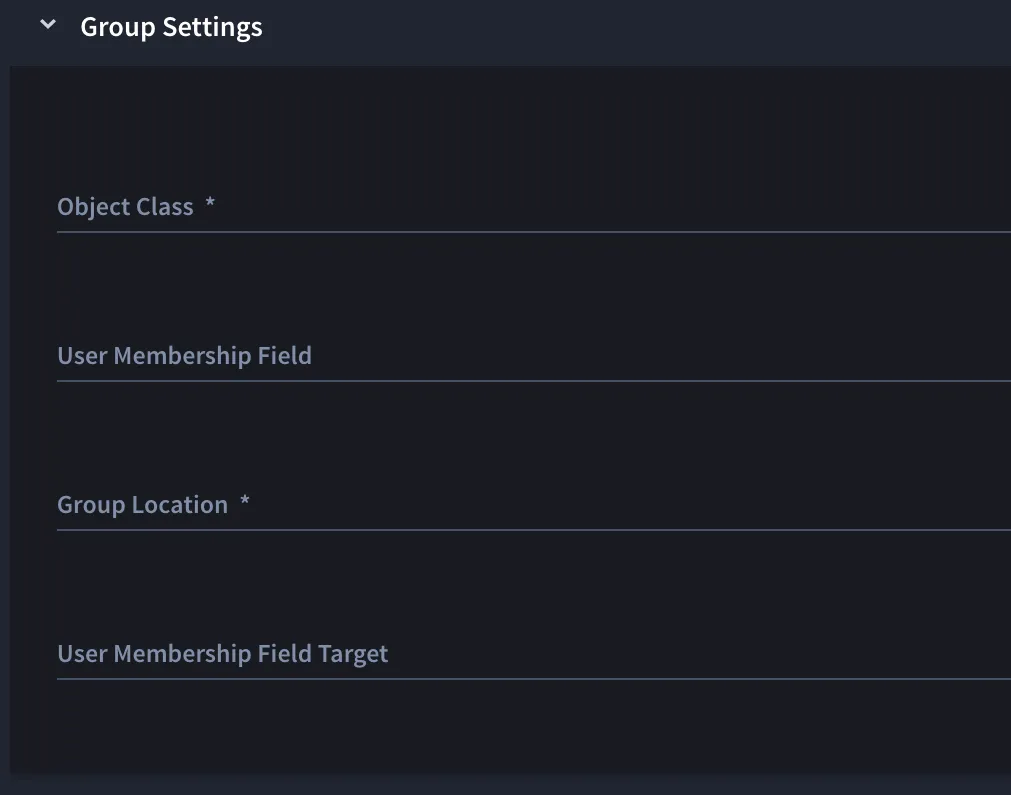
Delete the default value for User Membership Field Target and make sure it is empty. The Group Location field must contain a Distinguished Name (DN) that provides the complete path to the container in which the targeted groups are defined.
Use an appropriate Directory Services client to inspect the targeted group(s) and make note of how belonging users are affiliated to the group(s). Is it done through the group’s property named member, the users' property named memberOf, or through some other means?
Groups
This section lists manually entered groups. To add a group, type the name in the field and then click Add Value. Keep in mind that you have to add each group individually, and that the values are case sensitive.
Under Groups to sync, click Validate Groups. If this fails, troubleshoot by checking spelling and confirming that the group name is defined in the container specified in the Group Location value (a Distinguished Name).
Membership
From this field, you can select from one of two values: By User Field or By Group Field. If the users are affiliated with their groups via the member property in each group, choose By Group.
Syncing and Verification
- Click Save again and then click Sync Now.
- Ensure that you receive confirmation of a successful sync (a green success message displays). Then, from the left-navigation menu, navigate to the Turbine Users page and verify that all the members of the targeted groups have been created as users.
When you use Directory Services with Multi-SSO, review automatic mapping behavior before you run a directory synchronization. When Multi-SSO is enabled and the account has a single SAML configuration and a single Directory Services configuration, the upgrade links existing directory users to that directory configuration and maps users to the SAML configuration. Multiple SSO or Directory Services configurations do not auto-map — complete User Mapping as needed. See Automatic Migration of Existing Users.
Troubleshooting and Best Practices
- Ensure that all required fields are filled correctly before testing the connection.
- Use a third-party LDAP client to verify the Distinguished Names (DN) for users and groups.
- Use meaningful group names and consistent field mappings to avoid confusion during setup.
- If synchronization issues persist, check server logs for detailed error messages and reach out to Swimlane support if necessary.